System
18
The PIKO SmartBox
®
also supports the POM-function, which means „programming on the main“. With
this function you can modify decoder setups directly on the main track, without using the additional
programming track. This feature requires RailComPlus
®
compatible decoders.
Notice:
Please make sure you insert the socket-terminals the right way up. They won’t t otherwise!
Connecting additional components to the PIKO SmartBox
®
Depending on the size of your layout you might want to connect your accessories and other
components to the SmartBox
®
prior to powering it up for the rst time.
Additional information about the different features can be found under „options and settings of the PIKO
SmartControl
®
System“.
Connecting the PIKO SmartBox
®
to the power supply
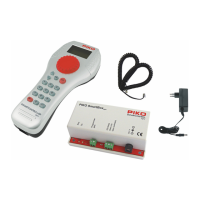
Once everything above is in place you can connect your PIKO SmartBox
®
to the power supply.
Just insert the 5.5mm terminal of the power supply into the socket on the back of the PIKO SmartBox
®
(socket “PWR”). The PIKO SmartBox
®
will start automatically and setup a local Wi-Fi network, to
connect with the PIKO SmartControl
®
.
Notice: If no LAN-wire is connected and WPS is not activated, the PIKO SmartBox
®
will create a local
wireless network exclusively for the PIKO SmartController
®
. An internet connection is not available in
this conguration.