EasyManua.ls Logo

Piper Comanche PA-24 - 2-65. REMOVAL OF FILLER VALVE; 2-66. INSTALLATION OF FILLER VALVE; 2-67. REMOVAL OF PRESSURE GAUGE; 2-68. INSTALLATION OF PRESSURE GAUGE

Piper Comanche PA-24
846 pages
Print Icon
To Next Page IconTo Next Page
To Previous Page IconTo Previous Page
Loading...
PIPER
COMANCHE
SERVICE
MANUAL
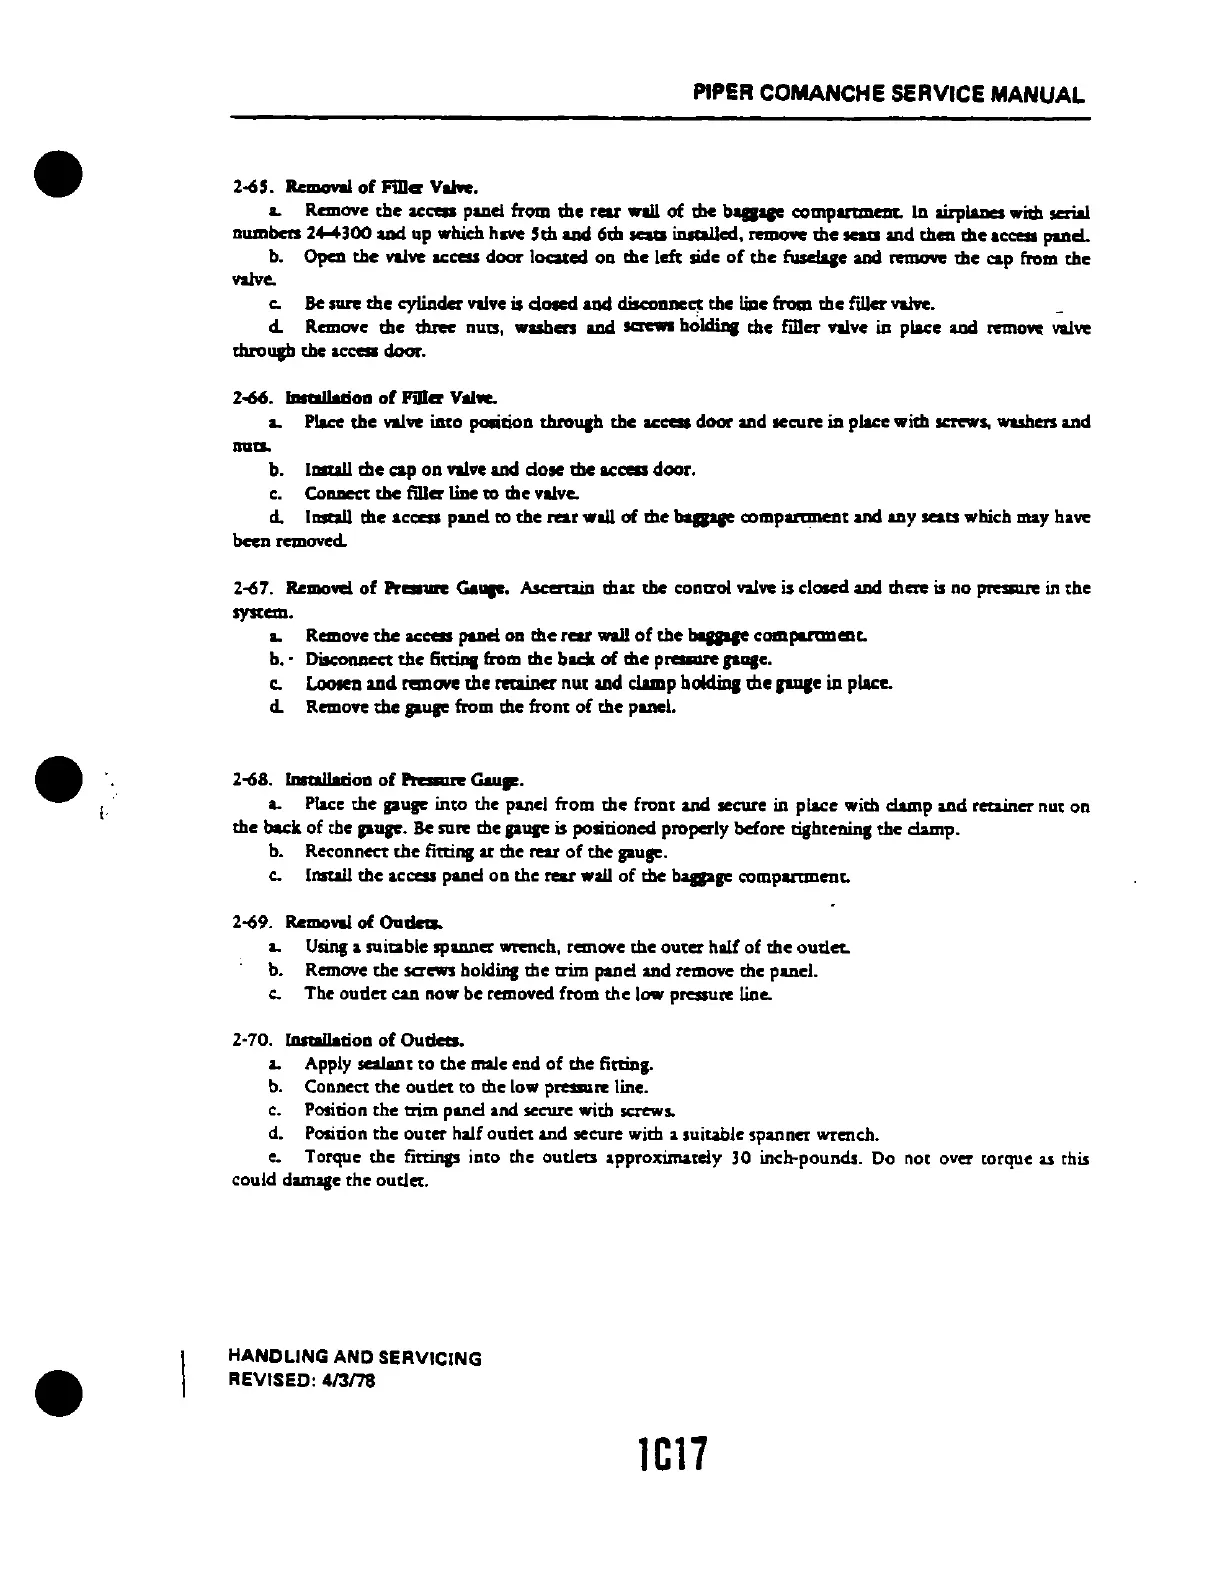
2-65. Re
.......
of
FID~
Volwe.
L R
....
ove
the
accas
pU1e1
from
the
rear "'Ill
of
the
baa.
comportmem.
In
airplaDes
wid! Krial
oWllben 24-4-300
aDd
up
",hich have
5th
aDd
6d1
_
iDsc:aIled.
remove
die
_ and
then
the
access
pUle!.
b.
Open
the
nIw
access
do<><
located
00
the
left side
of
the
fusclqe
aDd
remove
the
cap from
the
nlve.
e.
Be
sure
the
cylinder valve is
dacd
aDd
disc:oImcC!'
the
liDe
from
the
fdler V&!ft.
d..
R
....
ove
the
three
OUIS.
",uben
&lid _
hohlilll
the
filler valve in place &lid
rem_
valve
throup
the accell door.
Z..s6.
IDoaIWiOD
of
PiD~
VII
....
L Place
the
valve
into
pooitioo
throuJh
the
""cell
door
and secure
in
place
with
screws.
washers and
DUts.
b.
lllltall
the
cap
on
valve &lid
dose
the access
door.
c.
CoIUIeCt
the
fiIl~
line
to
the
valve.
d..
Install
the
access
pU1e1
to
the
rear
will
of
the
bqpae
comportlllCllt
aDd
any
sealS which may
ha""
been
removed..
2-67.
Remowl
of
Preso .....
Ga
....
Ascertain
that
the control val"" is
c1acd
&lid there
is
00
presue in
the
system.
L R
....
ove the ""cess
panel
00
the
rear wall
of
the
boaaF
computlDCDt.
b.'
Disconnect
the
6nin1
from
the
bad<
of
the
praoare
..
lIIe.
e.
Loosen
and
romcwc
the
maincr
nut
and clamp bolc1ilJl
the
.....
e
in
place.
d..
Remove
the
P ..... from the
front
of
the
panel.
2-68.
IDoaIWiOD
of
.........
Gaup.
L Place
the
pu~
into
the panel
from
the
froot
aDd
secure in place with
damp
and
recainer
nut
on
the
back
of
the P ......
Be
sure the P ..... is
politioned
properly before
tightminc
the
damp.
b. Reconnect
the
fitting at the rear
of
the
..
u~.
e.
IIlIt&Il
the
access panel
00
the
rear
will
of
the
baas
...
compamncot.
2-69. Removal
of.
Outlets.
L
Using.
suitable spanner wrench. remove
the
outer
half
of
the
outlet.
b.
Remcwc
the
sa
....
boldq
the trim
pUlei
and remove the panel.
e.
The
ouder
can now
be
removed
from
the
low pressure
liDe.
2·70. InsaIIatioo
of
Oudca.
..
Apply sealant
to
the
male
end
of
the
fitting.
b. Connect
the
outlet
to
the 10'" p
.......
re line.
c.
Position the trim panel and secure with saews.
d. Position
the
outer
half
oudet
and secure with a suitable
.panner
wrench.
e.
Torque
the
fittings ioto the
oudets
approximately 30 inch-pounds. Do not over torque
..
this
could
damage
the
oudet.
HANDLING AND
SERVICING
REVISED: 413178
le17

Table of Contents