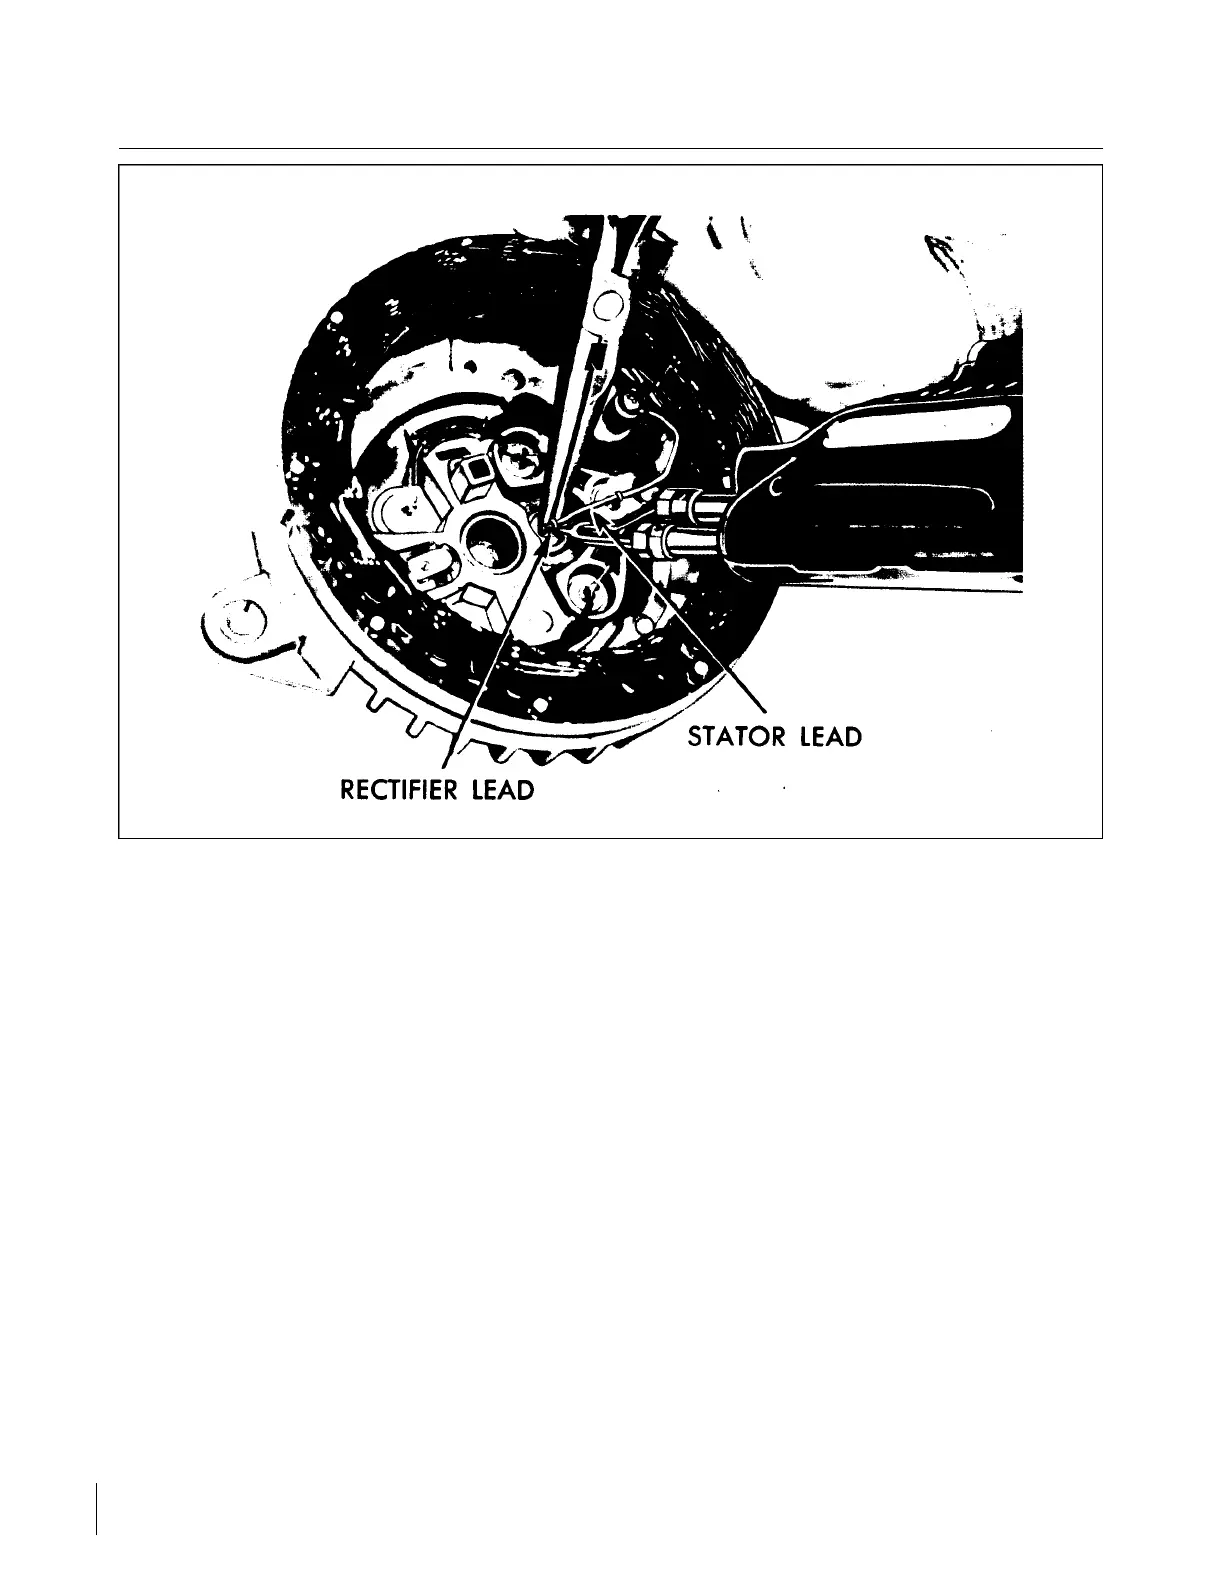
Figure 11-10. Soldering Rectifier Lead
NOTE
Clean all wires before soldering. Form the rectifier lead around the
connector, being very careful not to crack the seal. To protect the rectifier
from overheating, grip the rectifier lead between the rectifier and the point
being soldered with a pair of long nose pliers. The pliers absorb heat to
protect the rectifier. Under no circumstances use acid flux or acid core
solder. Use rosin core solder only. The solder must be hot enough to flow
and form a positive connection. Cold solder joints will break open. A good
solder connection will be smooth while a poor solder joint (cold) will be
rough and pitted.
NOTE
After soldering, to quickly cool the soldered connection, touch a dampened
cloth against it. This will aid in forming a solid joint.
With the rectifier properly installed, test to ensure that the rectifier has not been damaged while installing.
If the lead wires have been pulled away from the end shield, recement them.
Revised: 2/13/89
2H2
CHEROKEE ARROW III SERVICE MANUAL
ELECTRICAL SYSTEM
 Loading...