Steps
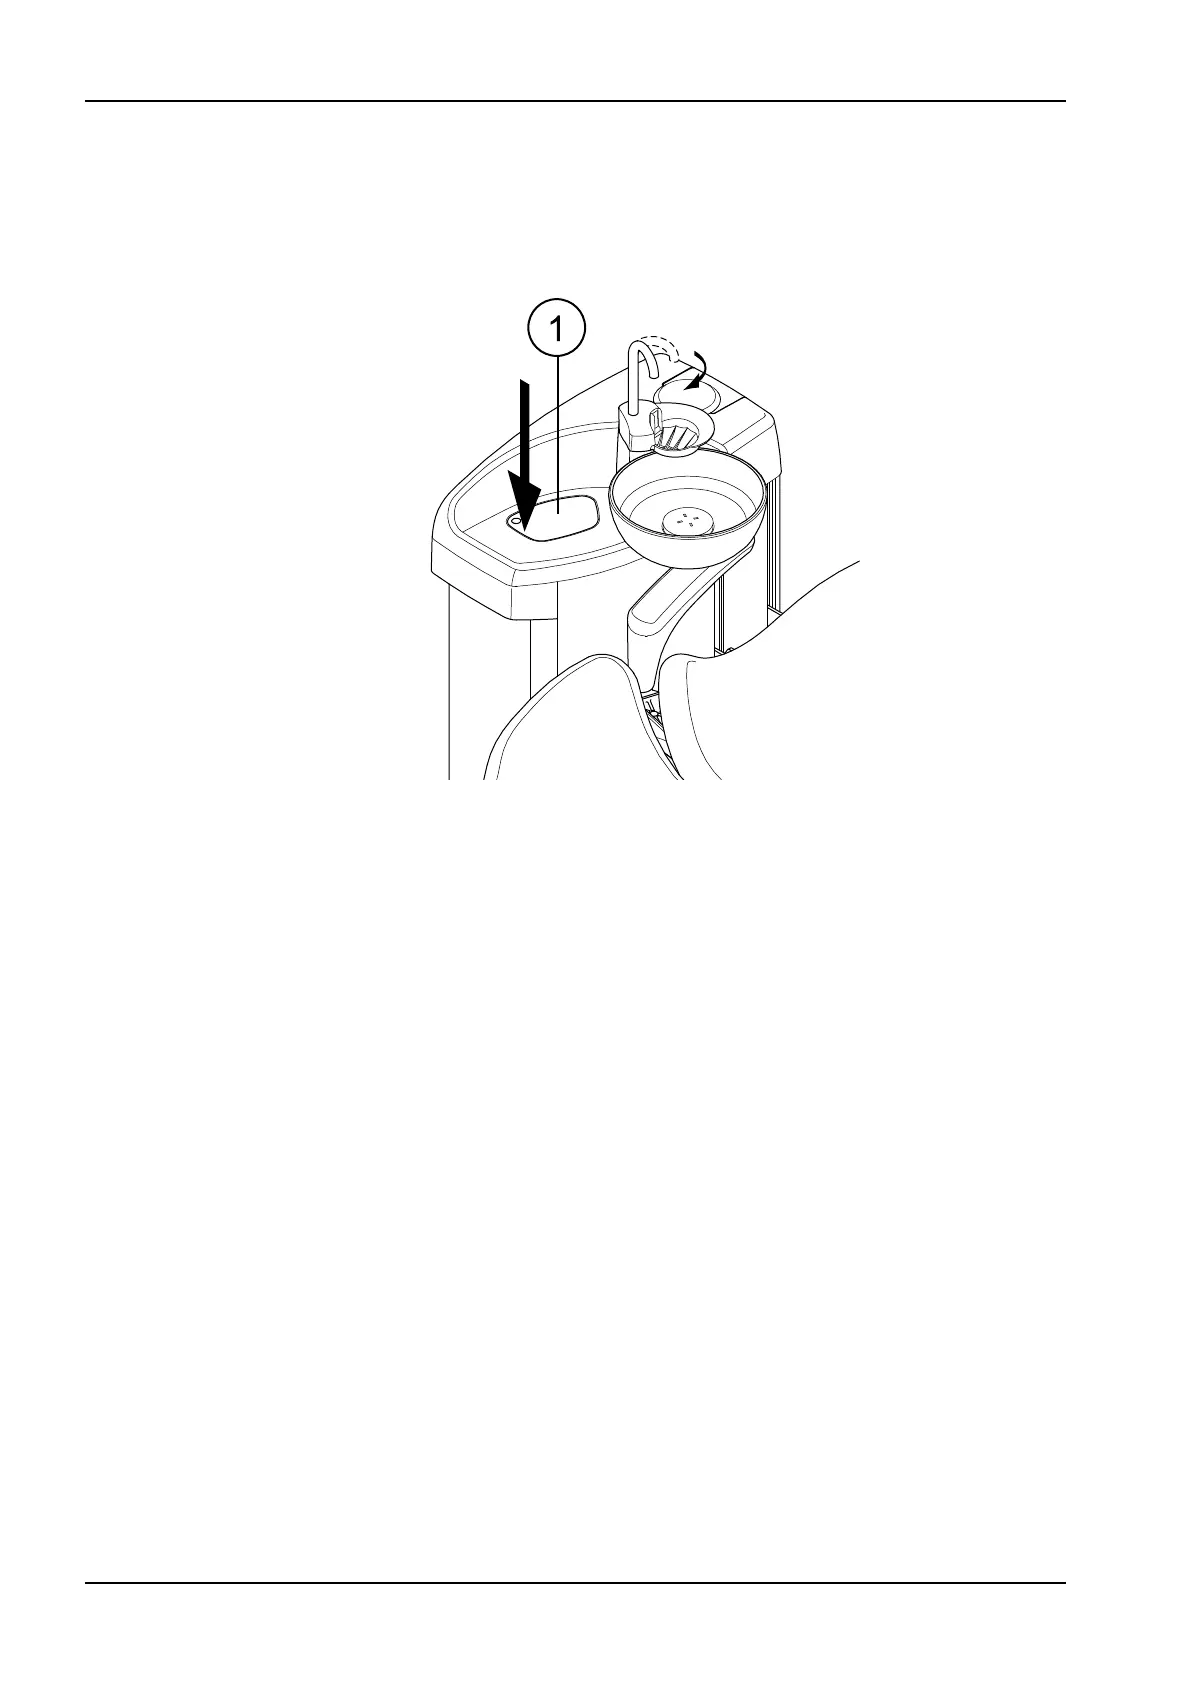
1. Remove the cup from the cup holder. Turn the bowl away from above
the flushing holder as shown in the figure. Turn also the cup fill tube
above the bowl as shown in the figure. Press the outer edge of the
flushing holder cover (1) and remove the cover.
2. Remove the instrument handpieces from the instruments and clean them
according to the manufacturer’s instructions.
3. Place all water consuming instruments (including syringes) into the
openings in the instrument flushing holder.
Optionally, in dental units with balanced instrument arms, you can
remove the hoses of the instruments to be flushed from the instrument
arms / instrument holders before placing the instruments in the flushing
holder.
In dental units with hanging-tube instruments, the instruments to be
flushed must be removed from the instrument holders before placing
them in the flushing holder.
23 Flushing and cleaning programs
108 Planmeca Compact i User's manual

 Loading...