Section 18: BODY
PA1593
24
5. Peel of protective paper from the seal.
Position the seal flush with the top, sides
and lower edges of the door.
6. Progress slowly all around the door.
7. Cut the seal and glue both ends with
LOCTITE 414 glue.
8. To assure bonding, press a small roller on
top of the new seal.
Lubrication
Part Lubricant Frequency
Latches
Upper door catch
Door cylinder rod
end with bearing
grease fitting
Low temperature
grease
Every six
months
Door locking
mechanism
White grease
Every six
months
Key hole
Damper pins
Hinges
Low viscosity oil
Every six
months
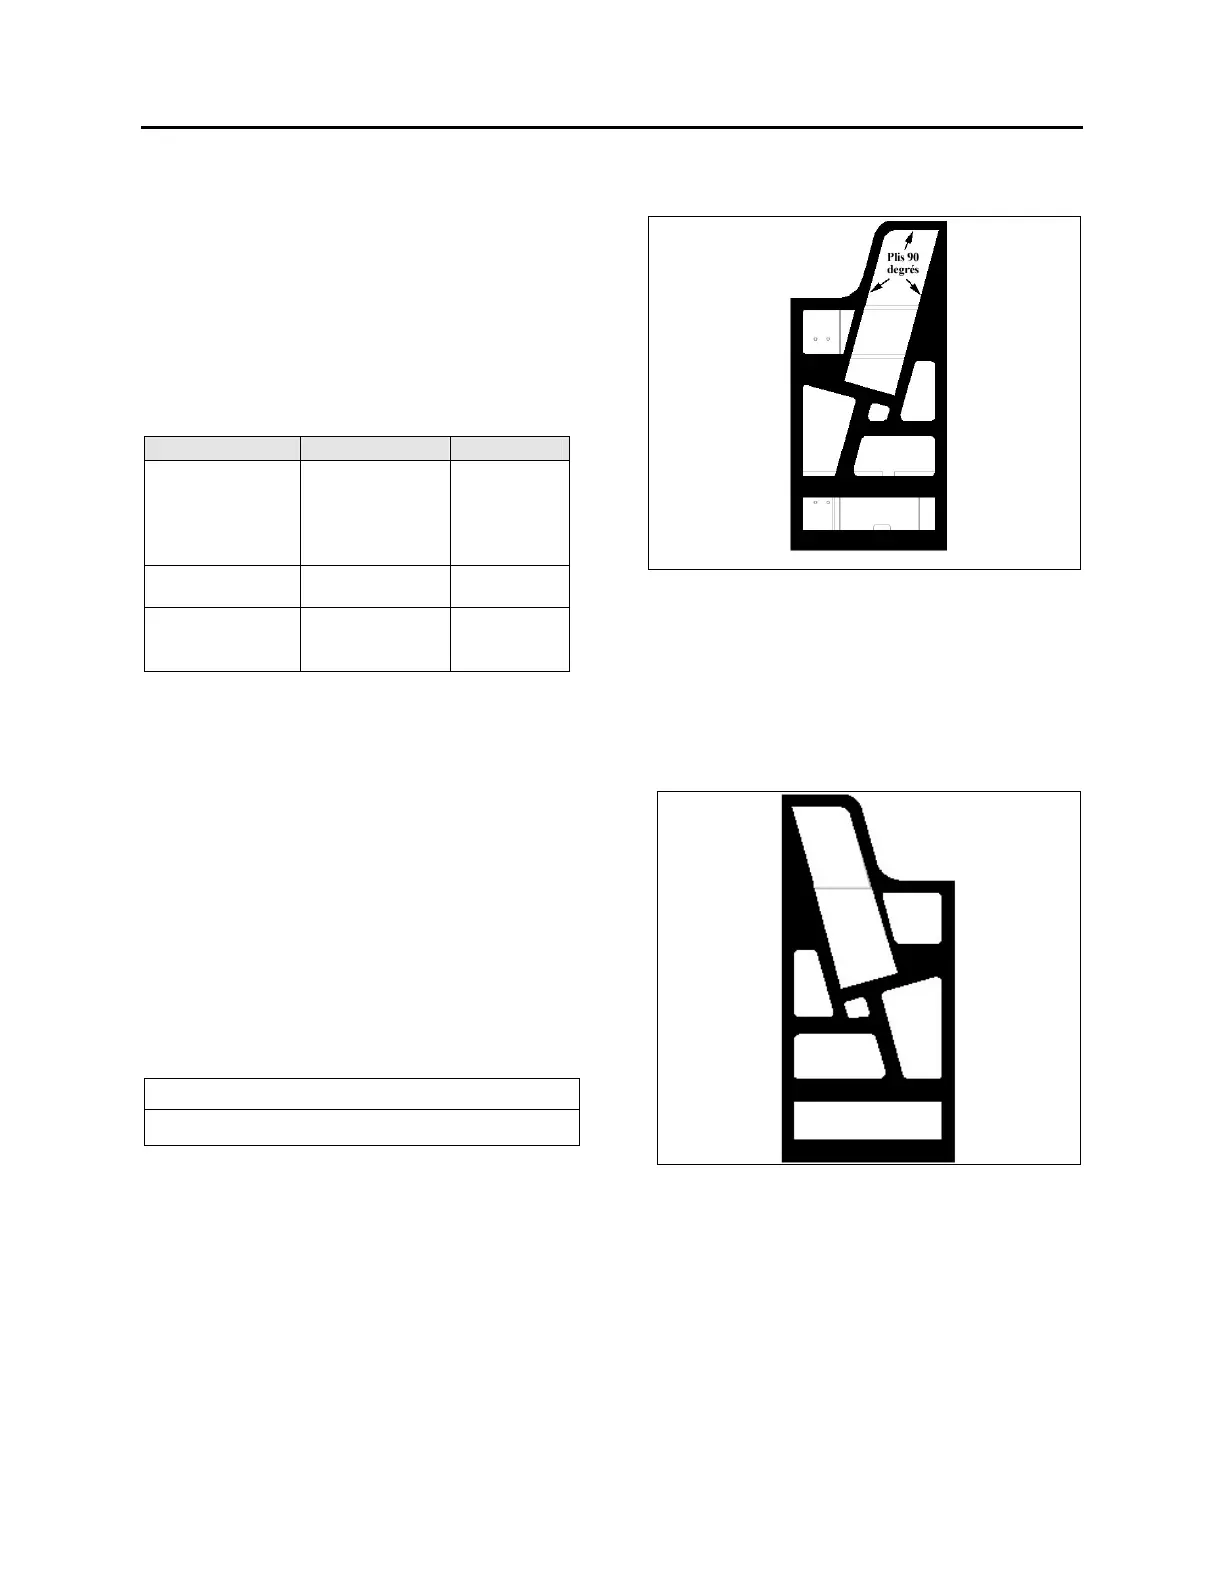
Body Panel and Window
For the removal of front electrical & service
compartment door body panel, you will need:
Pneumatic “Zip gun” type tool;
Razor sharp window scraper;
Open service door.
Remove interior finishing panels to access
rub rail fixing bolts, then remove rub rail.
Remove windshield washer reservoir,
door lock and power window connector.
Using the “Zip Gun”, cut Sika bead
located ¼ inch (7-8 mm) from each body
panel edge.
NOTE
Wear ear plugs during this operation.
Separate body panel from door.
Using a razor sharp window scraper,
remove from door frame Sika bead and
double-face self adhesive tape residue.
Clean door frame using anti-silicone.
Using a scratch pad “Scotch Brite”,
scratch the perimeter of the door frame
where the adhesive will be applied.
Clean door frame again using anti-
silicone.
Apply some Sika 206 G+P onto door
frame.
Prepare new body panel using a scratch
pad “Scotch Brite”.
Use a tack cloth to remove any dust or
residue from the body panel surface.
Clean body panel using anti-silicone.
Apply some Sika 206 G+P onto body
panel.
Apply an even coat of Sika 255 onto the
door frame.



 To Next Page