systeM requireMents for WindoWs
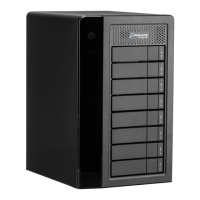
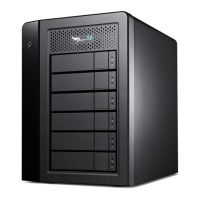
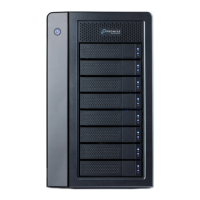
The Pegasus2 R2+ hardware driver and PROMISE Utility software for Windows can be used
on computers equipped with a Thunderbolt™ port running any edition of Windows 7 or Windows
8.
Alternatively, you can use the USB 3.0 port to access, create and use a RAID 1 or RAID 0
congurationonthe3.5”harddiskdrives.TheUSB3.0connectioncannotbeusedatthesame
time as the Thunderbolt connection.
suMMAry of the setup proCedure
The setup process for Windows is summarized below.
1. Go to the Promise website and download the driver and software used for the Pegasus2 R2+.
2. Connect the Pegasus2 R2+ to your Windows computer with a Thunderbolt cable.
3. Connect the power cord and power on the Pegasus2 R2+.
4. Launch the PROMISE Utility and format the RAID 0 drive, or change it to RAID 1 then format it.
instAll on WindoWs coMPuter
Pegaus2 R2+ is shipped with a hardware RAID that can be used on a Windows computer. But the
RAID0driveneedstobepartitionedandformattedwithalesystem(NTFS)usableinWindows.Install
the driver and software on the Windows system, then partition the RAID drive, or change the RAID and
partition it using the PROMISE Utility software designed for managing and monitoring the device.
Promise Technology
13
 Loading...


