connect to your coMPuter
Note
If the Thunderbolt cable is connected to a computer that is powered on, the Pegasus2
R2+ will power up as soon as the power is connected. See “Power modes on the
Pegasus2 R2+” on page 25
Drive appearance on Mac Desktop
The “PROMISE RAID” storage drive icon appears on your desktop.
This indicates the Pegasus2 R2+ is ready for use. You can change the name
of the drive in the Partition menu.
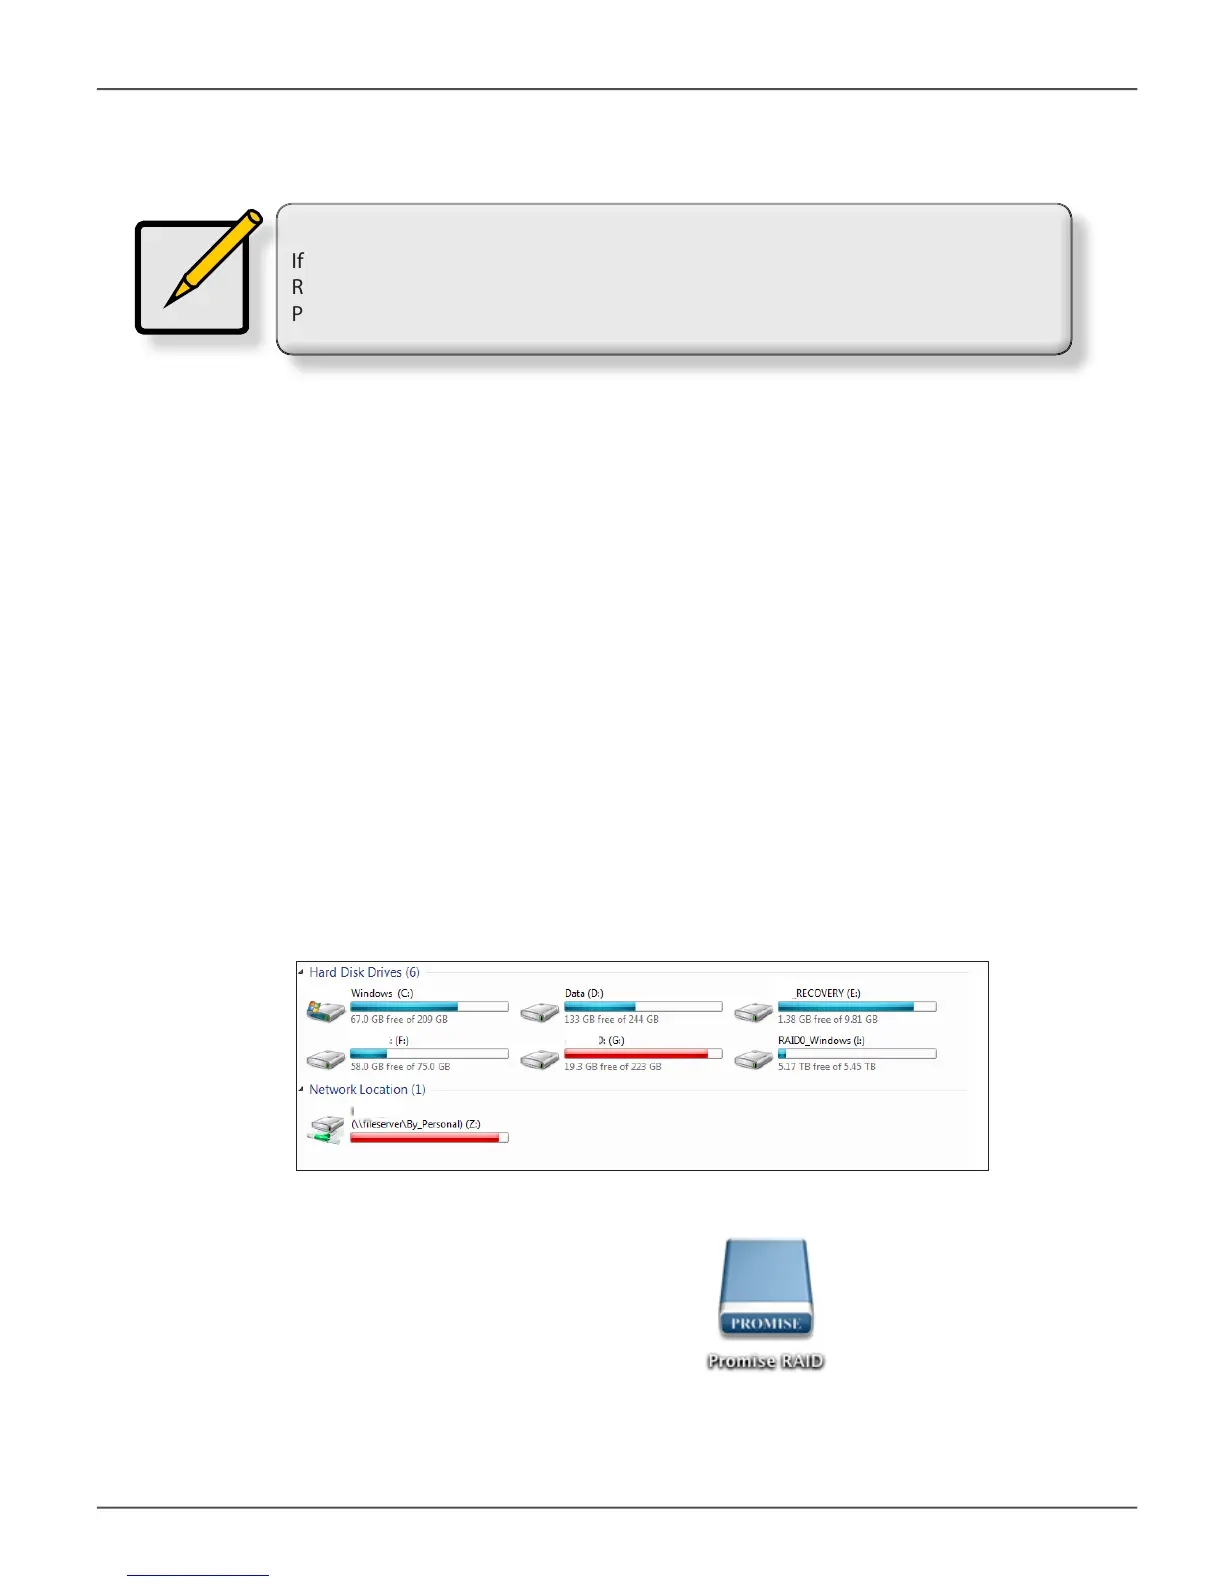
Drive appearance in Windows
Click the Computer icon on the Windows to view the drives installed on your computer.
The Pegaus2 R2+ should appear with the name you gave it in the partitioning and
formatting procedure.
To establish the Thunderbolt connection:
1. Connect a Thunderbolt cable from one of the Thunderbolt ports on the back of the Pegasus2
R2+ to the Thunderbolt port on your computer.
2. The Pegasus2 R2+ is plugged into a power source and the computer is running, the Pegasus2
R2+ will power on and begin to boot up. See “Power modes on the Pegasus2 R2+” on page
25 for information on power up and shut down behavior.
You will notice the following:
• ThePowerButtonLEDlightsorangeatrst,thenblue.
• The drive carrier Power / Status LEDs light blue.
• The Thunderbolt Link LED on the front of the device lights blue.
24
Pegasus2 R2+ Product Manual