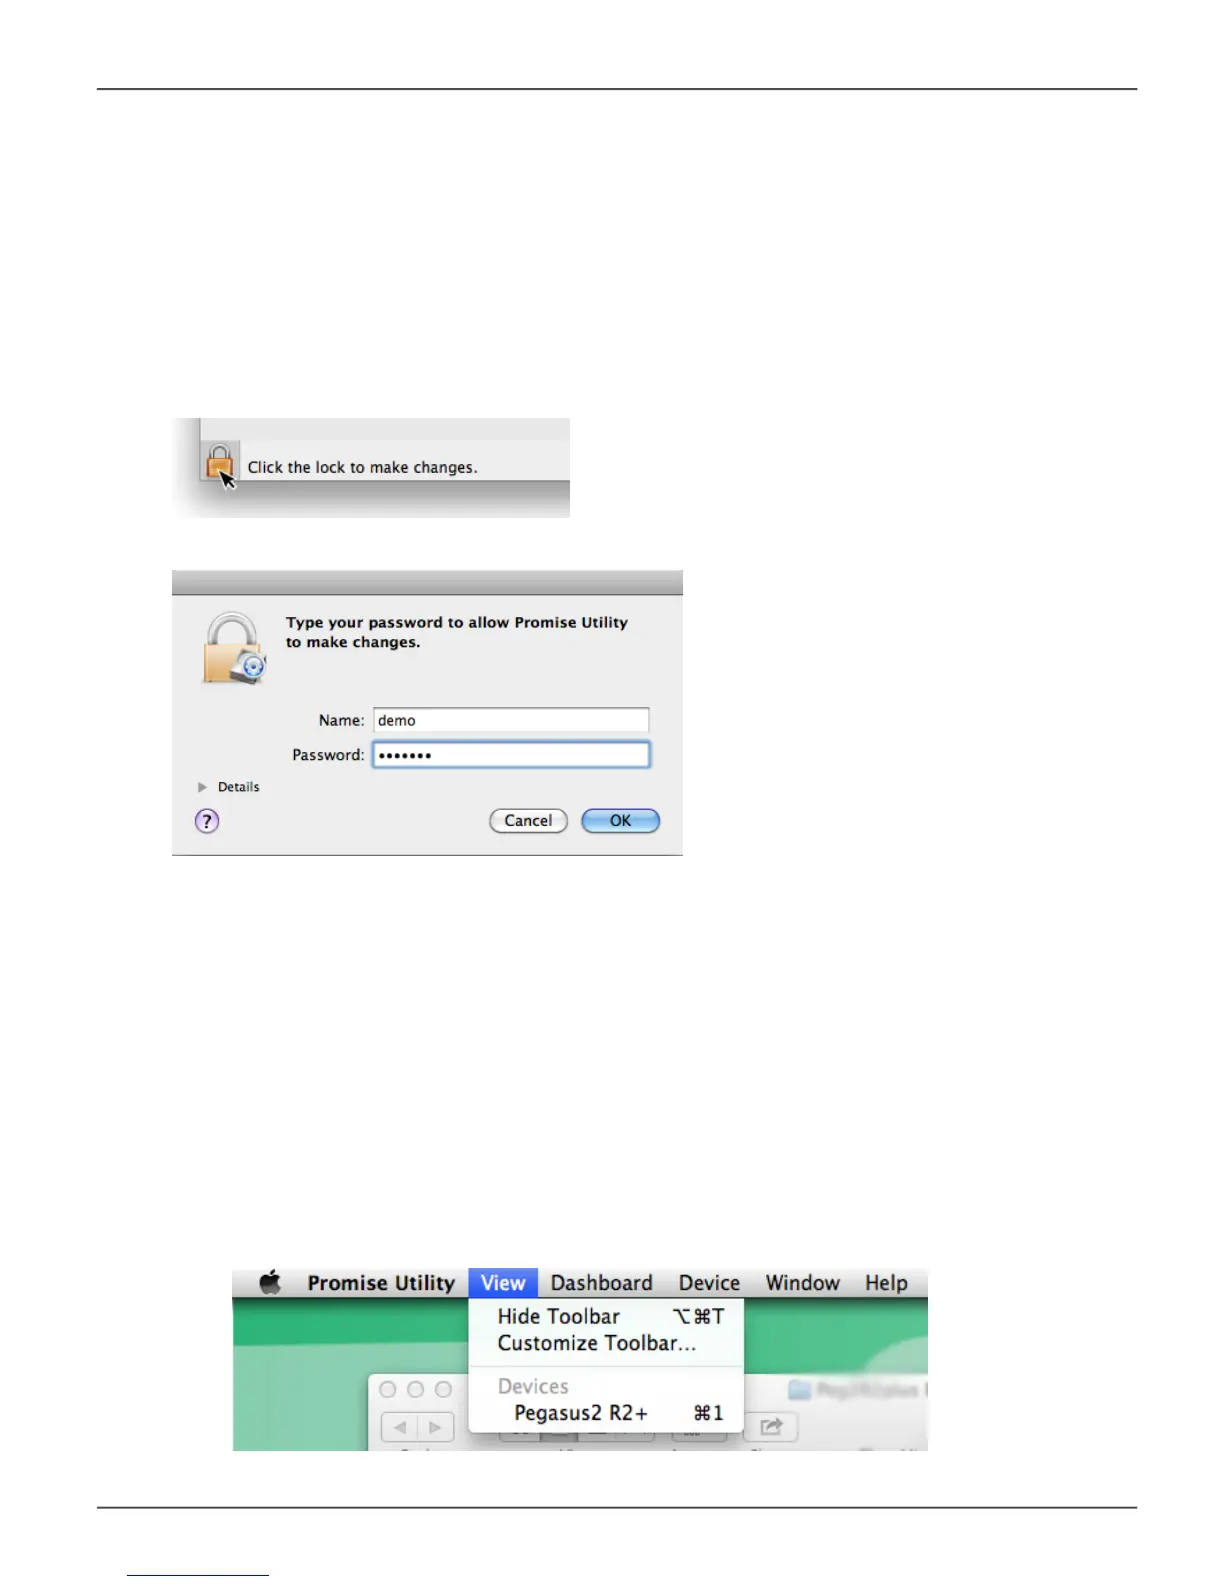
unloCking the ui in MAC
By default, the PROMISE Utility UI is locked to prevent unauthorized changes to your RAID system.
When the UI is locked, you cannot change settings on the Pegasus2 R2+ or any Pegasus or Pegaus2
unit that is connected and powered on.
To unlock the UI:
1. At the lower left screen of the PROMISE Utility window, click the closed lock icon.
The PROMISE Utility password dialog box opens.
2. TypeyourMaccomputerpasswordintothePasswordeldandclicktheOK button.
The lock icon changes to open and you can now add and delete logical drives, make settings,
run background activities, and update your Pegasus2 system.
DiSPlaying MultiPle PegaSuS/PegaSuS2 unitS
The PROMISE Utility displays a separate window for each Pegasus unit connected by Thunderbolt
cable and powered up. Note that the utility menu for the R2+ has fewer management items in the user
interface than the R4, R6 and R8 models of Pegasus and Pegasus2.
• To view a list of the Pegasus or Pegasus2 units, click the View menu.
• To display a Pegasus or Pegasus2 unit in the PROMISE Utility, click the View menu and choose
unit you want to see.
30
Pegasus2 R2+ Product Manual