suMMAry of setup for MAC
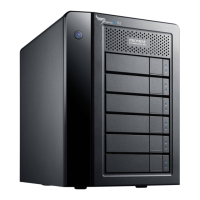
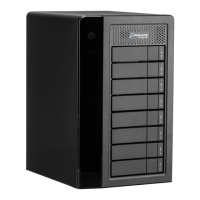
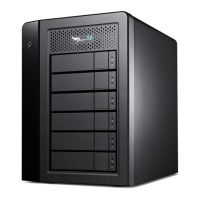
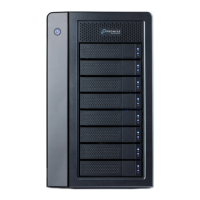
The setup procedure for the Pegasus2 R2+ is simple and easy. The device is shipped with hard disk
drivesinstalledandaRAIDarraycongured,soitisjustnecessarytoplugitinandconnectthedevice.
However you should install the PROMISE Utility software used for monitoring and administration of the
system. Please follow the setup procedure here or in the Quick Start Guide.
The setup process is summarized below.
1. Unpack the Pegasus2 R2+ shipping package
2. Connect the power cord and power on the Pegasus2 R2+.
3. Connect the Pegasus2 R2+ to your Mac computer with a Thunderbolt cable.
4. FindthePegasus2Utilityinstallationpackagelocatedonthedevice(Pegasus2isshippedwith
RAID0conguration)andinstallthemanagementsoftwareutility.
instAll on MAc
The Pegasus2 R2+ is shipped ready to use with a Mac computer. Follow the instructions in this section
to connect and power on the device. Install the PROMISE Utility on the Mac system for monitoring and
managing the Pegaus2 R2+, and other connected Pegaus2 or Pegasus devices.
systeM requireMents for MAC
The Pegasus2 R2+ and PROMISE Utility software for Mac can be used on a Mac computer
equipped with a Thunderbolt™ port running Mac OS X 10.8.5 or later
Alternatively, you can use the USB 3.0 port to access, create and use a RAID 1 or RAID 0
congurationonthe3.5”harddiskdrives.TheUSB3.0connectioncannotbeusedatthesame
time as the Thunderbolt connection.
Promise Technology
19
 Loading...

