PLX3x Series ♦ Multi-Protocol Gateways Start Here
User Manual
ProSoft Technology, Inc. Page 11 of 215
January 25, 2018
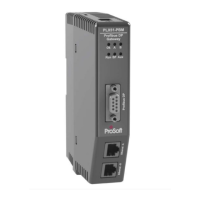
Gateway with Ethernet Port and Single Serial Port
DB9 to Screw
Terminal Adaptor
DB9 to screw terminal adapter
RJ45-DB9M Serial
Adapter Cable
RJ45 to DB9 male serial adapter cable
PLX3x gateway power connector
Tool for wiring and securing the power connector
Gateway with Ethernet Port and Four Serial Ports
DB9 to Screw
Terminal Adaptor
DB9 to screw terminal adapter
RJ45-DB9M Serial
Adapter Cable
RJ45 to DB9 male serial adapter cable
PLX3x gateway power connector
Tool for wiring and securing the power connector
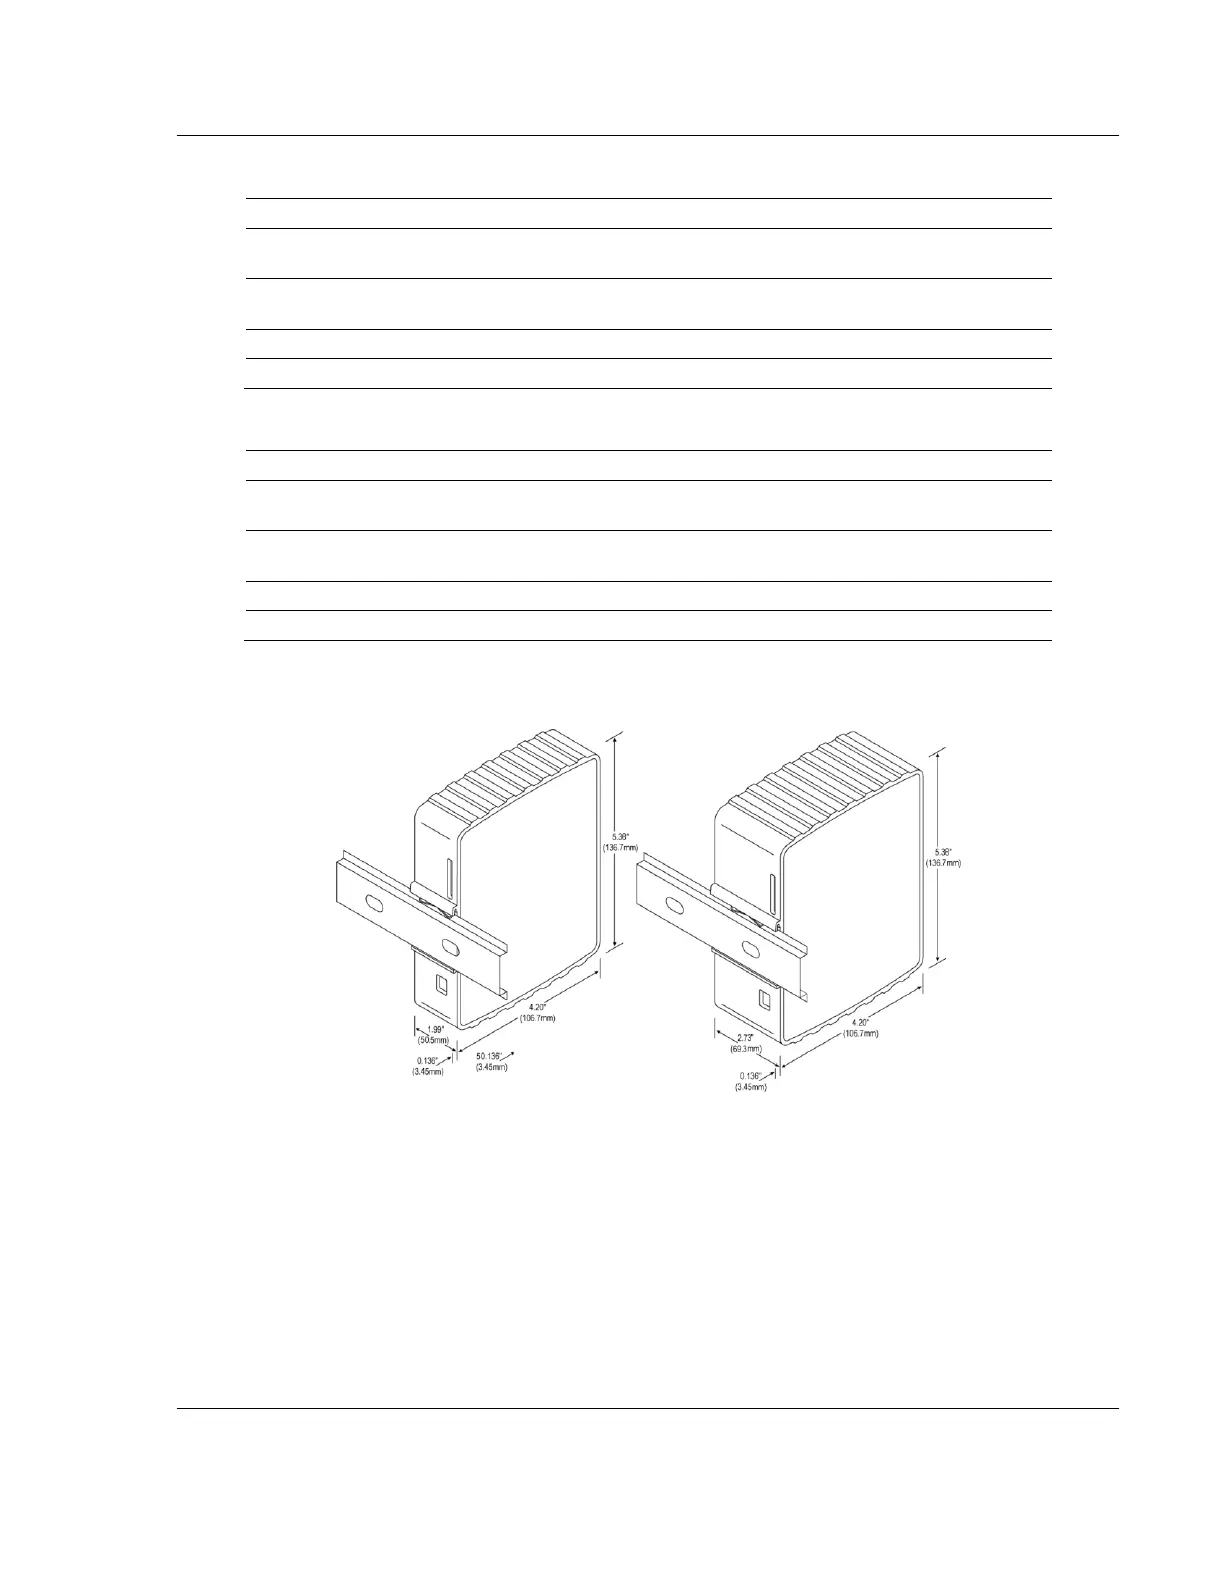
1.4 Mounting the Gateway on a DIN-rail
To mount the PLX3x gateway on a DIN-rail, follow these steps.
1 Position the gateway on the DIN-rail B at a slight angle.
2 Hook the lip on the rear of the adapter onto the top of the DIN-rail, and rotate
the adapter onto the rail.
3 Press the adapter down onto the DIN-rail until flush. The locking tab snaps
into position and lock the module to the DIN-rail.
4 If the adapter does not lock in place, use a screwdriver or similar device to
move the locking tab down while pressing the adapter flush onto the DIN-rail
and release the locking tab to lock the adapter in place. If necessary, push up
on the locking tab to lock.