The following preparations first need to be undertaken on the machine
before starting the first print job of the day:
– Checking the individual components for cleanliness
→ Chapter 7.6.1
– Inserting the build platform* → Chapter 7.6.1
– Inserting the knife drip guard and the knife* → Chapter 7.6.3
– Inserting the material reservoir* → Chapter 7.6.4
– Inserting the collection basket → Chapter 7.6.5
– Connecting the hose → Chapter 7.6.6
*The sequence for inserting the build platform, the knife (incl. knife drip guard) and the
material reservoir varies. We recommend using the following sequence described.
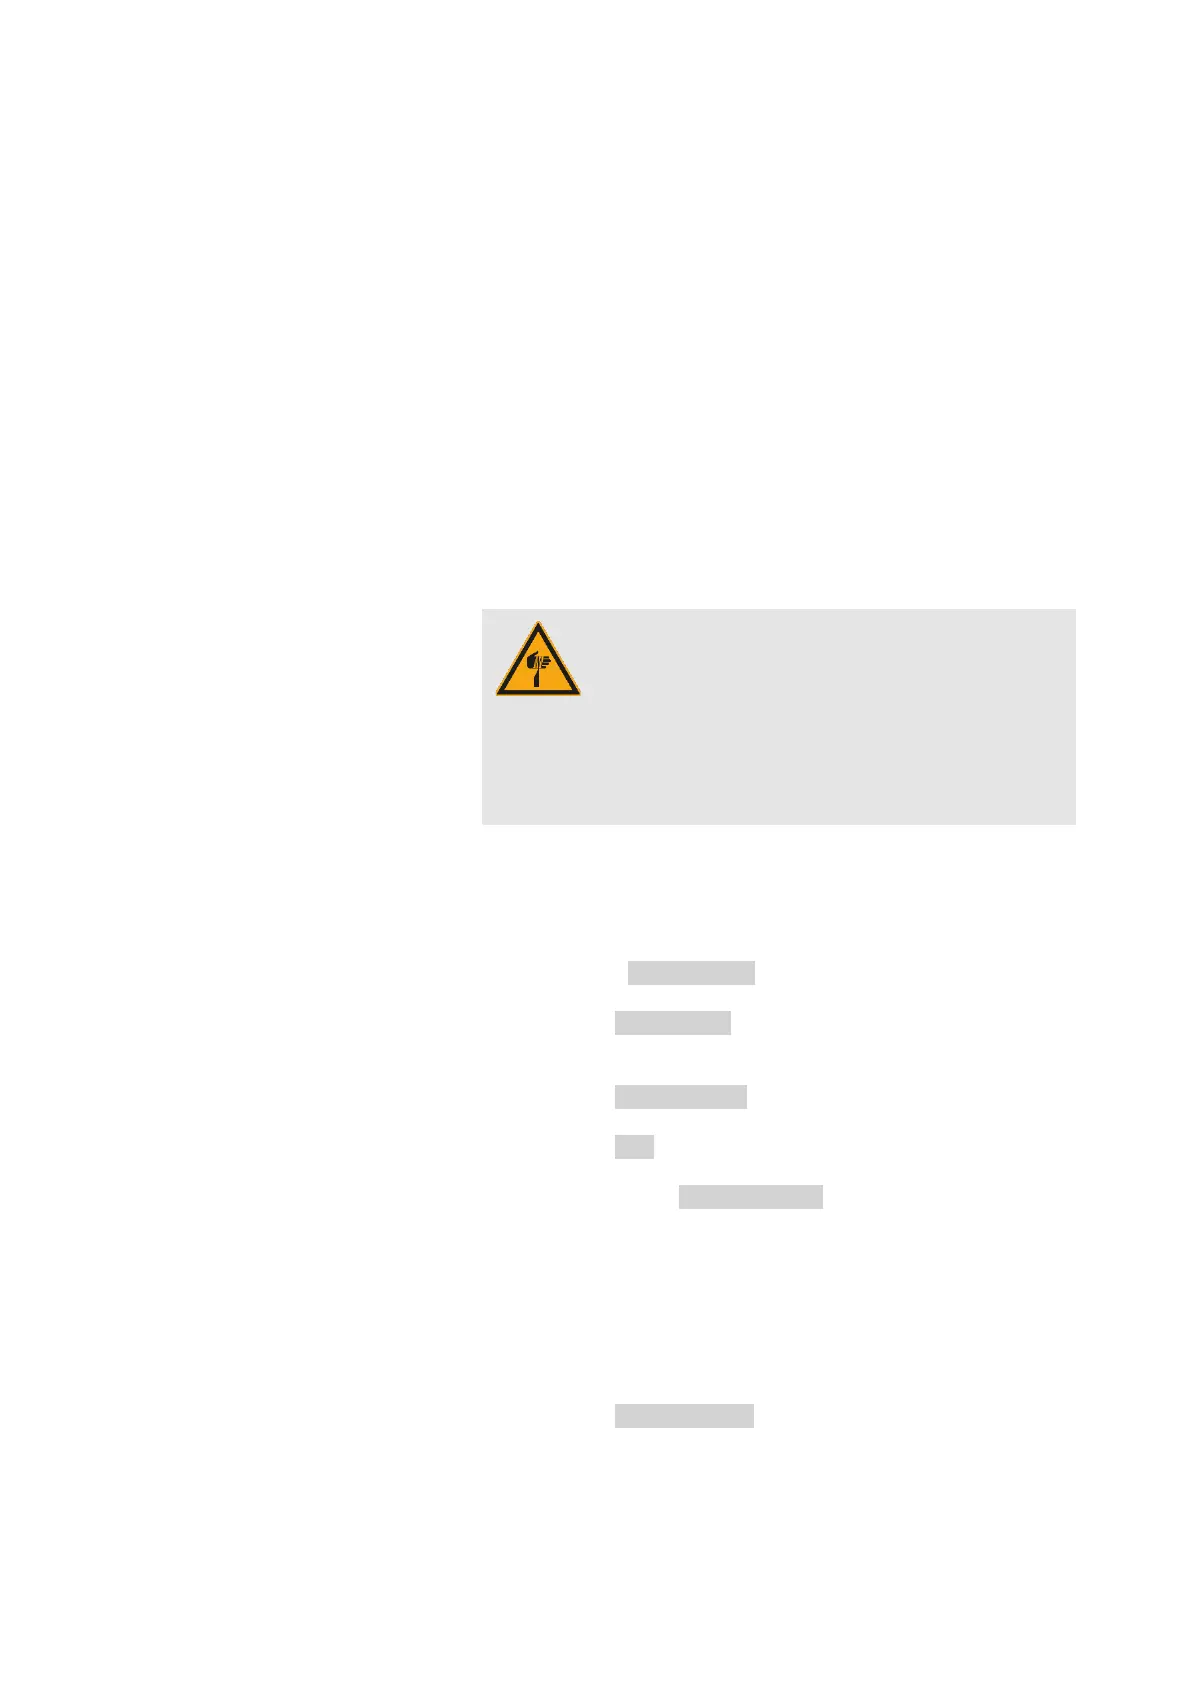
CA UTION !
Risk of injury due to sharp objects!
The knife on the separation unit has a sharp edge that
can cause slight hand injuries through direct contact.
– The edge should never be touched directly.
Only hold the knife by the knurled nuts and with
the blade away from your body.
Before inserting the build platform, drip guard, knife, material reservoir
and collection basket, make sure you check the individual components
and protective glass on the machine for cleanliness.
Proceed as follows to check the components for cleanliness:
1. Check the protective glass for cleanliness (e.g. streaks,
fingerprints) and clean it if necessary. → Chapter 10.1.1
2. Take the build platform in your hands and check it for material
residues. Clean the platform and the associated splash guard as
required. → Chapter 10.1.2
3. Take the knife drip guard in your hands and check it for material
residues. Clean the drip guard if required. → Chapter 10.1.4
4. Take the knife in your hands and check it for material residues.
Clean the knife if required. → Chapter 10.1.3
5. Check an empty material reservoir for all-around cleanliness as
well as fingerprints on the glass bottom (exterior). Clean the
reservoir if required. → Chapter 10.1.5
6. Check a full material reservoir for hardened material residues
(e.g. caused by failed print jobs) on the bottom of the reservoir
(interior). Use a soft silicone spatula (alternatively a paper card)
for this purpose, and carefully slide it over the bottom of the
reservoir. Remove residues using the automatic reservoir
cleaning function if required. → Chapter 10.1.11
7. Take the collection basket in your hands and check it for
cleanliness. Clean the basket if required. → Chapter 10.1.6