offered by Busse-Yachtshop.com
Chapter 3: System Tests and Alignment -43
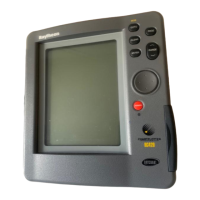
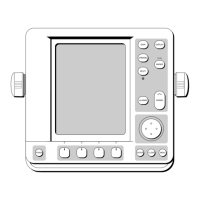
Display timing adjustment
To adjust the display timing:
1. Press
MENU. The Set Up menu is displayed.
2. Use the trackpad up /down to highlight RADAR SET UP.
3. Use trackpad right to display the RADAR SET UP menu.
4. Use the trackpad up/down to highlight RADAR ADVANCED SET UP.
5. Use the trackpad right to select this option. The advanced set up softkeys are
displayed, and the menu is removed from the screen.
6. Press the DISPLAY TIMING softkey.
7. Use the rotary control to adjust the line of the selected object until it is straight. If
you know the precise distance to the selected object from your boat, you can check
this against the numerical value shown above the softkey label.
8. Press
OK to accept the adjustment and return to the radar primary softkeys.
Heading data
Accurate heading data is required for accurate generation of MARPA and radar/chart
overlay functions. We recommend the use of a Raymarine Smartpilot S1, S2 or S3
course computer or smart heading sensor for obtaining this information.
3.3 Advanced Settings
The Advanced Set Up features allow you to set the values for the following parameters
that affect the fine tuning of your radar:
Note:
Under normal circumstances you will not need to adjust these settings, as they
are set automatically at the factory. If these parameters are set incorrectly
the performance of the radar will be adversely affected.
Adjusting the settings
You can adjust the advanced settings as follows:
1. Press MENU. The Set Up menu is displayed.
2. Use the trackpad up/down to highlight RADAR SET UP.
Parameters Function Control range
Display timing Corrects for display range error
STC preset Equalizes target levels across display
Tune preset Allows adjustment of the tuning range
controlled by the TUNE control

 Loading...