Punch Unit (B702)
G179 1-24 SM
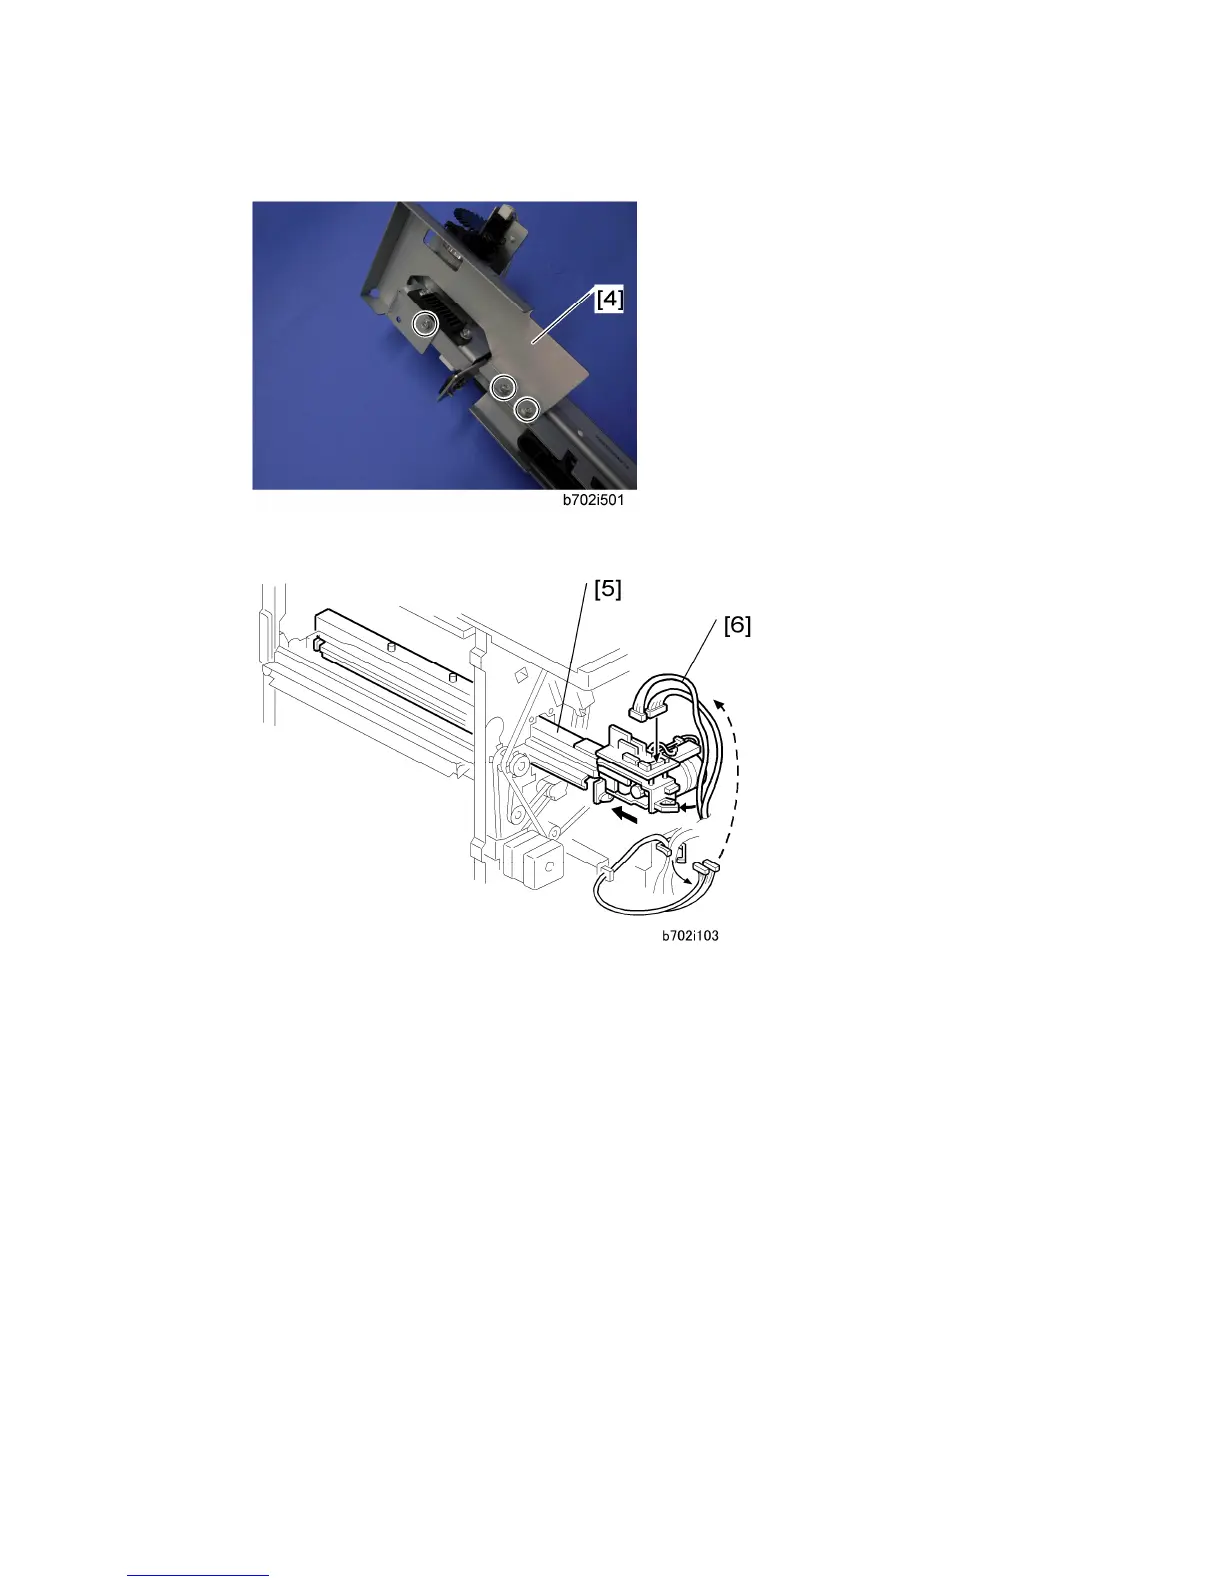
4. Remove the bracket [4] from the punch unit ( x 3).
5. Move the punch unit [5] along its rails into the finisher. Make sure that the pin engages
correctly at the front and rear.
6. Connect the cables [6] of the finisher to the connectors (CN601 and CN602) on the
punch unit board ( x 2, = x 1).
The cables [6] are coiled and attached to the PCB.

 Loading...


