EN 165Set up the printer for wireless communication
NOTE
: Before you proceed, go through the list at Before you begin.
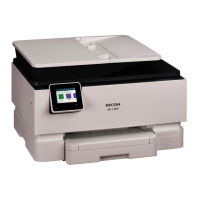
1. From the printer control panel, touch or swipe down the tab
at the top of the screen to open
the Dashboard, and then touch (Wireless).
2. Touch
(Settings).
3. Touch Wireless Settings.
4. Touch Wireless Setup Wizard or Wi-Fi Protected Setup.
5. Follow the display instructions to complete the setup.
If you are already using the printer with a different type of connection, such as a USB connection, follow the
instructions in Change the connection type to set up the printer on your wireless network.
Change the connection type
After you have installed the Ricoh Printer Assistant software and connected the printer to your computer or to
a network, you can use the software to change the connection type (for example, from a USB connection to a
wireless connection).
NOTE
: Connecting an Ethernet cable turns off the wireless capability of the printer.
To change from an Ethernet connection to a wireless connection (Windows)
1. Remove the Ethernet cable from the printer.
2. Run the Wireless Setup Wizard to make the wireless connection. For more information, see Set up the
printer on your wireless network.
To change from a USB connection to a wireless network (Windows)
Before you proceed, go through the list at Before you begin.
1. Open the Ricoh Printer Assistant software. For more information, see Open the Ricoh Printer Assistant
software (Windows).
2. Click Tools.
3. Click Device Setup & Software.
4. Select Convert a USB connected printer to wireless. Follow the onscreen instructions.
To change from a wireless connection to a USB or Ethernet connection (Windows)
• Connect the USB or Ethernet cable to the printer.
 Loading...
