AX10 Palletizing Solution
The selected box thus becomes the active box.
Any box added afterwards will feature a red color, meaning it overlaps a box.
Using the arrows on the screen, the user can move it around so that it does not overlap other boxes, and ultimately place
it where it belongs on the pallet.
NOTICE
If the Set label orientation option has been selected in the Box menu, the boxes placed on the virtual
pallet will each display an arrow pointing at the side of the box on which the label is affixed.
Fig. 5-25: Pattern Menu With Boxes Showing Label Orientation
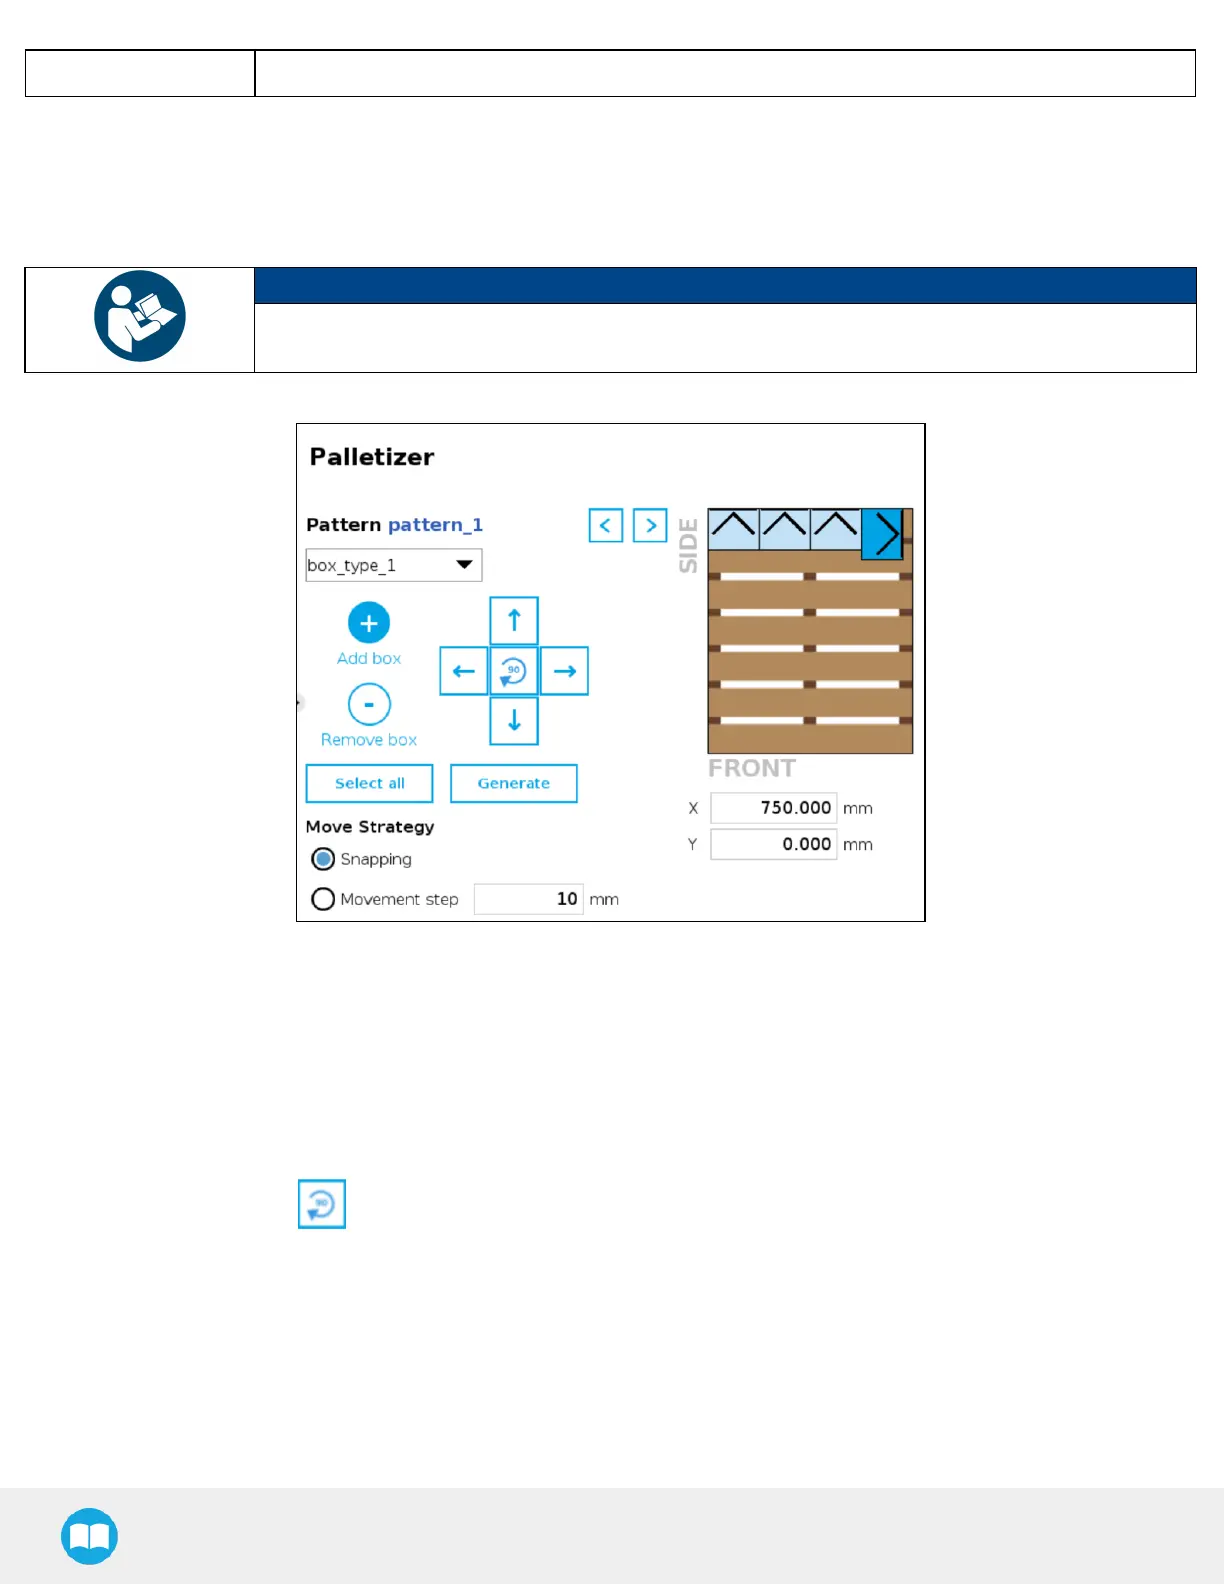
5. Remove box
Tap the minus (-) button to remove the active box.
6. On-Screen movement pad
Tap the directional button that corresponds to the direction in which the box needs to move (up, down, left, right).
Use the middle button to turn the active box 90 degrees clockwise.
7. Select all
Tap the Select all button to highlight all the boxes placed on the virtual pallet.
The user can then move the box group altogether using the on-screen movement pad or clear the layer by tapping the
minus (-) button.
8. Generate