AX10 Palletizing Solution
Fig. 6-8: Linear Axis Controller Connections
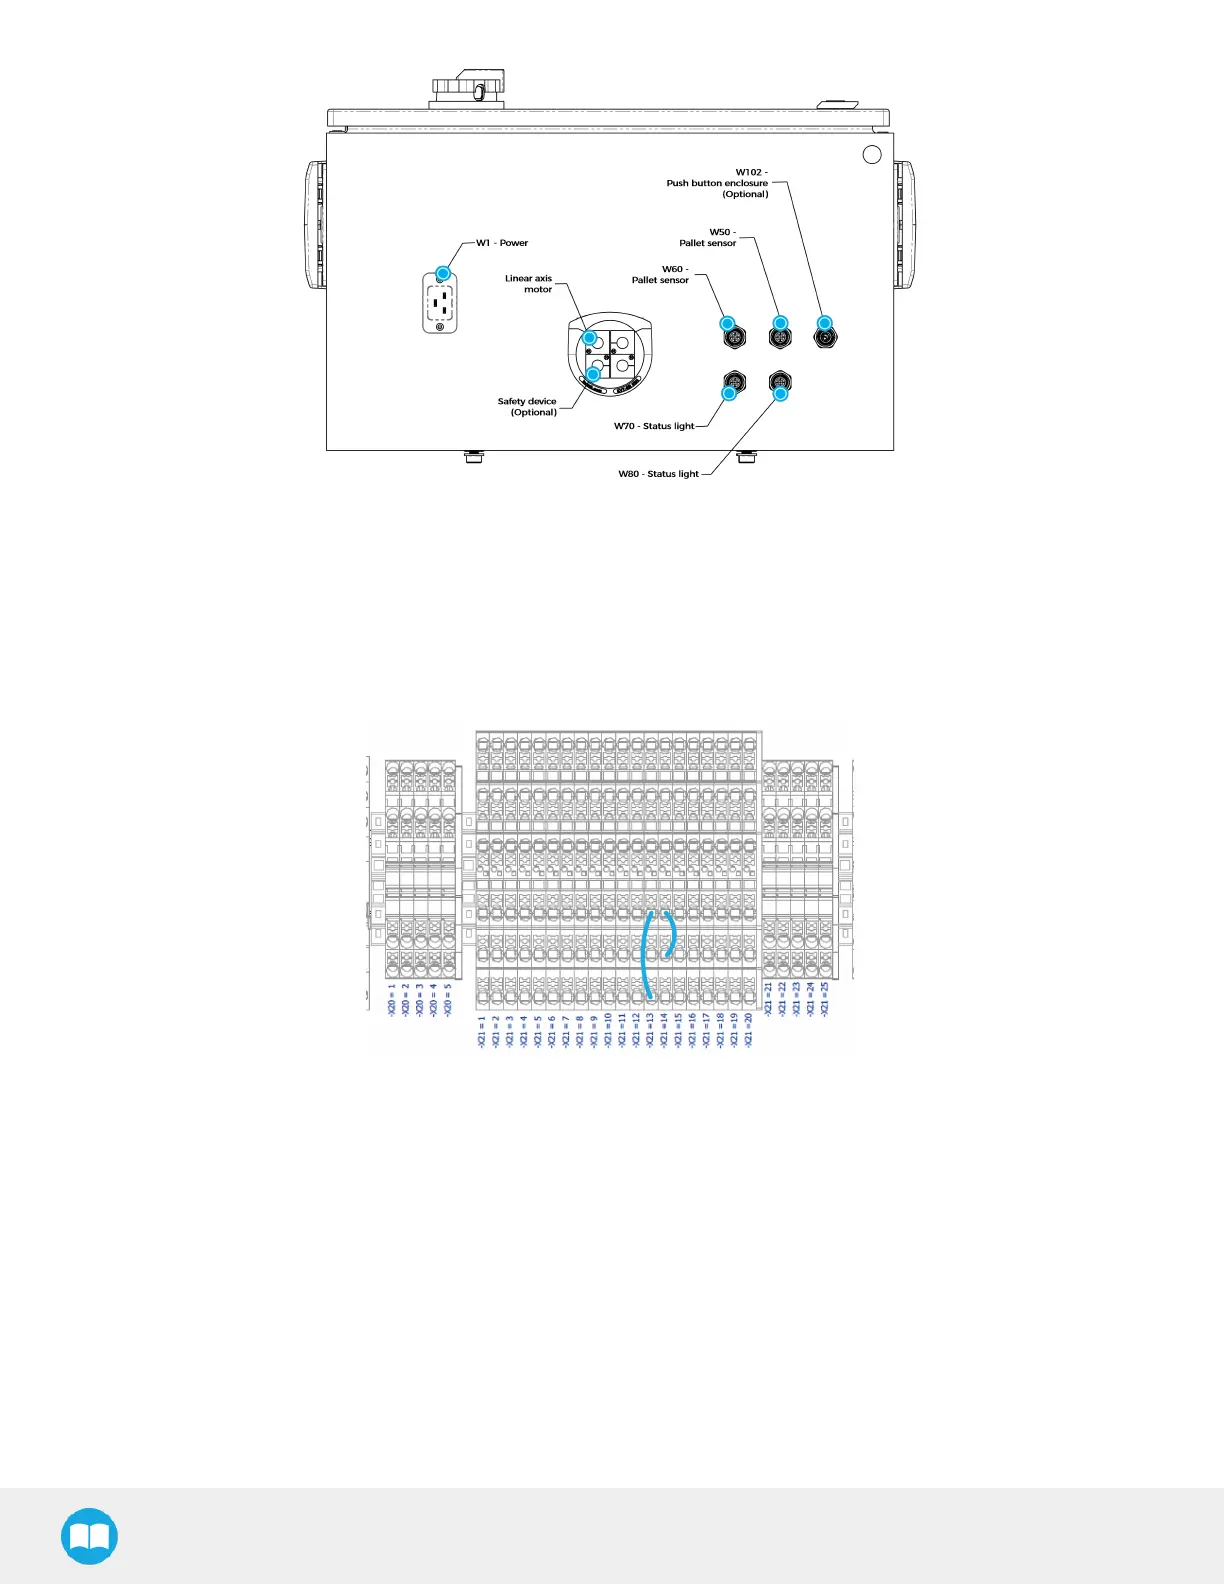
3. On terminal bank -X21, locate the two (2) jumpers that correspond to the safety feature to implement.
a. In this example, the first jumper goes from -X21.13.1 to -X21.13.3. The 13
th
terminal block (IN13) is allocated to
Safety Option 1 (1).
b. In this example, the second jumper goes from -X21.14.2 to -X21.14.3. The 14
th
terminal block (IN14) is allocated to
Safety Option 1 (2).
Fig. 6-9: Example of Jumpers Connections
4. Remove the first jumper (-X21.13.1 to -X21.13.3).
5. Connect the ends of the first pair of wires (contact #1), each to a contact point, i.e., where one end of the jumper was initially
located (-X21.13.1 and -X21.13.3).
6. Remove the second jumper (-X21.14.2 to -X21.14.3).
7. Connect the ends of the second pair of wires (contact #2), each to a contact point, i.e., where one end of the jumper was
initially located (-X21.14.2 to -X21.14.3). The result should look like the figure below.