AX10 Palletizing Solution
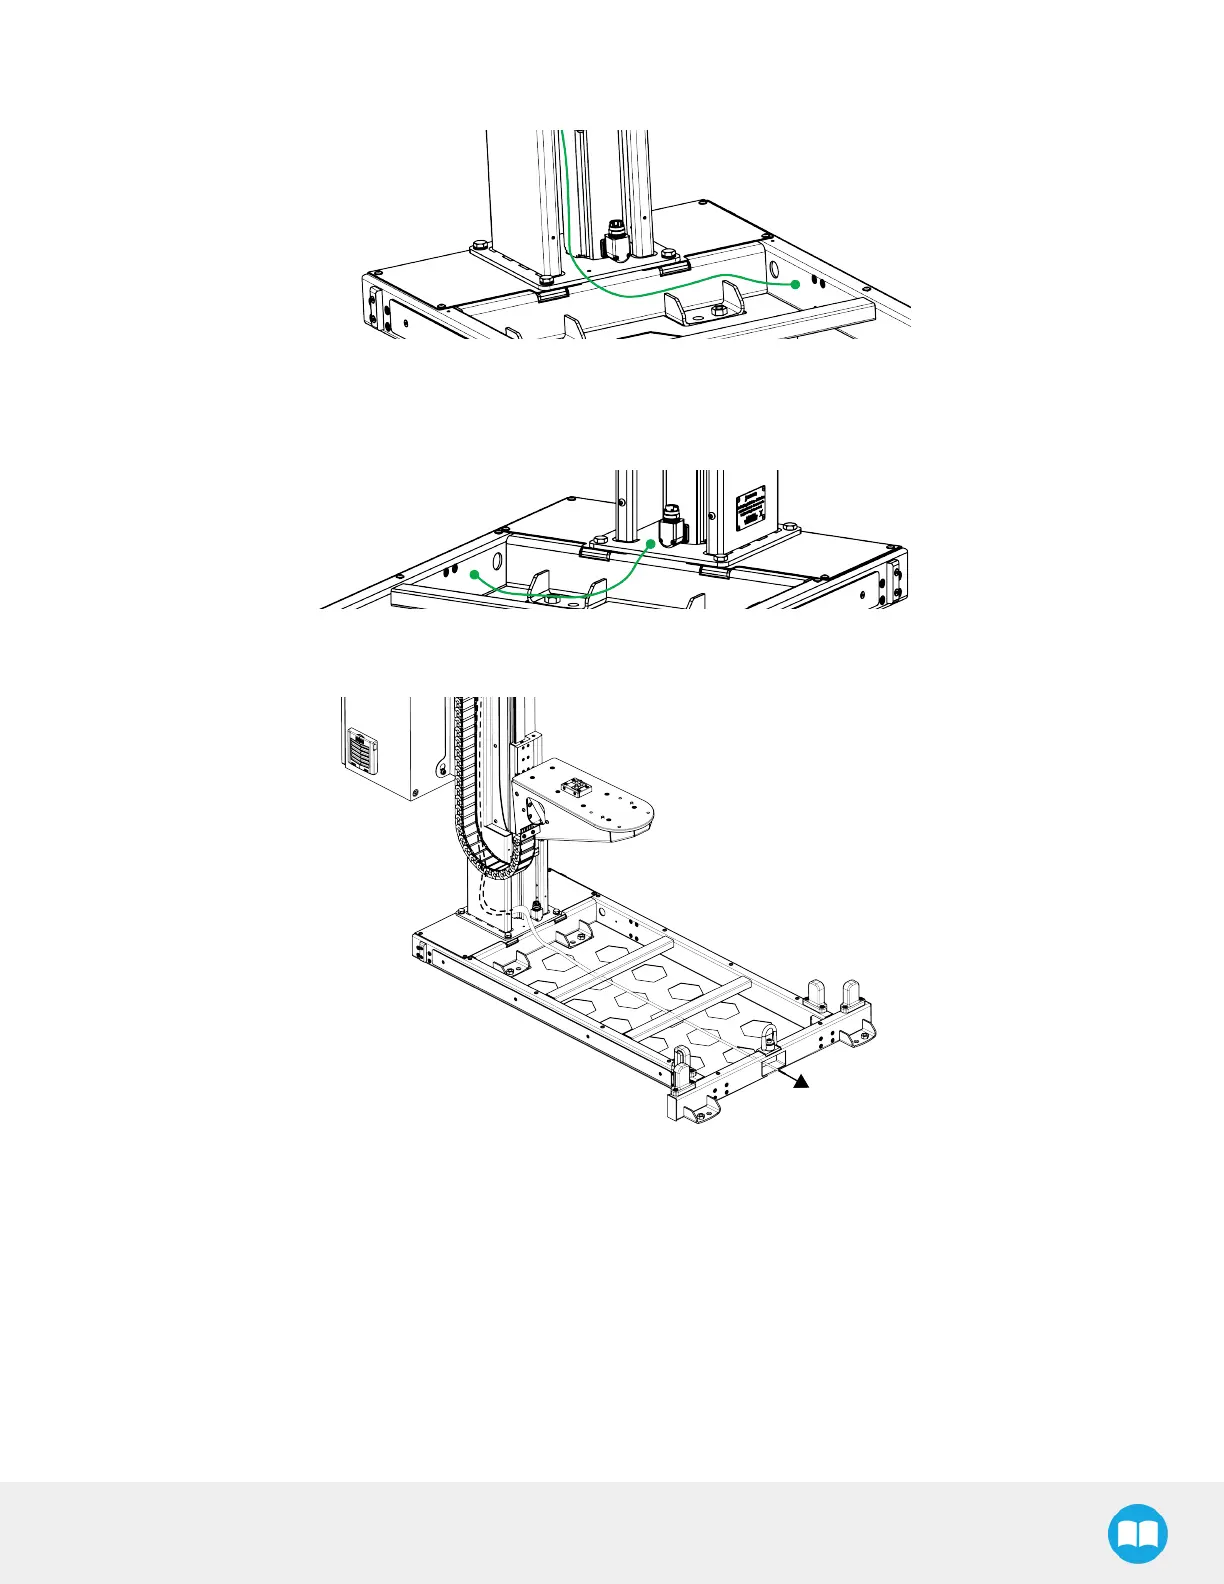
6. Secure the grounding cable of the linear axis controller to a tapped hole on the interior walls of the base using the provided
M6 screw and two (2) tooth lock washers.
7. Take the loose end of the grounding (green) cable pre-installed in the base and bring to the foot of the column.
8. Secure the grounding cable of the base to the tapped hole on the foot of the column using the provided M6 screw and two
(2) tooth lock washers.
9. Take the 12 mm pneumatic tubing and the box sensor cable rolled inside the column, next to the linear axis motor, and
route them out of the base, through the rectangular hole.
10. Remove the pneumatic plug from the end of the pneumatic tubing and connect it to the existing compressed air lines using
a pneumatic fitting for 12 mm tubing (not included). Do not pressurize the Solution yet.
11. Secure the pneumatic tubing to prevent whipping hazards.
45