AX10 Palletizing Solution
8. Tighten the four (4) screws to secure the columnpedestal to the base. The torque required is 50 Nm.
9. On the teach pendant, confirm that the X value of the current position is 333.35 mm and the wrist is still in contact with the
side of the base.
10. Put the robot back in position of use.
Vacuum Gripper Installation
Generic Gripper Installation
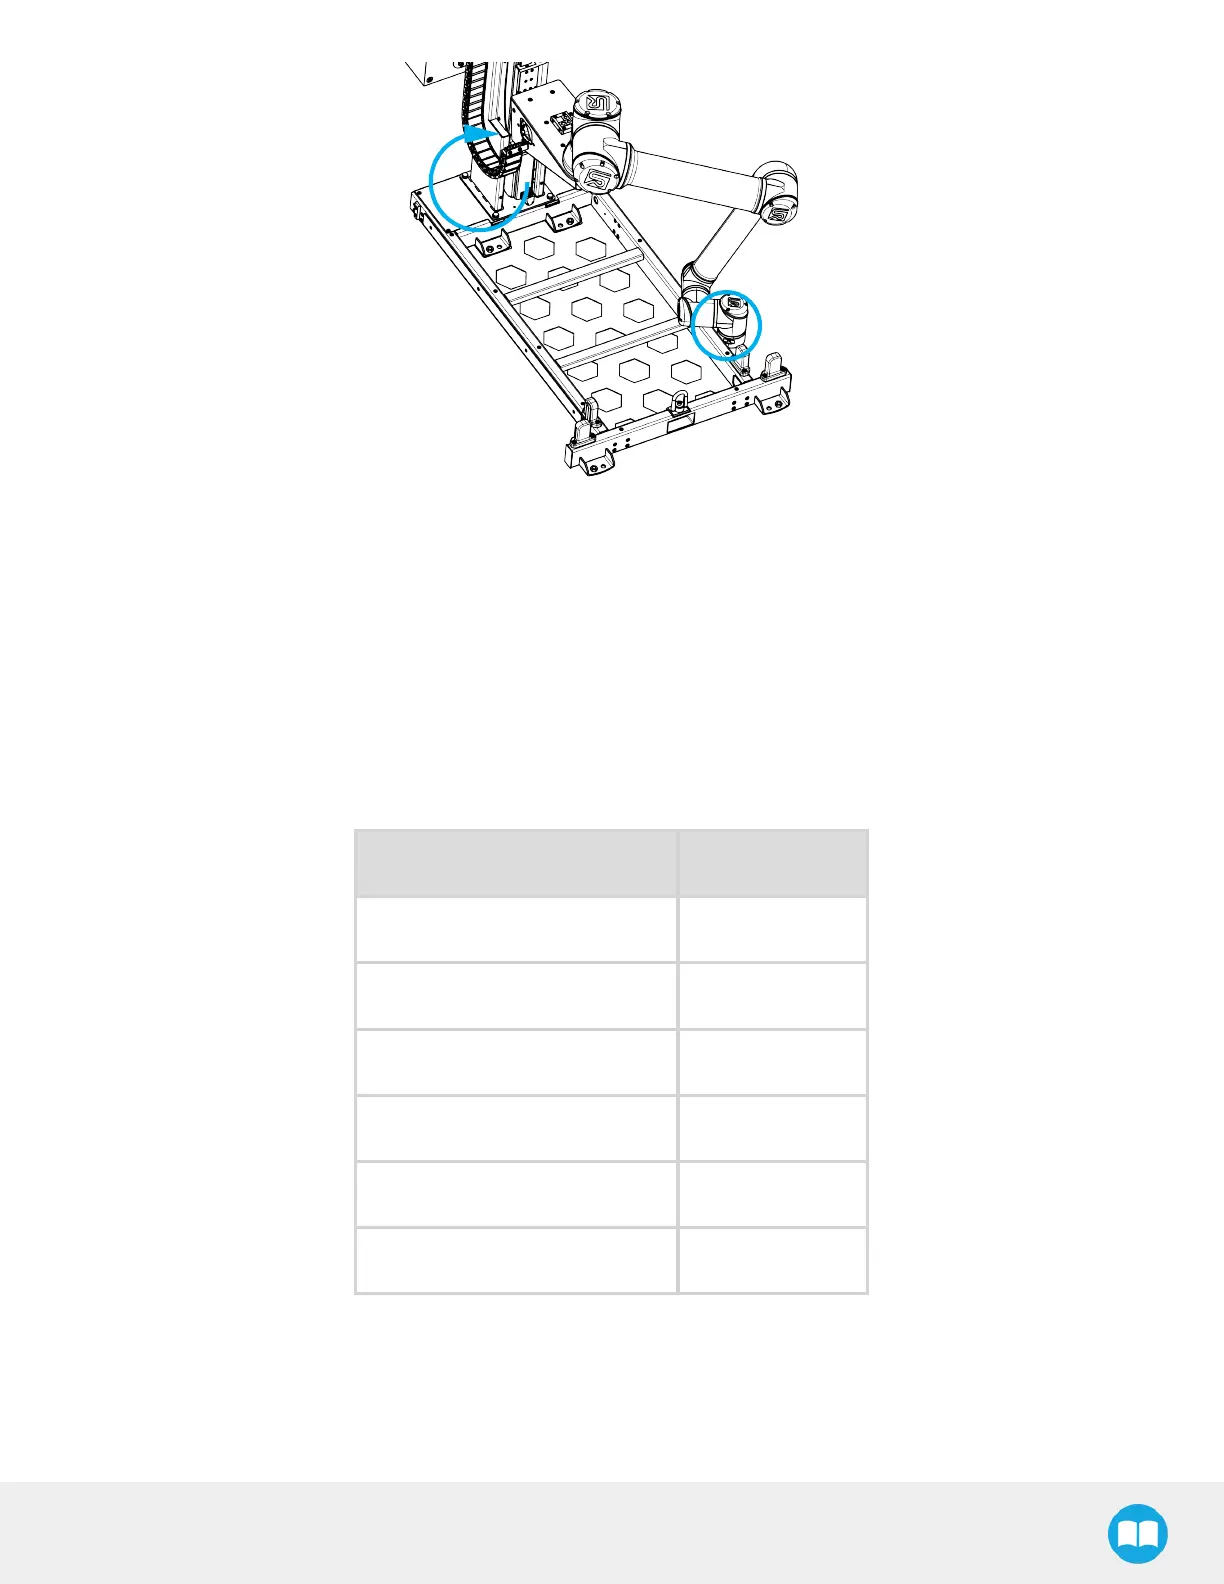
To streamline the installation of grippers and accessories, power on the robot and rotate the joints as described in the table
below, then power off the robot.
Joint Position
Base 0°
Shoulder -155°
Elbow -60°
Wrist 1 -80°
Wrist 2 -90°
Wrist 3 90°
If the scope of delivery of the AX10 Palletizing Solution does not include the PowerPick10 Vacuum Gripper, use the following parts
to mount another generic gripper on the Palletizing Solution.
49