AX10 Palletizing Solution
l
Connect both 10 mm pneumatic tubes to the fittings labeled P1- and P2- on top of the PowerPick10 Vacuum
Generation Unit.
l
Push the air tubes until fully seated.
l
Tuck any excess tubing and cable inside the carriage or inside the column.
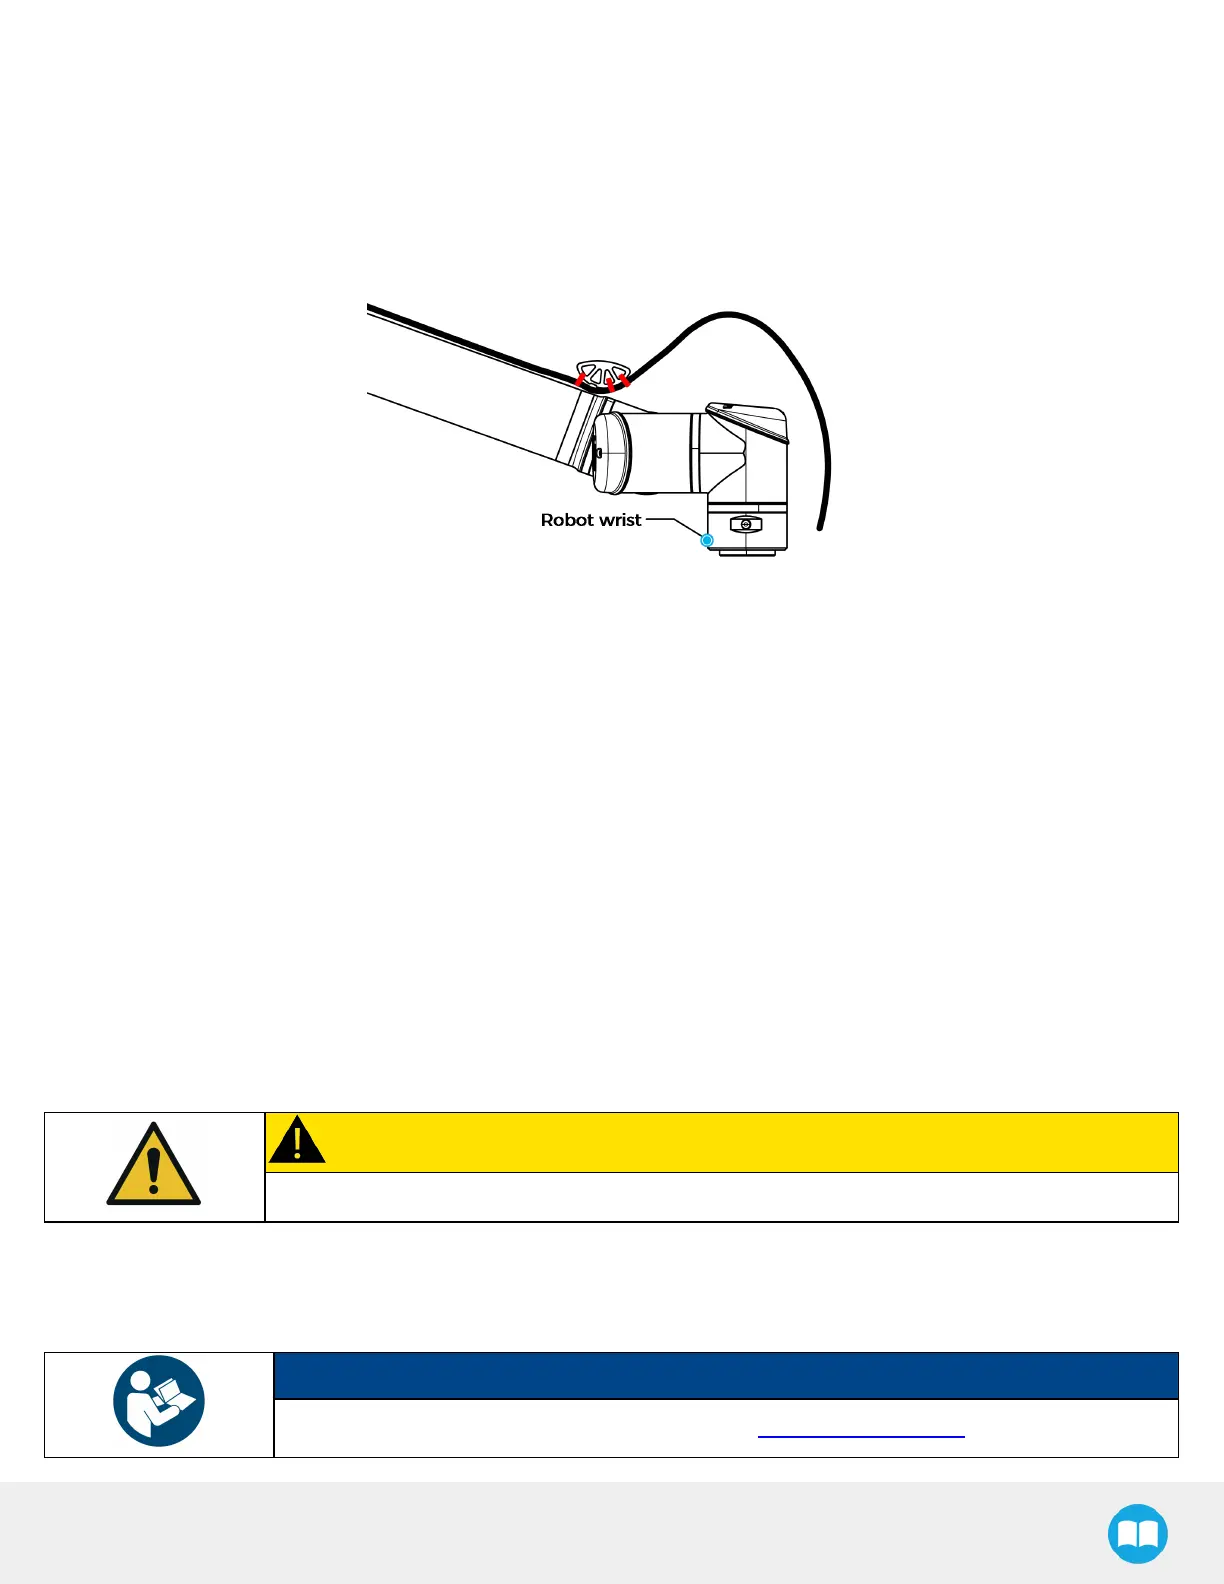
5. Tubing Curler Installation
l
Place the tubing curler on top of the tubing, as depicted in the figure above.
l
Align the tubing curler’s notch with the cable tie attached to the cable clip (#1) (the longer section of the tube curler
should point towards the wrist of the robot).
l
Use the three provided cable ties (red component in the figure above) to secure the tubing to the tubing curler, and
make the tubing follow the arch of the tubing curler.
6. Finalization
l
Verify that the tubing travels along each straight section of the robot.
l
Rotate the tubes to remove twists in the tubing, if any.
l
Verify each hook and loop fastener and tighten them until the cable clips cannot move when being pulled or pushed.
l
Cut the excess length from the hook and loop fasteners.
l
Verify that the robot cable and air tubes sit on the bottom of the cable carrier through its entire length.
l
Verify each cable tie on the cable carrier and on the robot, and tighten them to prevent the tubing or cable from sliding.
CAUTION
Make sure not to crush the cables with the cable ties.
l
Cut the excess length from all cable ties.
l
Close all the lids of the cable carrier, starting with the lid that is closest to the opening on the column.
NOTICE
Please refer to the installation instructions of the igus E2 energy chain system for more details.
57