AX10 Palletizing Solution
3. Secure each connection using a 2 mm flat head screwdriver (not provided).
NOTICE
Follow good cable management practices.
Use the plate under the control box, and use a grommet if needed (not included).
4. Install each box sensor on a bracket using the provided screws.
5. Position each box sensor bracket so it can detect the box to be picked.
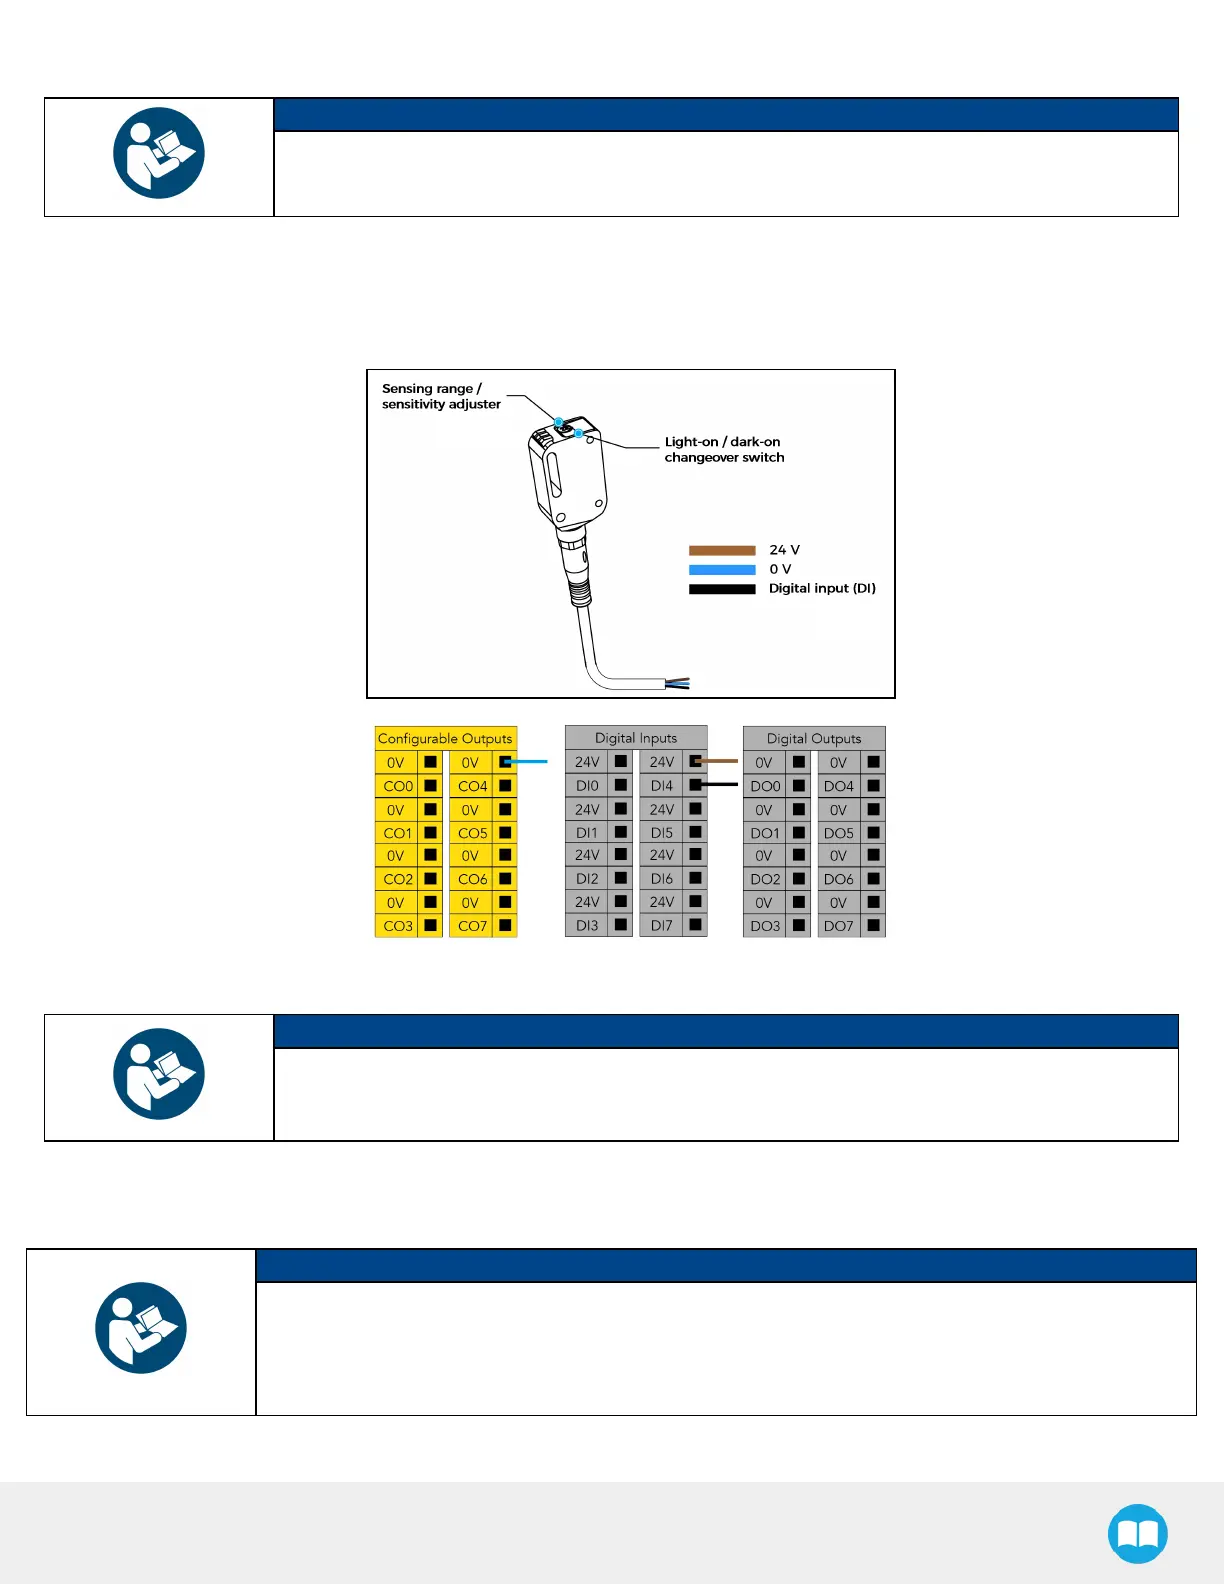
6. Connect each box sensor's M8 connector cable to the corresponding sensor.
7. Once the system is running, adjust the detection distance of each box sensor using the sensitivity adjuster.
NOTICE
In order for the sensor to provide a high state when detecting a box, set the sensor to the light-on
switching mode (green light beside “L”). To do so, press the light-on / dark-on changeover switch
and hold for one to four seconds.
Box Sensor (Multiple Box Types - Multi-Pick Feature)
NOTICE
The example below presents a configuration with two box types and two box sensors. Should the user
need to pick more than two boxes, add a sensor for each additional box type to be picked.
The scope of delivery includes one (1) box sensor. Additional sensors can be ordered; refer to the Spare
Parts, Kits and Accessories section for more information.
59