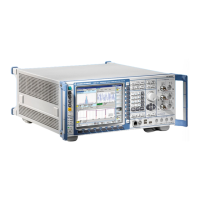
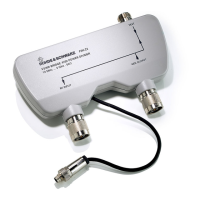
R&S PB Installation Instructions CMU-B12 OCXO REF.OSC. Bi/1CMK 22.02.99 1100.5180.00 01.00
page 5 of 5
4 Functional Test of Option CMU-B12
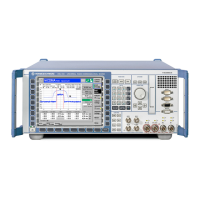
½ Connect Unit to AC Supply and switch on.
Test of Option Detection
½ Press SETUP hardkey SYSTEM panel.
½ Press OPTIONS softkey located on the row of keys at bottom of display.
--> Check whether option CMU-B12 is indicated and activated.
Test of Frequency Accuracy
Preparation:
The measurement can be carried out the connector REFOUT1 (rear of CMU) at 10 MHz or at the connector RF3OUT
(front panel) at 1GHz with a frequency counter
½ Set the generator to 1 GHz and 13 dBm with no modulation for measurement at connector RF3 OUT in the RF
menu.
For this setting, CMU must be switched to its internal reference source. This is to be selected in the Sync. menu
depending on the application.
Note: For fast setting, the measurement at 1GHz can be made with reduced resolution (1Hz)
Measurement:
(Carry out the following adjustment only if required)
½ Adjust reading on frequency counter to:
10.000 000 00 MHz –0.1/+0.05 Hz (at REFOUT1) or
1.000 000 000 GHz –10 Hz/+5 Hz (at RF3OUT)
with the aid of potentiometer R5 on module OCXO REFERENCE OSC. (a tolerance of –2 to –5 Hz is required due
to ageing).
Note: CMU must be on for at least 10 minutes for the OCXO to warm up.
During the adjustment the CMU must be operated in a horizontal position.
 Loading...
