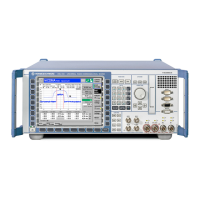
Manual Adjustment CMU
1100.4903.82 2.2 E-4
Preparing the Instrument
Opening the casing:
Note:
½ Remove the power plug on the CMU and place the CMU onto the
front handles.
½ Loosen the four Phillips screws at the four rear-panel feet and
take off the feet.
½ Pull off the instrument tube towards the top.
½ Locate the adjustment devices (see chapter 5, drawing
1100.0008.01 D page 3).
½ After performing the manual adjustment, close the casing again
in the reverse order.
If only the Option OCXO REFERENCE OSC. CMU-B11/B12 is to be
adjusted, it is not necessary to open the complete tube of the CMU.
The adjustment can be made from outside through the ventilation
holes using a small screwdriver (see chapter 5, drawing
1100.0008.01 D page 3).
Adjusting the + 5 VDC Reference Voltage
Preparation: ½ Connect the DC voltmeter test cable to the SMB plug X221 (see
chapter 5, drawing 1100.1027.01 page 1) on the motherboard.
½ Switch on the CMU and allow it to warm up for approx. 5 minutes.
Adjustment: ½ Use potentiometer R120 on the REFERENCE BOARD to adjust
the measured value at the DC voltmeter to + 5.000 V ± 1 mV.
 Loading...
