MODULE Replacement CMU
1100.4903.82 3.34 E-4
Replacing the Labeling Panel on the FRONT MODULE
(see chapter 5, spare part list, Current No. 260 and explosion drawing 1100.0008.01 D sheet 2)
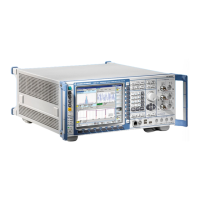
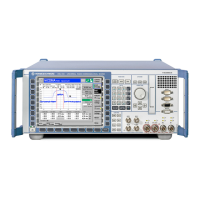
The labeling panel is the outer front panel which carries the labeling of all the parts on the front side of
the CMU. For replacement proceed as follows:
Removing the old labeling panel
½ Switch off the instrument and pull the mains plug.
½ Unscrew the four screws of the front handles at the instrument frame on both sides and take off the
front handles.
½ Unscrew a countersunk screw (if present) at the front on the labeling panel next to the spinwheel and
pull off the labeling panel towards the front.
Installing the new labeling panel and completing the instrument
½ Install the new labeling panel and tighten all screws.
½ Complete the instrument.
Putting into operation
½ Connect the instrument to the mains and switch on.
The built-in FRONT MODULE CONTROLLER registers on the LCD and starts the operating software.
 Loading...
