R&S PB Install. Instruction CMU-U61 FLOPPY DISKDRIVE Bi/1CMK 06.05.99 1100.5568.00 02.00
page 3 of 9
1.4 Undo four screws from front handles and take off handles.
1.5 Undo the countersunk screw (if any) at the front on the labelling panel next to the rollkey and pull
panel to the front.
1.6 Undo two countersunk screws each from the top and bottom frame at the front as well as two
countersunk screws above the AUX1/2 BNC connector at the front.
1.7 Undo screw and nut assembly at the top on holding bracket for PCMCIA Interface.
1.8 Having taken out the two countersunk screws at top left frame, slightly raise top cover, then push
it somewhat to the right and finally remove cover towards the top.
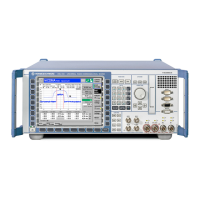
1.9 Push the front module to the front by slightly exerting pressure at the back (Fig. 2).
Caution: Beware of the connecting cables for the PCMCIA Interface which are still connected to
motherboard 1.
1.10 After withdrawing the front module, unplug the three connecting cables of PCMCIA Interface from
the motherboard.
1.11 Take out the front module completely from the CMU.
1.12 Undo two countersunk screws of PCMCIA Interface on the right side of the mounting plate and
push the module to the front side.
 Loading...
