EbV Product documentation THETA NORM/UNIT
12-4
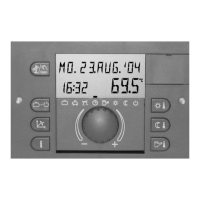
12.2.2 Electrical installation
The electrical installation is done at the back side of the boiler control panel via the
plugged-in connection terminals corresponding to the identification on the coloured-
marked connection pads.
Caution: Low voltage connecting terminals:
All blue marked connecting terminals work with safety low voltage and must not get
into contact with the mains voltage.
At non-observance the instrument will definitely be destroyed and the warranty is no
longer valid!
Caution: Mains voltage connecting terminals:
Red marked connecting terminals principally may work with mains voltage according
to the current operation conditions.
NOTE! Cables with mains voltage must be installed separate from low voltage cables (data
bus, sensors etc.). It is strictly prohibited to use one cable for both voltages. Sensor
cables and data bus cables may not be installed together with mains voltage cables
supplying electrical appliance which are not suppressed according to EN 60555-2.
230 V~
230 V~