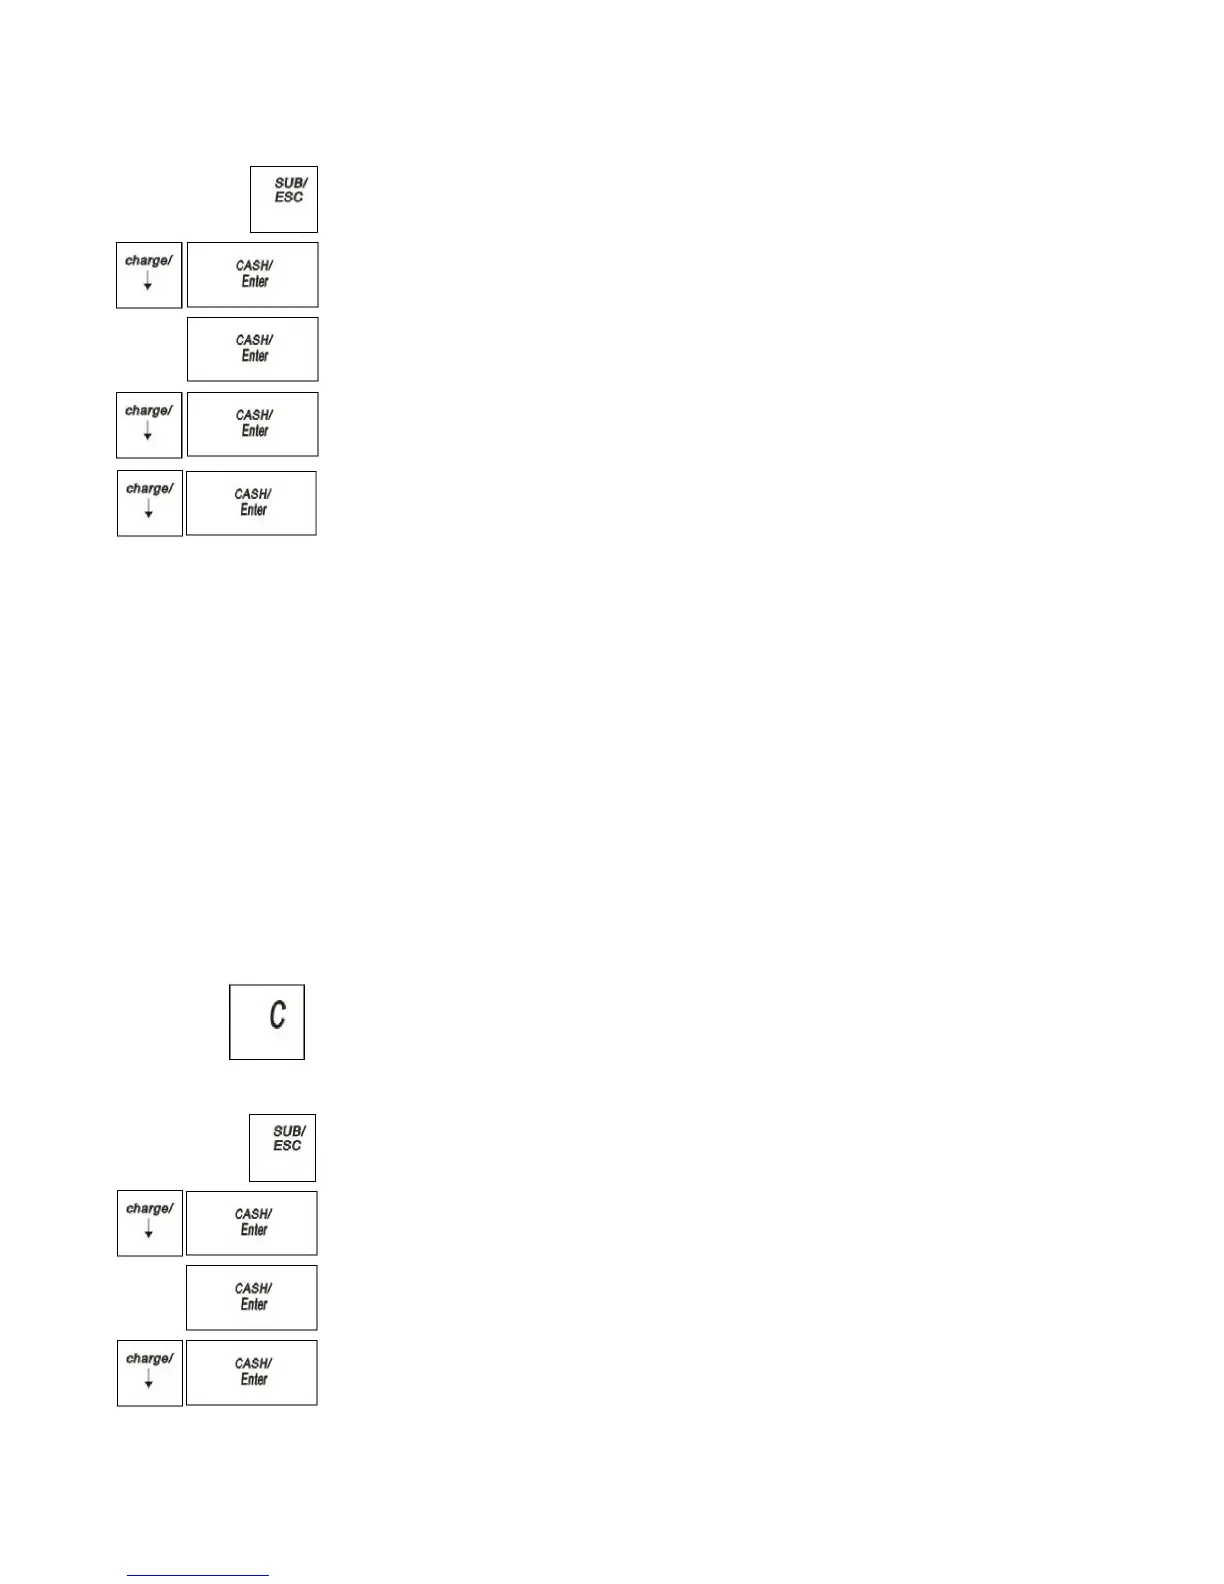
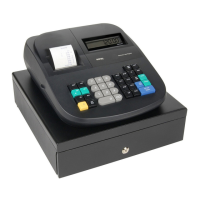
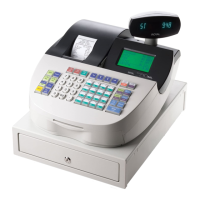
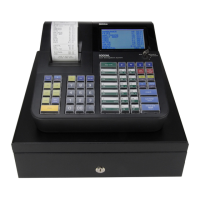
1 Press the SUB/ESC key.
2 Press the Arrow Down key to select PROGRAM SETTING. Press the
CASH/Enter key.
3 If you are prompted for a Manager Password, type the Password number and then
press the CASH/Enter key. If you did not program a Manager Password, go to
the next step.
4 Press the Arrow Down key to select RECEIPT SETTING. Press the
CASH/Enter key.
5 Press the Arrow Down key to select Print Parameters. Press the
CASH/Enter key.
6 Press the Arrow Down key and CASH/Enter to .choose whether to print
Setting Clerk Numbers and Names
You can program and assign up to 20 Clerk Names Each clerk name can also be
assigned a 12 character.
To see the sales totals for each clerk, a Clerk Report is available in both the X and
Z modes.
You can spell names by using alpha keys.
You must turn on Clerk passwords separately.
Note
When clerks enter Passwords, Passwords appear as asterisks *** on
the displays for extra security.
Important
If you enter the wrong character, press the C key to clear the character.
Now you can continue.
To set a clerk name and Password
PROGRAM SETTING CLERK SETTING
1 Press the SUB/ESC key.
2 Press the Arrow Down key to select PROGRAM SETTING. Press the
CASH/Enter key.
3 If you are prompted for a Manager Password, type the Password number and then
press the CASH/Enter key. If you did not program a Manager Password, go to
the next step.
4 Press the Arrow Down key to select CLERK SETTING. Press the
CASH/Enter key.
5 Press the Arrow Down key to select one clerk to set. Press the CASH/Enter
key.


 To Next Page