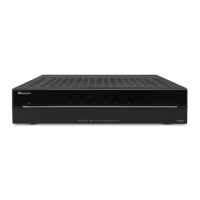
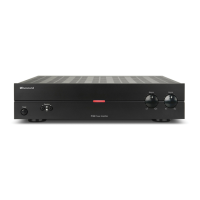
MCA-C3 Test Procedure
Page 36 of 77
110V AC Test
1. Make certain the 220V AC is not plugged into the MCA-C3.
2. No AC Cords should be plugged into the MCA-C3 at this time.
3. Set the AC100V~/AC240V~ switch to AC100V~ on the MCA-C3.
4. Connect 110V AC to the MCA-C3.
5. Set the Controller ID Switch of the MCA-C3 to Position 1.
6. Turn on the MCA-C3.
7. Observe the Front Panel LED’s of the MCA-C3.
a) Each Zone LED will illuminate solid until all Zone LED’s illuminate.
b) Then all LED’s will go dark. This is the MCA-C3 Booting up.
8. All MDK-C3 keypads momentarily illuminate displaying Controller
Detected information and then go dark. The MCA-C3 is ready to be tested.
9. All tests are made using 110V AC until the test procedure is completed.
10. Continue by performing the “Ethernet LED
” section.
 Loading...