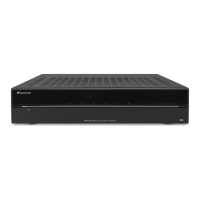
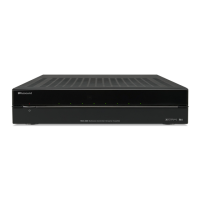
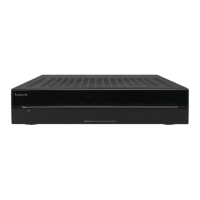
MCA-C3 Test Procedure
Page 11 of 77
Install RVCLI Scripter
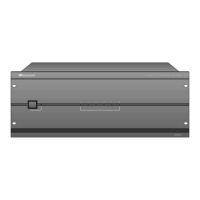
1. Plug a USB A-to-B cable from your IBM PC to the USB Port in the front panel
of the MCA-C3 Controller.
Note: The USB port is available when the MCA-C3 the cable is connected.
2. Turn on the MCA-C3.
3. Obtain the file RVCLIscripter_setup.exe from Russound.
4. Install RVCLIscripter_setup.exe on your computer.
5. Create a folder named RVCLI Scripts.
6. Place the current MCA-C3 v*.xml file in the RVCLI Scripts folder.
7. Close the RVCLI Scripts folder.
8. Open RVCLIScripter when installation is complete.
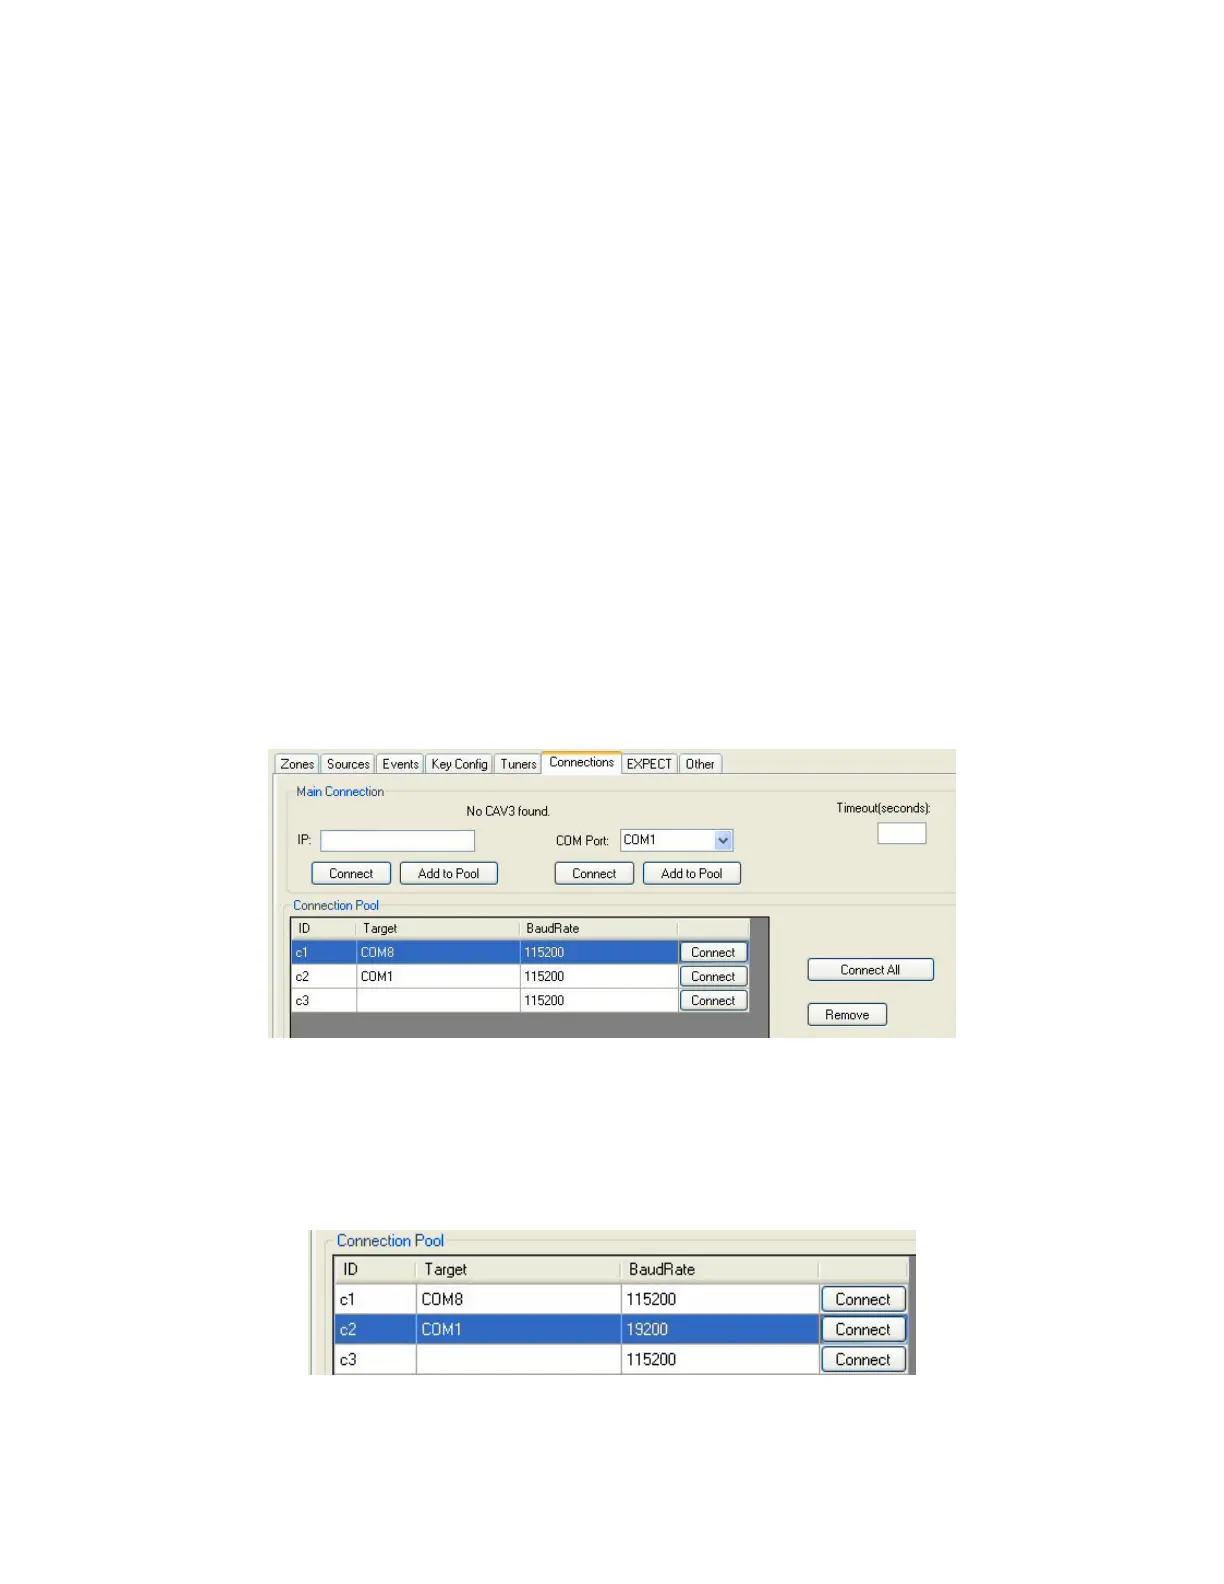
9. Click the “Connections” tab in the lower half of RVCLIScripter.
10. In the “Connection Pool” section click the button next to the “Com Port:”
window and select the Com Port the USB cable connects to then click the
“Add to Pool” button below the “Add to Pool” button below the COM Port:
window. Again click the button next to the “Com Port:” window and
select the Com Port the serial cable connects to then click the “Add to Pool”
button below the COM Port: window.
In the “Connection Pool” section below the “IP:” window click “Add to Pool”.
Note: The USB Com Port may be different for each PC used for testing.
The second Com Port should always be Com1 for each PC used.
11. The c1, c2, and c3 columns must be in this order for all test scripts to connect
and properly test the MCA-C3.
12. Select the Baud Rate in the C2 COM1 row and change it to 19200.