1) Alternative option for setting the switching point or analog value in the quick menu
1
Press the or pushbutton to record the current distance as a switching point or analog value.
2
Using the and pushbuttons, adjust the distance in 1/10-mm increments.
3
Press to confirm the input.
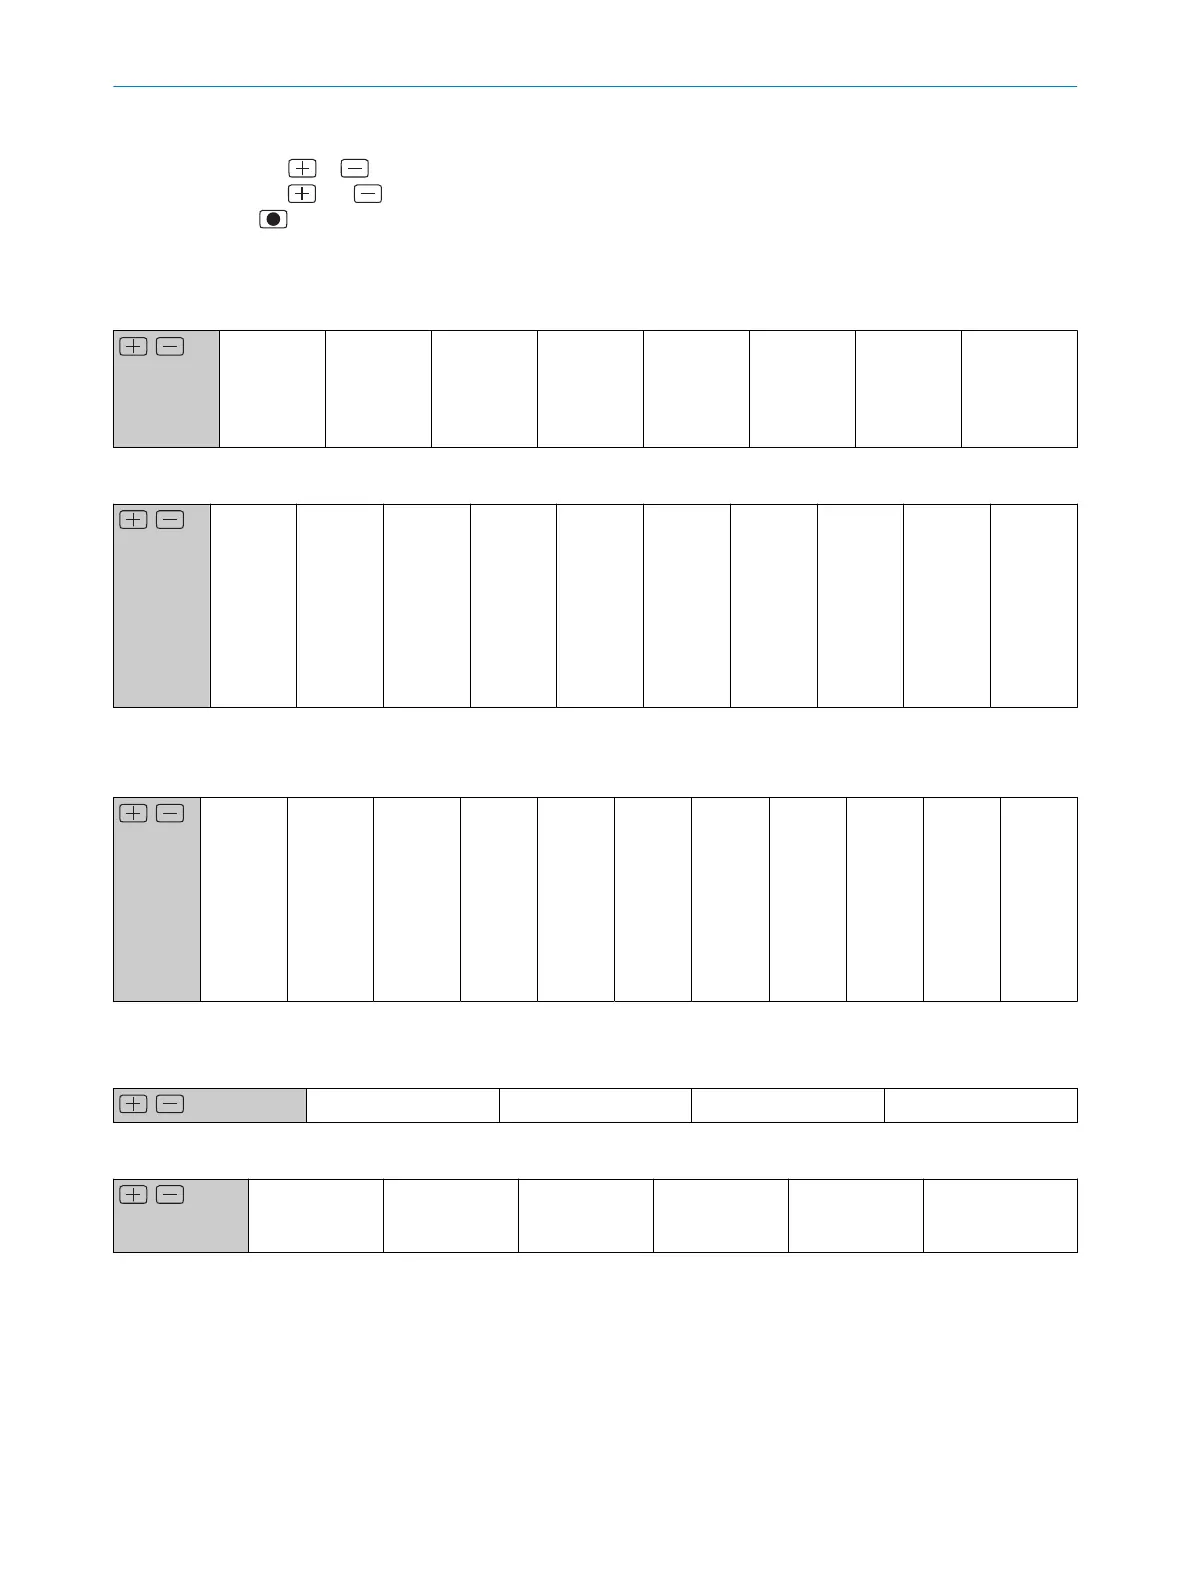
12.1.2 Menu structure in the main menu
Measurement menu group
/
Cycle time
menu
Average fil‐
ter menu
Measure‐
ment direc‐
tion menu
Setting
Measured
value offset
ROI near /
ROI far
(Region of
interest
(ROI) menu)
Error mode
menu
Substitute
value (Error
mode
menu)
Error suppres‐
sion time
(Error mode
menu)
Q1 Output menu group
/
Q1 Mode
(Q1 Out‐
put menu
group)
SP1,
SP2, set
signal
threshold
(Setting
the
switching
point)
1)
Q1 Min./
Max.
Height
jump (Q1
Min./
Max.
menu
Height
jump )
Q1 Jump
direction
menu
Q1 Cycle
offset
menu
Q1/Q2
Switch
point
logic
menu
Q1/Q2
Timer
mode
menu
Q1 Timer
setup
Q1/Q2
Hystere‐
sis menu
Q1 Toler‐
ance
1)
SP2 only available in the Q1 Window (SP1,SP2:Window) output mode.
Q2/Q
a
output menu group
/
Q2 Mode
(Q1 Out‐
put menu
group)
SP1,
SP2, set
signal
threshold
(Setting
the
switching
point)
1)
Q2 Min./
Max.
Height
jump (Q1
Min./
Max.
menu
Height
jump )
Q1
Jump
direc‐
tion
menu
Q1
Cycle
offset
menu
Q1/Q2
Switch
point
logic
menu
Q1/Q2
Timer
mode
menu
Q2 Timer
setup
Q1/Q2
Hystere‐
sis
menu
Q2 Toler‐
ance
Setting
analog
value
1)
SP2 only available in the Q2 Window (SP1,SP2:Window) output mode.
IN Input menu group
/
IN Function menu IN Hold function menu IN Debouncing menu IN Input logic menu
Device menu group
/
Reset the
device
Save customer
settings menu
Language menu Display settings Sender menu Output
PNP/NPN/PP
menu
Info menu group
Status information (Info menu group)
RUN menu group
Open RUN menu.
ANNEX 12
8026231/1I18/2023-01-05 | SICK O P E R A T I N G I N S T R U C T I O N S | OD2000
69
Subject to change without notice