Simple Network Management Protocol
3-35
3
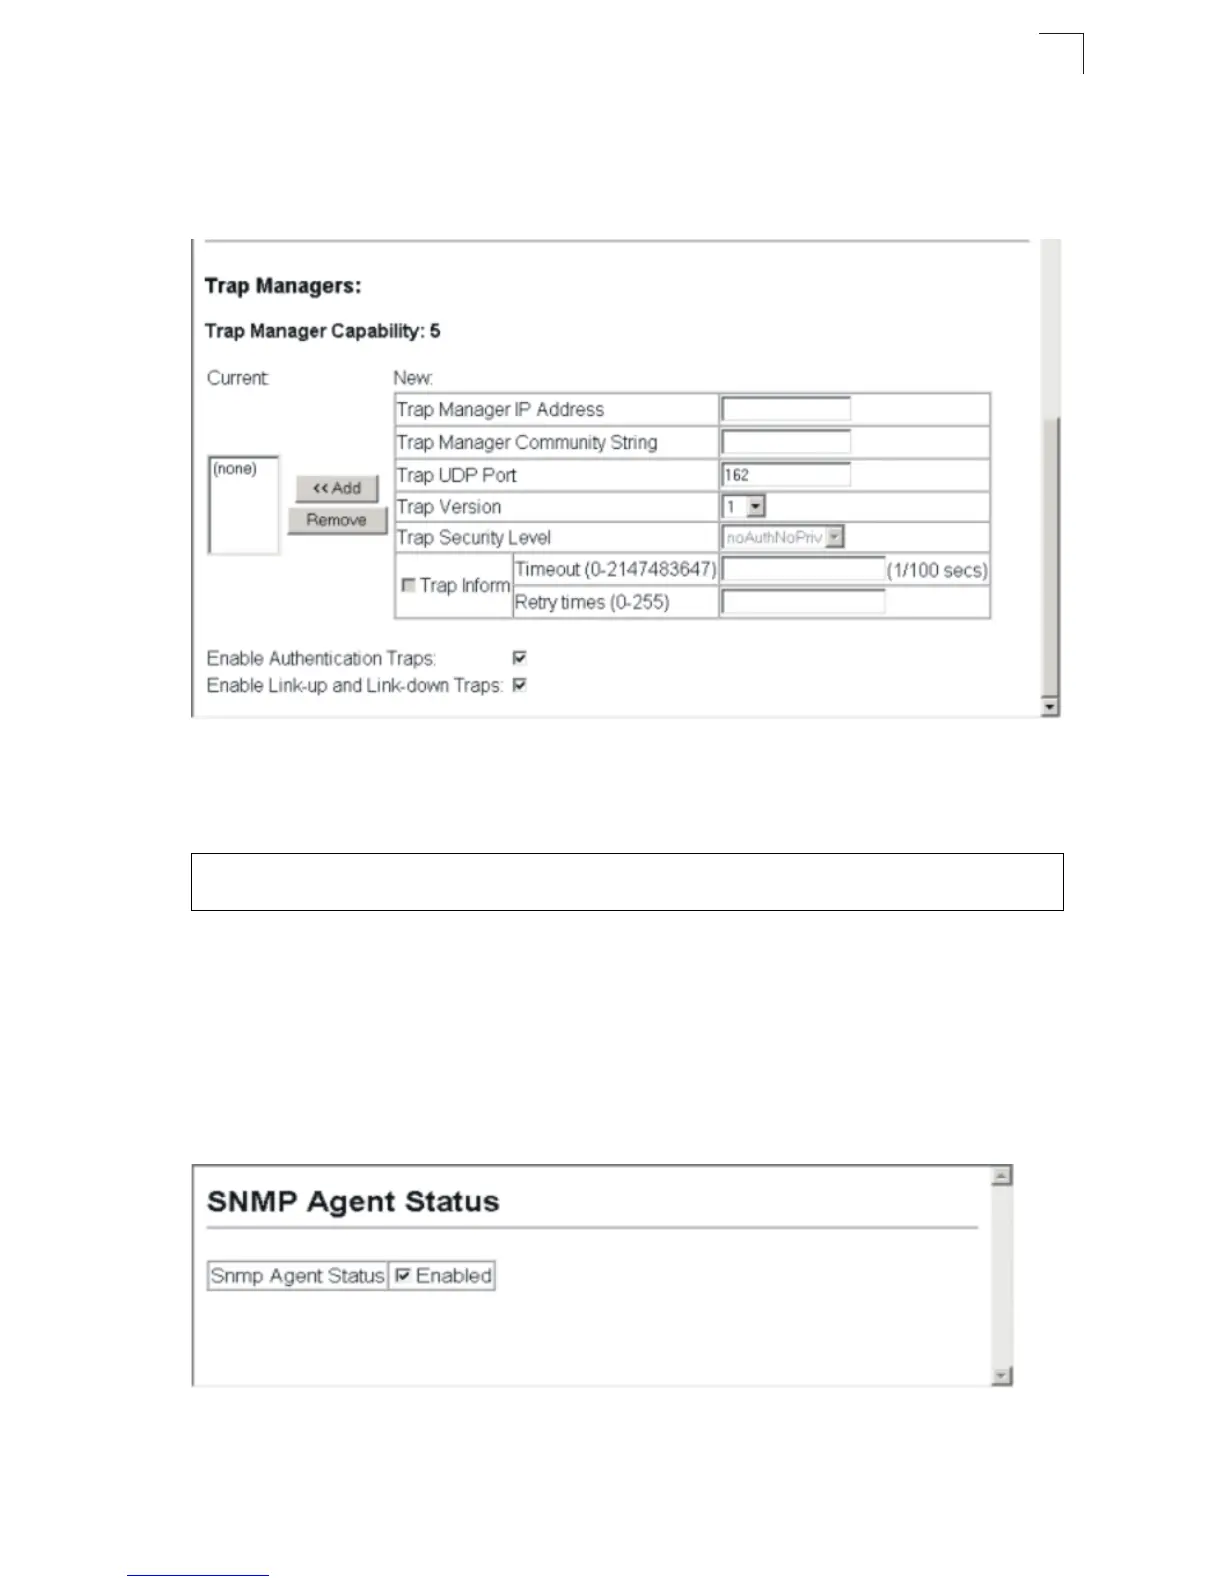
Web – Click SNMP, Configuration. Fill in the IP address and community string for
each trap manager that will receive trap messages, and then click Add. Select the
trap types required using the check boxes for Authentication and Link-up/down
traps, and then click Apply.
Figure 3-25 Configuring IP Trap Managers
CLI – This example adds a trap manager and enables both authentication and
link-up, link-down traps.
Enabling SNMP Agent Status
Enables SNMPv3 service for all management clients (i.e., versions 1, 2c, 3).
Command Attributes
• SNMP Agent Status – Check the box to enable or disable the SNMP Agent.
Web – Click SNMP, Agent Status.
Figure 3-26 Enabling SNMP Agent Status
Console(config)#snmp-server host 192.168.1.19 private version 2c 4-104
Console(config)#snmp-server enable traps 4-106
 Loading...