Previous Vehicles and Data Previous Vehicles and Data Menu
78
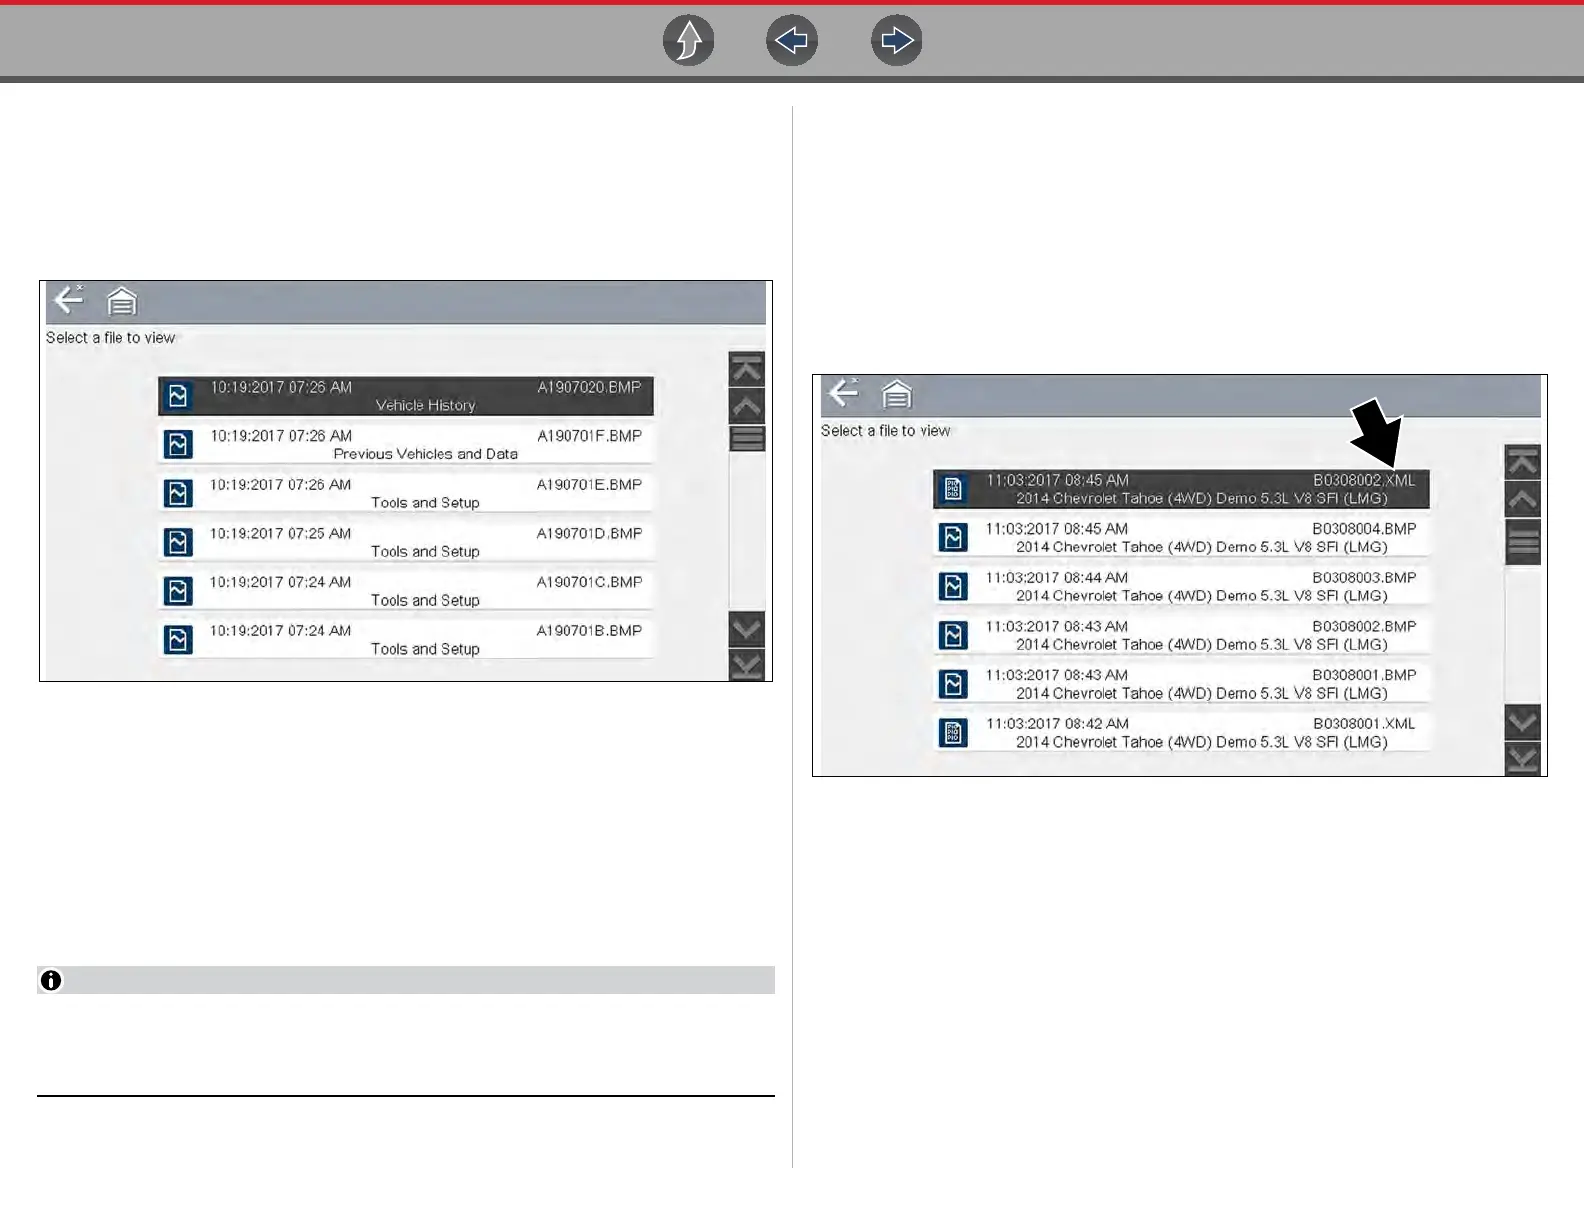
10.1.2 View Saved Data
Selecting the View Saved Data menu option opens a list of all the saved data
(movie) files and screen images that are stored in memory. Saved files are listed in
chronological order by the date and time that they were created with the most
recent files are at the top of the list.
Figure 10-2 Saved data list
Selecting a file from the list, opens the file.
Saved data files can also be downloaded to a personal computer (PC) using the
Mini USB jack. Once connected to the PC, the data files can be printed, transferred,
and copied using ShopStream Connect. ShopStream Connect is a PC application
that creates an interface between the diagnostic tool and a PC. See ShopStream
Connect on page 107.
To connect to a PC, see Connect-to-PC (File Transfer) on page 82.
A maximum of 50 files are displayed. To view all (if more than 50) files stored,
transfer the files to a PC and use ShopStream Connect. See Connect-to-PC
(File Transfer) on page 82 for additional information.
z To review a saved data file or image:
1. Select Previous Vehicles and Data from the Home screen.
2. Select View Saved Data from the menu.
3. Select a file to review from the list.
10.1.3 Viewing Codes and Code Scan Results
When code scan or single system code results are saved, they are saved in (.XML)
file format (Figure 10-3).
Figure 10-3 Typical - Code Results (.XML) file
The saved (.XML) file(s) can be viewed using two methods:
• On the diagnostic tool - See Viewing Code Results on the diagnostic tool on
page 79.
• In ShopStream Connect - See Viewing Codes and Code Scan Results on
page 78, and ShopStream Connect on page 107.