123
Tools Tools Menu
z To connect the diagnostic tool to a PC:
1. Connect the supplied USB cable to the diagnostic tool and then to the PC.
A USB cable, supplied with your diagnostic tool, is used to connect the diagnostic tool to the
PC. When the diagnostic tool is connected to the PC a communications icon appears on the
right edge of the title bar.
2. Select Tools from the Home screen.
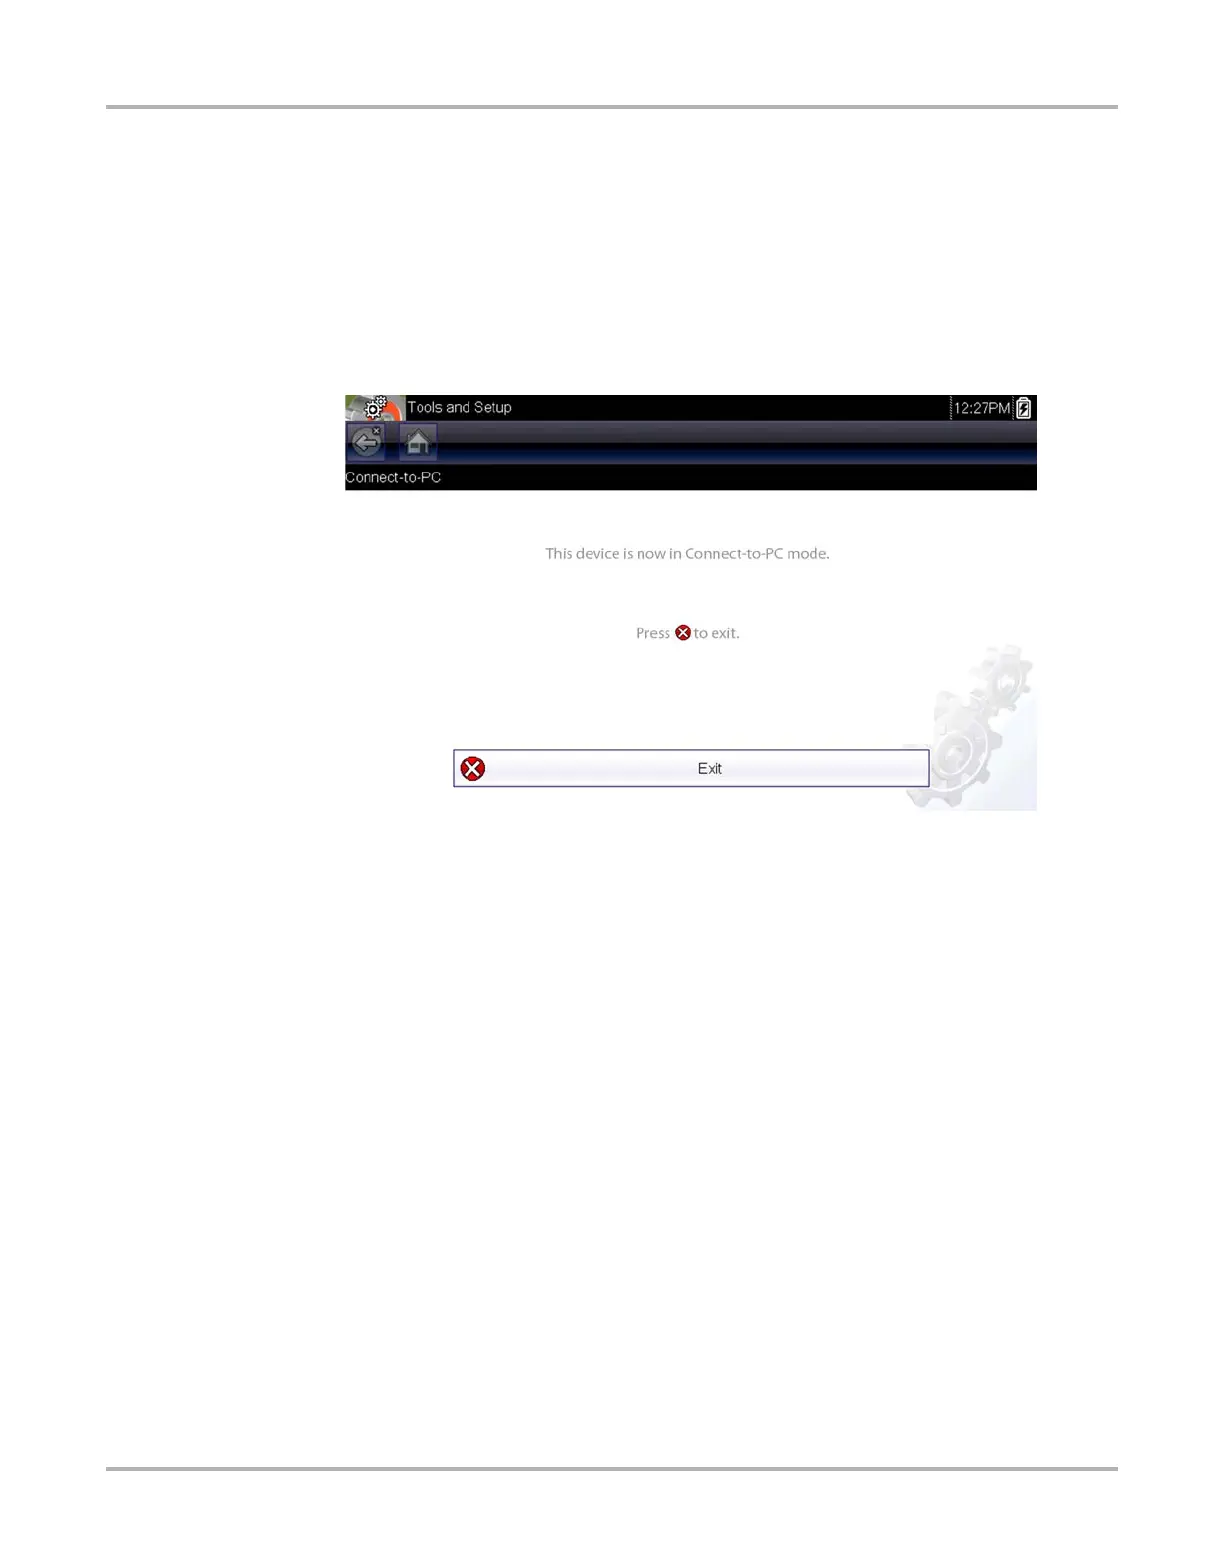
3. Select Connect-to-PC from the Tools and Setup menu.
A screen message will display to confirm the tool is in Connect-to-PC-mode.
Figure 10-2
10.1.2 Configure Shortcut Key
This feature allows you to change the function of the Shortcut key. Options are:
• Brightness—opens the brightness setting screen.
• Save Screen—saves a bitmap image of the visible screen.
• Save Movie—saves a recording of the data buffered in tool memory.
• Show Shortcut Menu—opens the menu so you can quickly select from any of the functions.
• Toggle Record/Pause—programs the Shortcut key to work as the Pause and Play buttons.
z To assign a function to the Shortcut key:
1. Select Tools from the Home screen.
The Tools menu opens.
2. Select Configure Shortcut Key from the menu.
3. Select a function from the menu.
4. Select the Back on the toolbar or press the N/X key to return to the options menu.

 Loading...