51
Operations Printing
2. Select the Setup button.
The Save Data dialog box displays.
3. Select the My data field.
4. Select an option from the drop-down list.
The drop-down list closes automatically.
5. Press N/X to close the Save Data dialog box.
The checkbox for the CF slot you selected is checked (Figure 5-50).
Figure 5-50
CF slot indicator checked
5.11 Printing
The Print button lets you print the displayed screen. The following print options may be available:
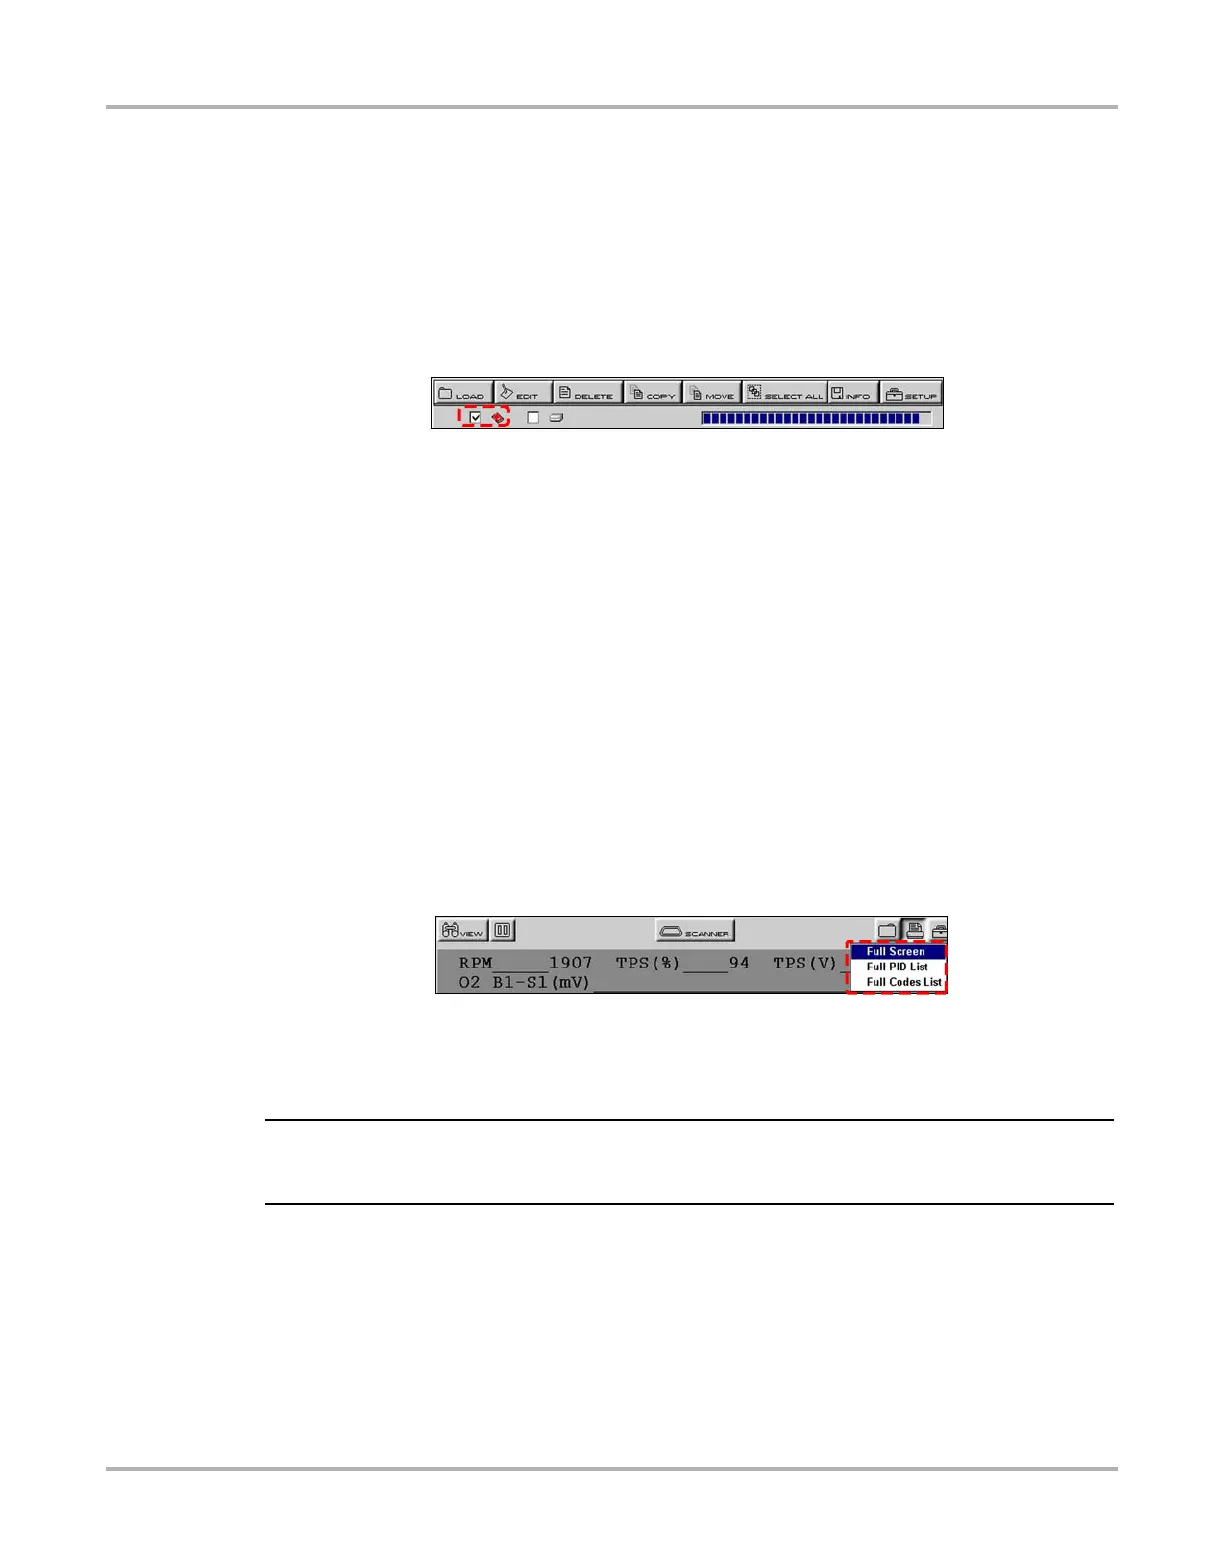
• Full Screen—print only what is visible on the screen.
• Full PID List—prints the entire list of parameters.
• Full Codes List—prints the list of codes in vehicle memory when viewing codes.
z To print:
1. Verify that your printer and scan tool are set up properly for printing. See “Setting Up to Print”
on page 16 for details.
2. Point the IR output on the top of the scan tool at the IR receiver on your printer.
3. Select Print > print option (Figure 5-51).
Figure 5-51
Sample Print menu
When printing begins, an “Initializing printer” message displays. The message box closes
when printing is complete.
NOTE:
i Keep the IR output of the scan tool pointed at the IR receiver on the printer until printing is
completed.
5.12 Tools Button
The Tools button on the upper toolbar provides a shortcut to commonly used scan tool
configuration settings (Figure 5-52).