User Manual |
95
Laser Engraving and Cutting - 03 How to Laser Engrave and Cut
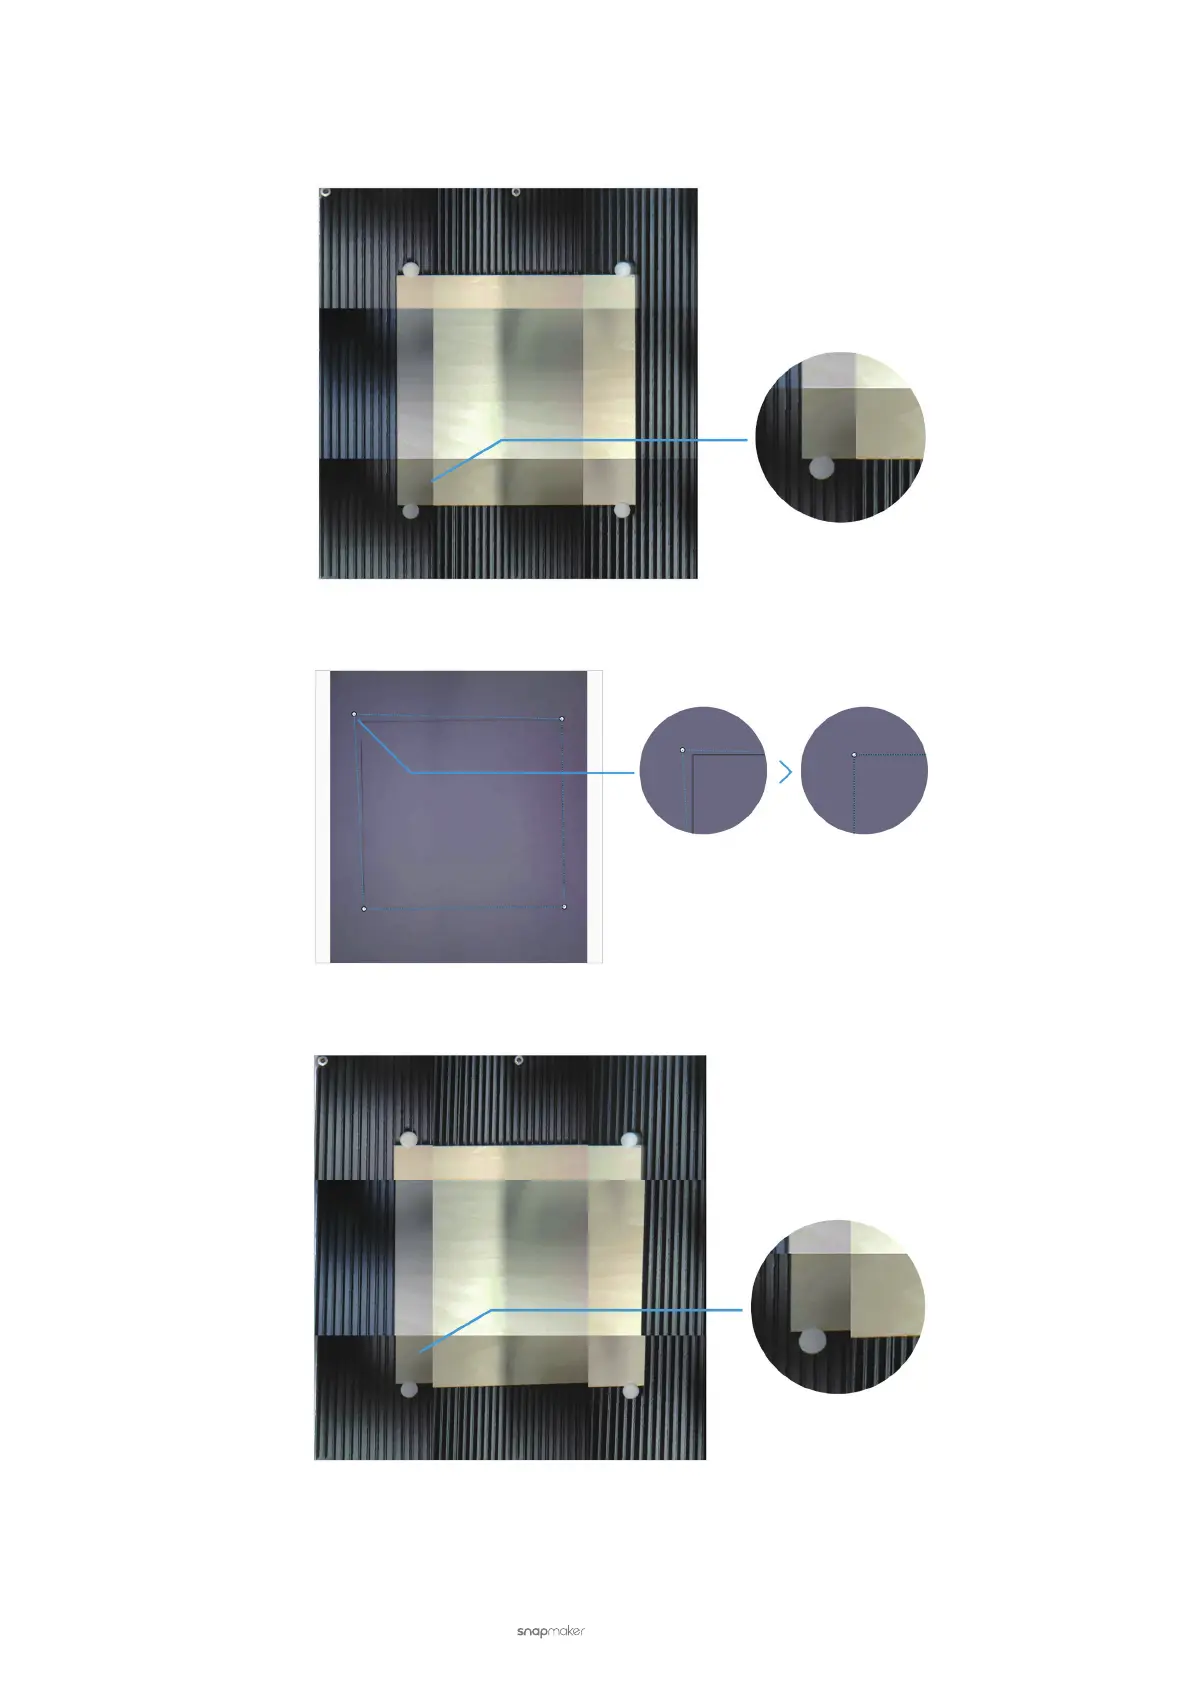
(3) Examine the captured image.
• If the edges of the captured image are aligned, click Conrm and skip the following steps.
• If the edges of the captured image are not aligned, click Calibration and continue the following steps.
(4) The image of the paper with an engraved square and a quadrilateral are displayed on the Calibration dialog
box. Zoom in on the image and drag the lines of the quadrilateral until they perfectly match the square.
(5) Click Apply to see the nished image. You can repeat Step (5) and Step (6) if the edges of the captured image
are still not aligned.
(6) After you nish calibration, click Conrm and the nished image will be loaded into the canvas in the
coordinate system.