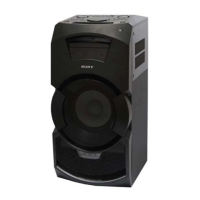
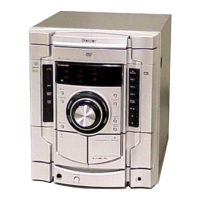
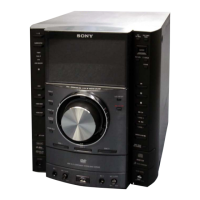
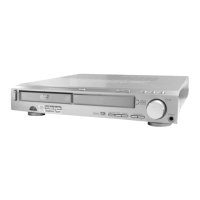
HCD-GT3D
18
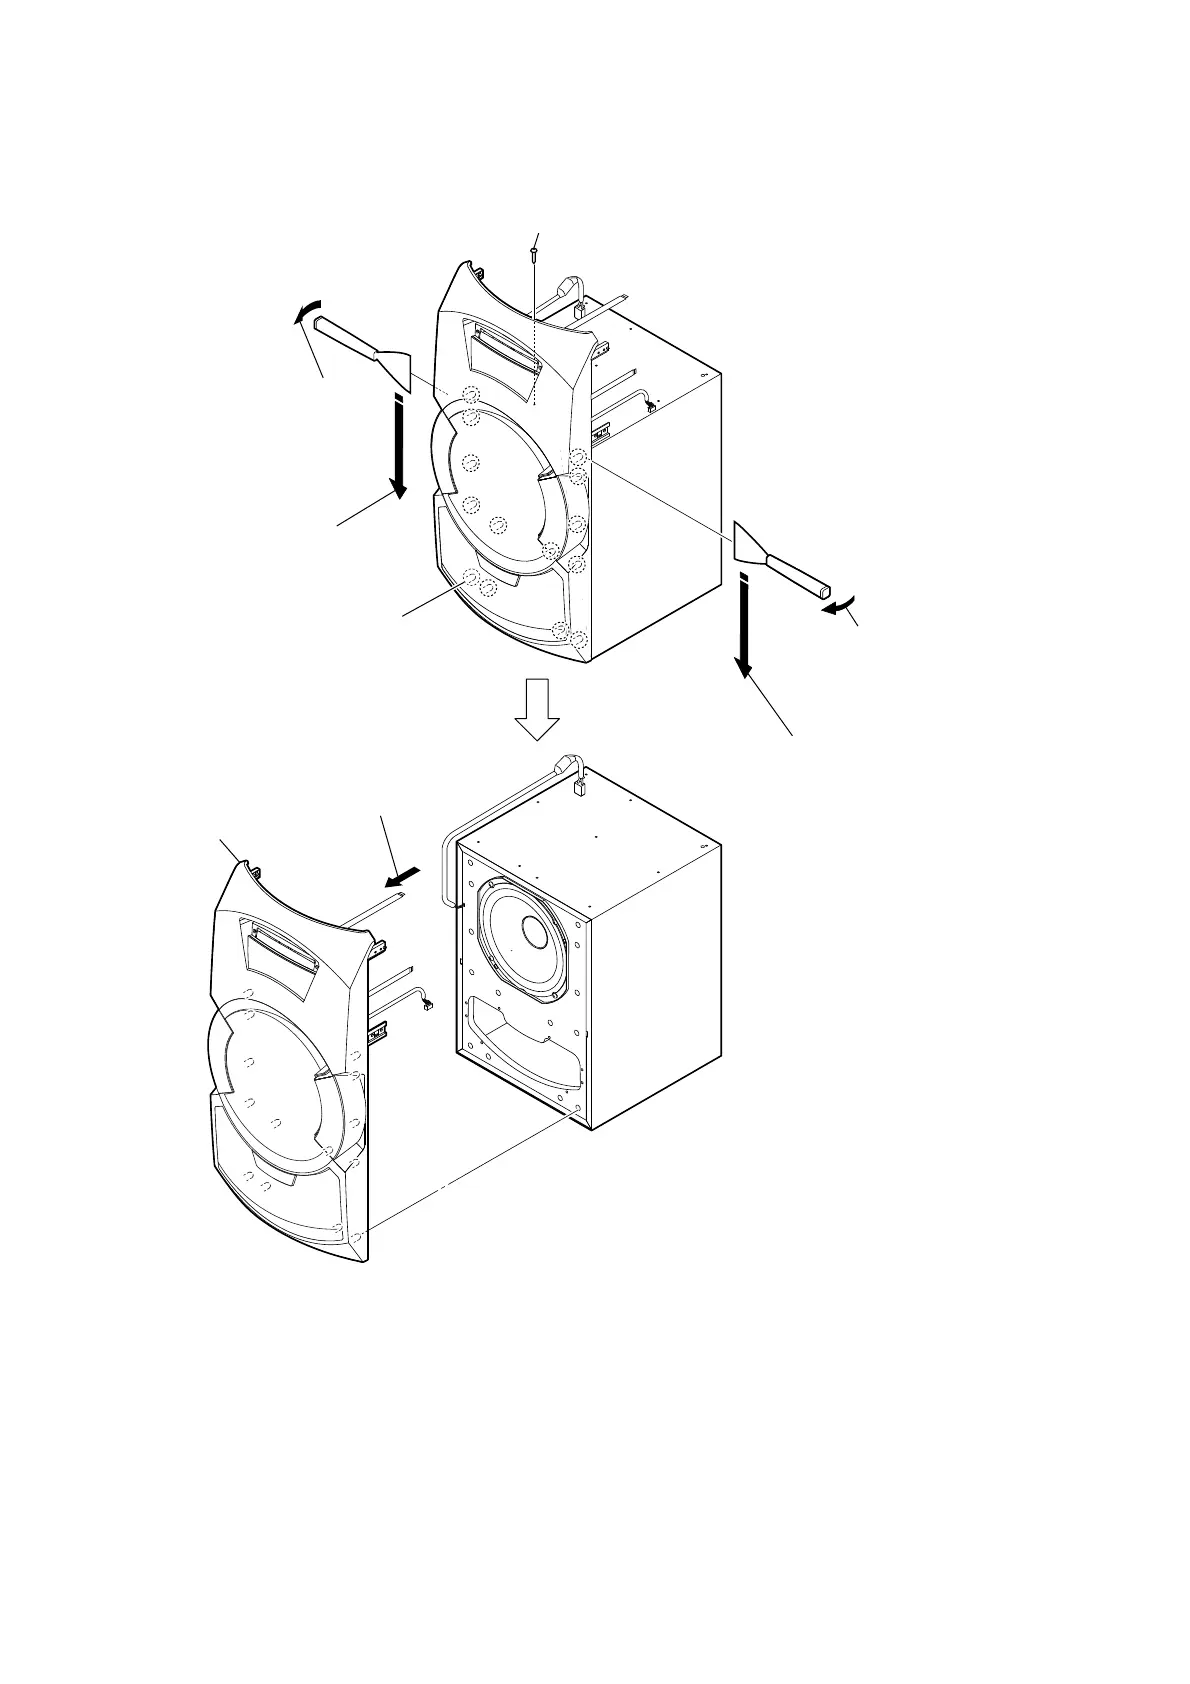
2-13. FRONT PANEL SECTION
1 one screw ((4 × 13) (TR-184A))
2 Insert the jig into a space and slowly
remove the front panel section.
Note : When using a jig, please work
so as not to injure front panel
section and speaker cabinet.
2 Insert the jig into a space and slowly
remove the front panel section.
Note : When using a jig, please work
so as not to injure front panel
section and speaker cabinet.
3 All bosses are removed while moving
jig in the direction of the arrow, and
front panel section is removed.
3 All bosses are removed while moving
jig in the direction of the arrow, and
front panel section is removed.
4 Remove the front panel section
in the direction of the arrow.
5 front panel section
total fourteen bosses
Ver. 1.2