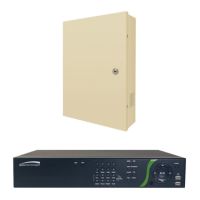
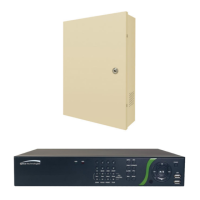
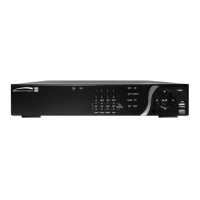
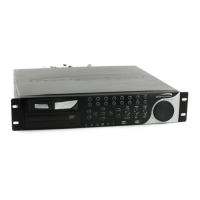
Digital Video Recorder
59
Highlight Device Register and press the
button to register the selected network device(s) from the list. An Authentication
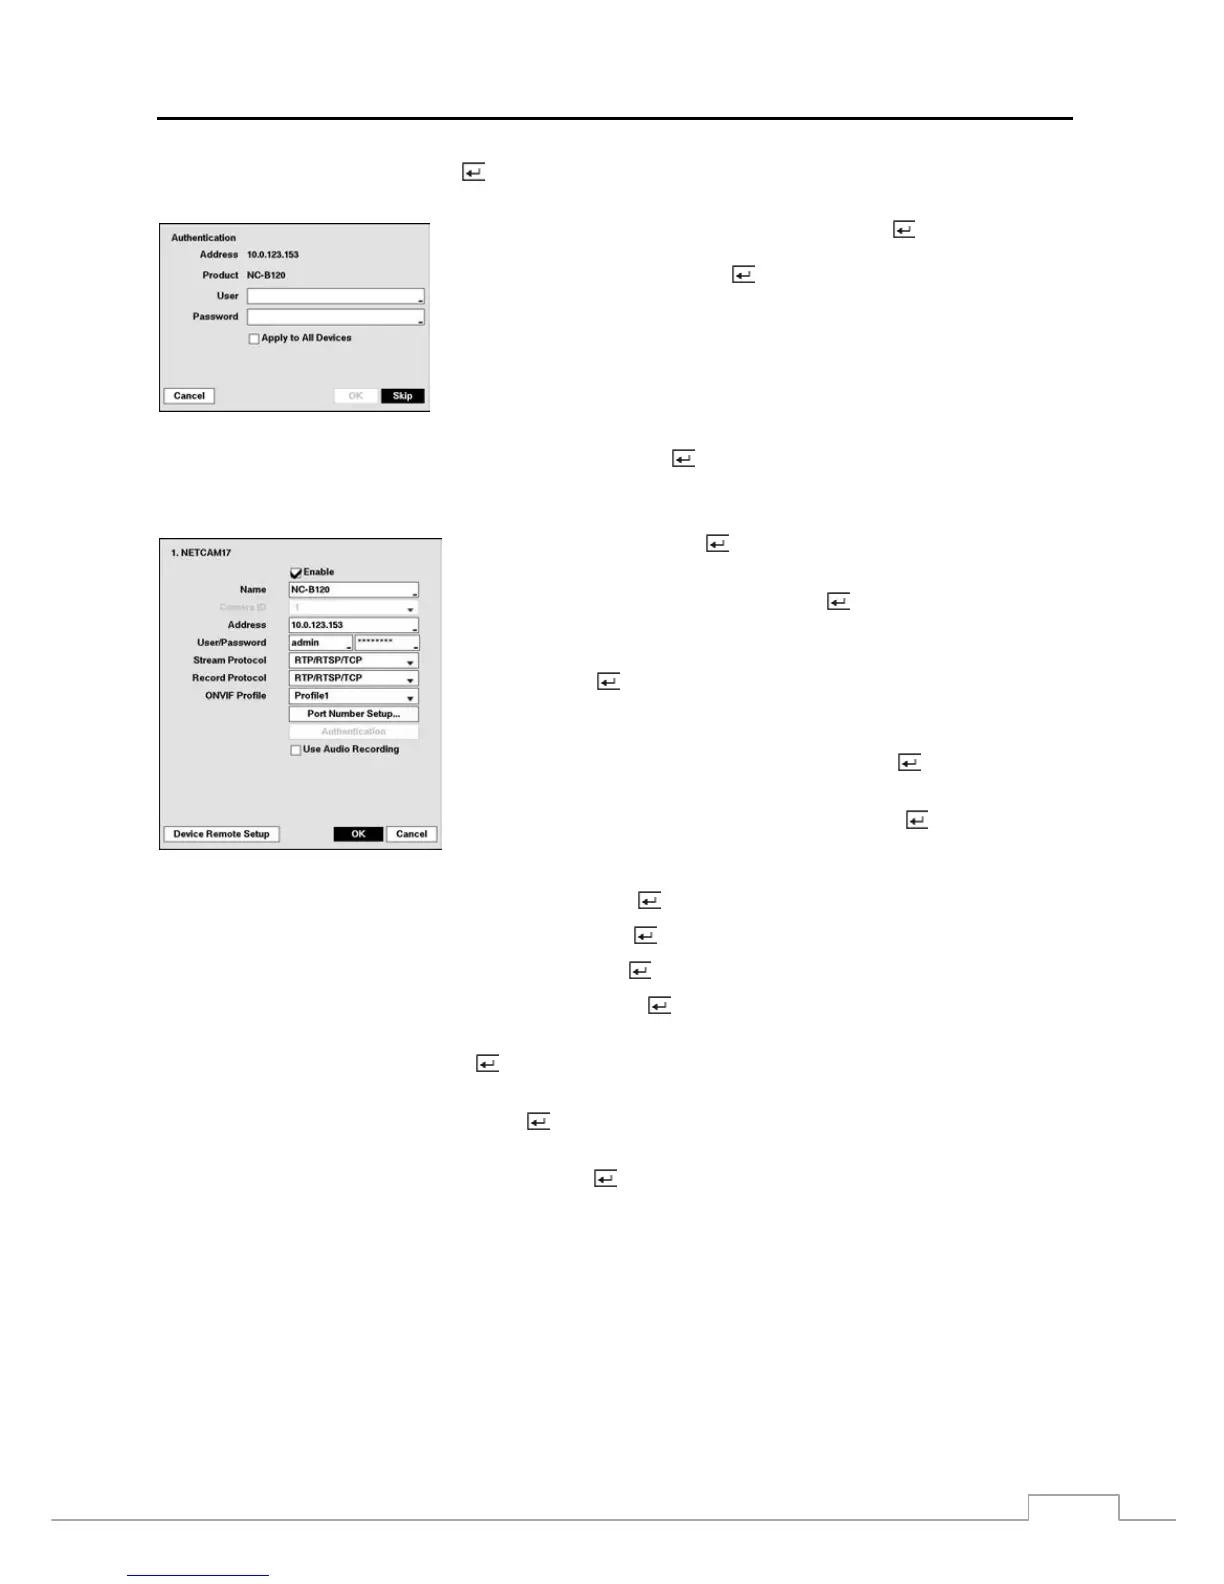
screen appears. Setting up the Authentication is required to register the network device to the DVR.
Highlight the box beside User/Password and press the button. A virtual
keyboard appears allowing you to enter the user ID and password. Highlight
Apply to All Devices and press the
button to apply the same authentication
information to all the network devices in the list. When selecting multiple network
devices in the list, selecting Skip skips the authentication settings for the current
network device and displays the Authentication screen of the next network device.
Proper registration and authentication settings will display registered devices in the list of the Network Camera setup screen.
Highlighting the box under the Settings heading and pressing the
button allows you to change the device settings.
NOTE: The Settings screen will differ depending on the type of protocol that you selected. The following
description is for a network device using the ONVIF
TM
Conformance protocol.
Highlight Enable and press the button to toggle between On and Off. When
it is On, you will be able to change the device settings.
Highlight the box beside Name and press the button. A virtual keyboard
appears allowing you to edit the device name.
You can assign IDs to each camera by highlighting the box beside Camera ID
and pressing the
button. Change the number by highlighting it and using
the Up and Down arrow buttons to increase and decrease the number. (4-ch
Network Video Transmitter Only)
Highlighting the box beside Address and pressing the button allows you
to change the IP address of the device.
Highlight the box beside User/Password and press the button. A virtual
keyboard appears allowing you to enter the user ID and password used when
changing device settings.
Highlighting the box beside Stream Protocol and pressing the button allows you to select the protocol for streaming.
Highlighting the box beside Record Protocol and pressing the button allows you to select the protocol for recording.
Highlighting the box beside ONVIF Profile and pressing the button allows you to select a preset ONVIF
TM
profile.
Highlighting the Port Number Setup… box and pressing the button allows you to select the HTTP server’s port
number and the RTSP server’s port number.
Highlight Authentication and press the button. An Authentication screen appears, and entering Authentication
information is required to change the device settings.
Highlight Use Audio Recording and press the button to toggle between On and Off. When it is On, the DVR will
record audio from the device when video from the network device is recording.
Highlight the Device Remote Setup box and press the button. The Device Remote Setup screen appears. See
Appendix – Remote Setup of Network Devices for details.