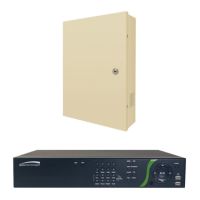
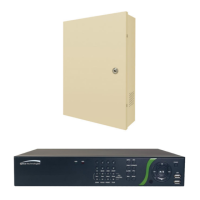
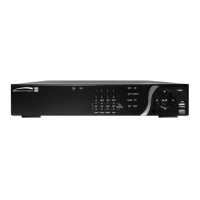
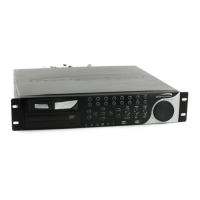
Digital Video Recorder
69
Search Menu
Search
Event Log Search: Selecting
(Search) → Event Log Search selects video from the event log. See the following
Event Log Search section for details.
Record Table Search: Selecting
(Search) → Record Table Search selects using a recording table. See
the following Record Table Search section for details.
Motion Search: Selecting
(Search) → Motion Search selects motion events. See the following Motion Search
section for details.
Text-In Search: Selecting
(Search) → Text-In Search selects text input strings. See the following Text-In
Search section for details.
EZ Search: Selecting
(Search) → EZ Search selects video in 4x4 display format using day, hour or minute
precision. See the following EZ Search section for details.
Go To
Go to the First: Selecting
(Go To) → Go to the First displays the first recorded image.
Go to the Last: Selecting
(Go To) → Go to the Last displays the last recorded image.
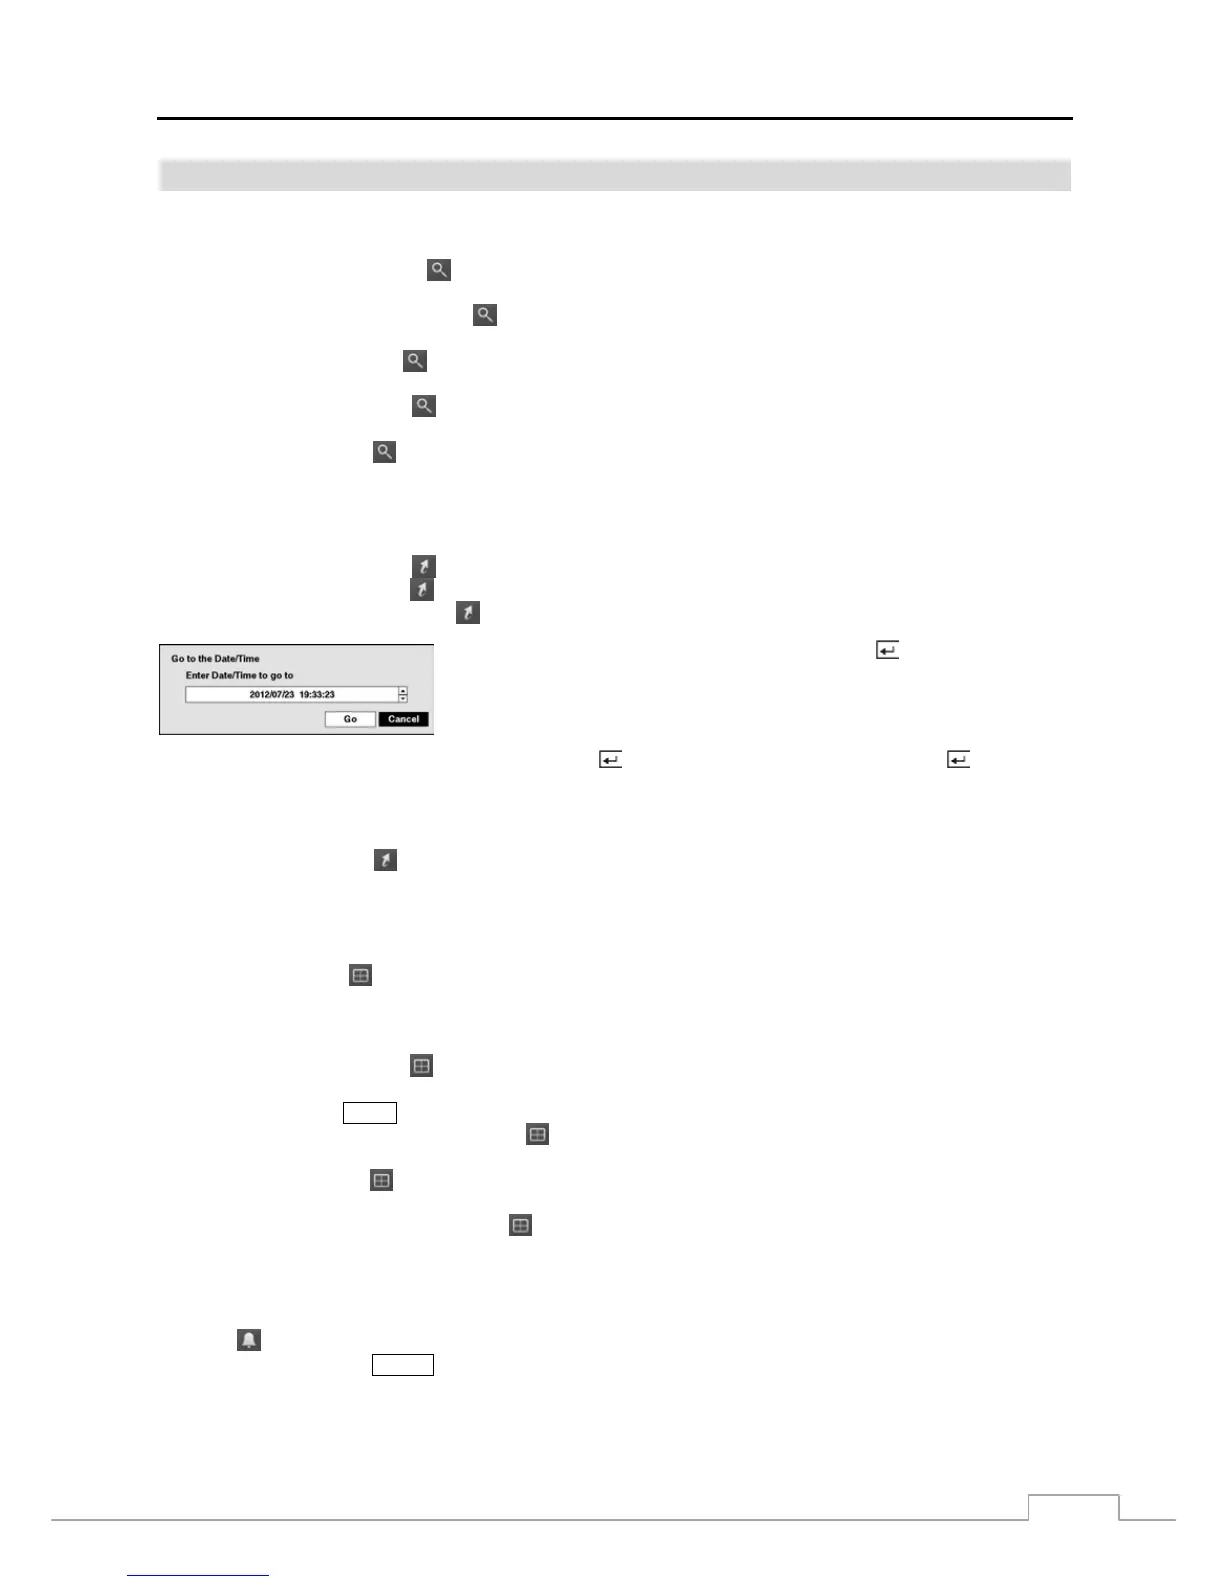
Go to the Date/Time: Selecting
(Go To) → Go to the Date/Time displays the Go to the Date/Time screen.
Move the cursor over the date and time and press the button. You can use
the Left and Right arrow buttons to highlight the year, month, day, hours, minutes
and seconds. Use the Up and Down arrow buttons to change to the date and time
you want to search for video.
Once you have set the date and time you want, press the button. Then highlight Go and press the button. The
selected date and time will display. (If no video was recorded during the selected time, a message appears alerting you
that no image was recorded at that time.) The playback controls on the Record Table Search screen, and Jog and Shuttle
on the front panel can now be used to review the surrounding video.
Bookmark: Selecting
(Go To) → Bookmark adds the current playback point to the bookmark list. See the
following Bookmarks section for details.
Display
Camera: Selecting
(Display) → Camera and choosing the camera number displays the selected camera full
screen. It is the same as pressing the individual camera buttons on the front panel or clicking the left mouse button
on a camera image when in one of the multiview formats (i.e., PIP, 2x2, 3x2, 3x3, 4x3, 4x4 or 5x4). Clicking the
left mouse button on the screen again returns to the previous display mode.
Screen Format: Selecting
(Display) → Screen Format and choosing the screen mode displays the cameras
in the selected multiview screen mode (PIP, 2x2, 3x2, 3x3, 4x3, 4x4 or 5x4). Selecting each display mode is the
same as pressing the
MODE button or scrolling the mouse wheel up and down when in one of the multiview formats.
Previous Group, Next Group: Selecting
(Display) → Previous Group or Next Group moves to the previous
or next page.
Edit Group: Selecting
(Display) → Edit Group enters to the Active Cameo mode. Refer to the previous Live
Monitoring – Active Cameo Mode section for details.
Camera OSD, Status OSD: Selecting
(Display) → Camera OSD or Status OSD toggles Camera OSD or
Status OSD On and Off.
Alarm
Selecting (Alarm) in the Search menu resets the DVR’s outputs including the internal buzzer during an alarm. It
is the same as pressing the ALARM button.