Spectralink IP-DECT Server 6500 Installation and Configuration Guide
14215700 Version 3.0
April, 2014 65
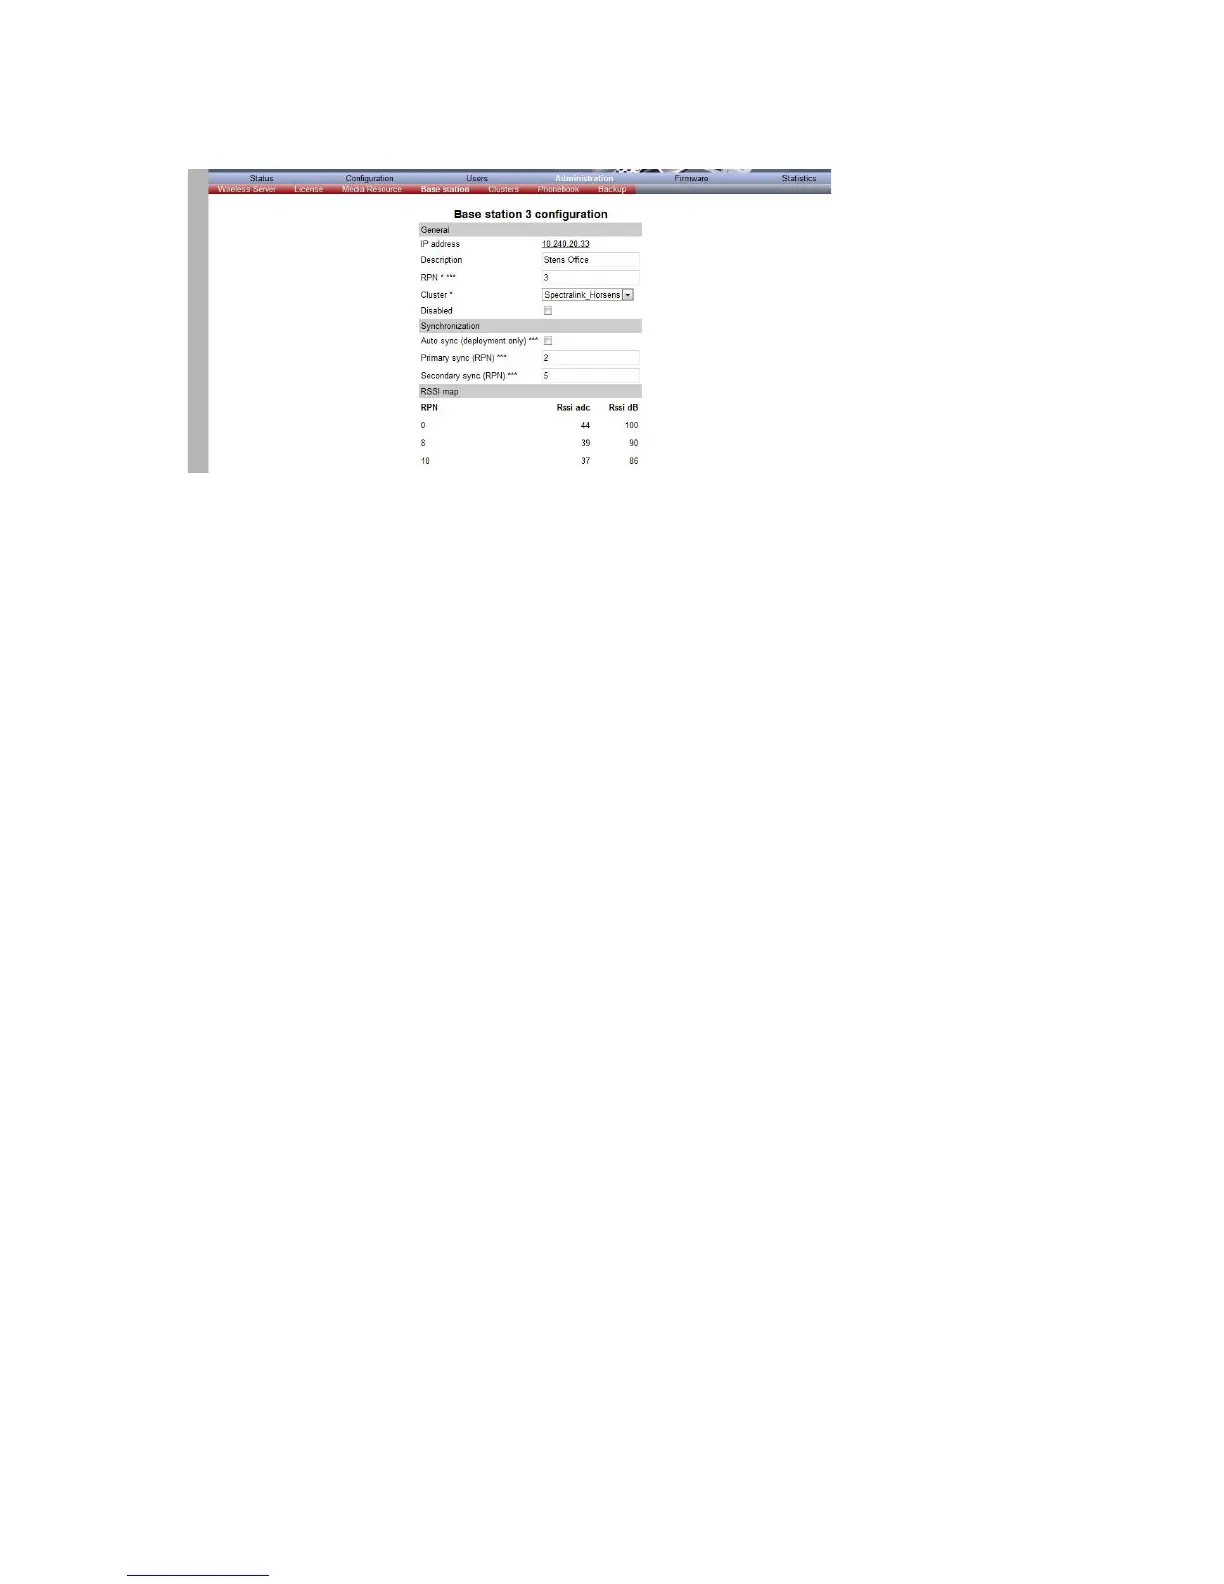
Figure 42 Adm. Page WS:Administration/Base station page
4 In the RPN field (Radio Part Number), type the radio part number of the base station.
The radio ID can be a number between 0 and 255. See your site planner.
Note: The default value of the RPN is equal to the base station number. It is strongly recommended not
to change this value.
5 It is possible to select Auto sync if you are deploying and want to find a sync way for the first
base station.
Note: Auto sync is only to be used in a deployment situation. When selecting Auto sync, radio part
numbers in the Primary sync. (RPN) field and Secondary sync. (RPN) field are not taken into
consideration.
6 In the Primary sync. (RPN) field, type the radio part number of the base station, you want to
synchronize on. See your site planner.
7 In the Secondary sync. (RPN) field, type the radio part number of the base station, you want
to synchronize on. See your site planner.
8 Click Save. The base station will reboot automatically and reconnect to the server.
Checking Indicators
• Verify that the base station LED indicator is continuously on, indicating that the base station is
functional.