DNX-11 Installation Rack Mounting
DOC-001-11001 (Rev. 006) 3 DNX Quick Install & Setup Guide
DNX-11 Installation
Rack Mounting
The next several pages contain instructions for different methods of rack mounting the DNX-11.
If you plan on using the N+ 1 Redundancy Feature, make sure you leave enough space above
the DNX unit for the N+1 Protection Switch to reside (approximately 3U high).
Note: To insure proper ventilation, Sycamore recommends leaving a minimum of 1RU of
space above and below each DNX or DNX/PSX combination. As long as there is at
least 1U of space below the DNX, the fans in the PSX are able to provide sufficient
cooling for both the PSX and the DNX even in the case where there is a failure with the
fan in the DNX.
19” EIA Flush Rack Mounting
Incorporated into the design of the DNX-11 chassis are mounting brackets which allow the DNX
to be mounted to a standard E.I.A. 19-inch equipment rack.
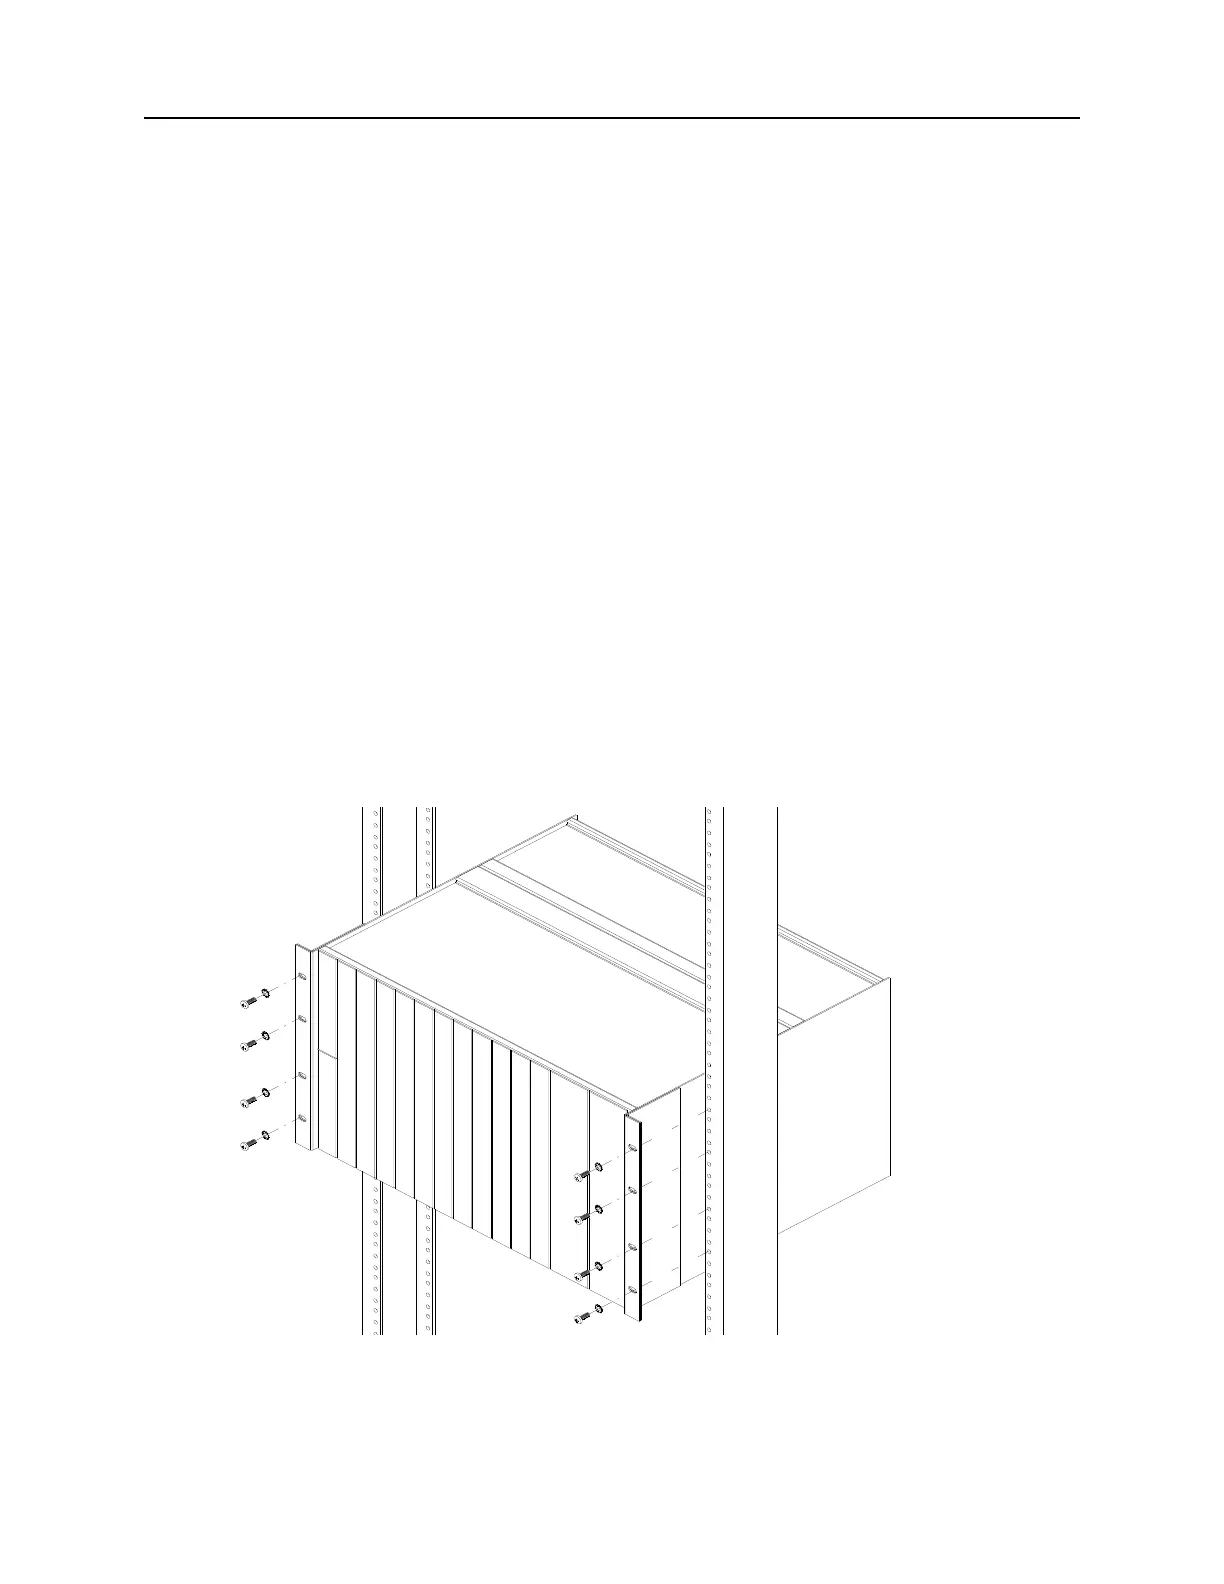
1. Line up the mounting brackets on the DNX-11 unit with the 19-inch equipment rack.
2. Slide the DNX-11 unit into the equipment rack. Refer to Figure 1 below.
Figure 1: DNX-11 Rack Mounting (19-inch rack).
3. Secure the DNX-11 unit in place using thread-forming screws.
Make sure you leave enough space above the DNX unit for the N+1 Protection Switch to reside,
approximately 3U high.