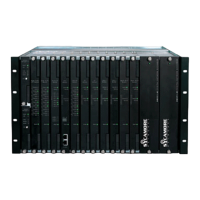
DNX-11 Installation Installing DNX-11 Power Supply Module(s)
DOC-001-11001 (Rev. 006) 11 DNX Quick Install & Setup Guide
Installing DNX-11 Power Supply Module(s)
The new power supplies have thumbscrews that secure them to the DNX Chassis. The older
power supply modules were secured to the chassis with Phillips Head screws. Care must be
taken when removing the screws from the older power supplies to prevent stripping. Use a No.
1 Phillips Head screwdriver and apply firm, even pressure. Should you strip the screws, do not
pry them from the chassis. Contact the Sycamore Networks Technical Assistance Center
(TAC) at 1-877-526-2321 for assistance.
1. Remove the power module from the anti-static bag.
2. Hold the power supply module upright and slide it into the far right slot in the DNX chassis,
following the white card guide.
3. When the power supply module is properly aligned, fasten the screws into the module.
Note: The power source that you will be using to provide power to the DNX dictates that you
use the matching power supply. For connection to DC power, use the DC power supply
module (part number MKT-006-11048). For connection to AC power, use the AC
power supply module (part number MKT-006-11206).
Internal Fuse/Wattage Requirements
DNX-11: Redundant or Non-Redundant Module is 90-230VAC (47-63Hz), or -48VDC, 200
watts.
Table 1: Internal Equipment Fuses.
DC Power Modules
(DNX-11)
FUS-003-10000
10 Amp, 250V
AC Power Connector
(DNX-11)
FUS-003-05000
5 Amp, 250V