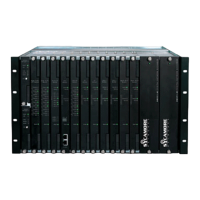
DNX-11 Installation Rack Mounting
DOC-001-11001 (Rev. 006) 8 DNX Quick Install & Setup Guide
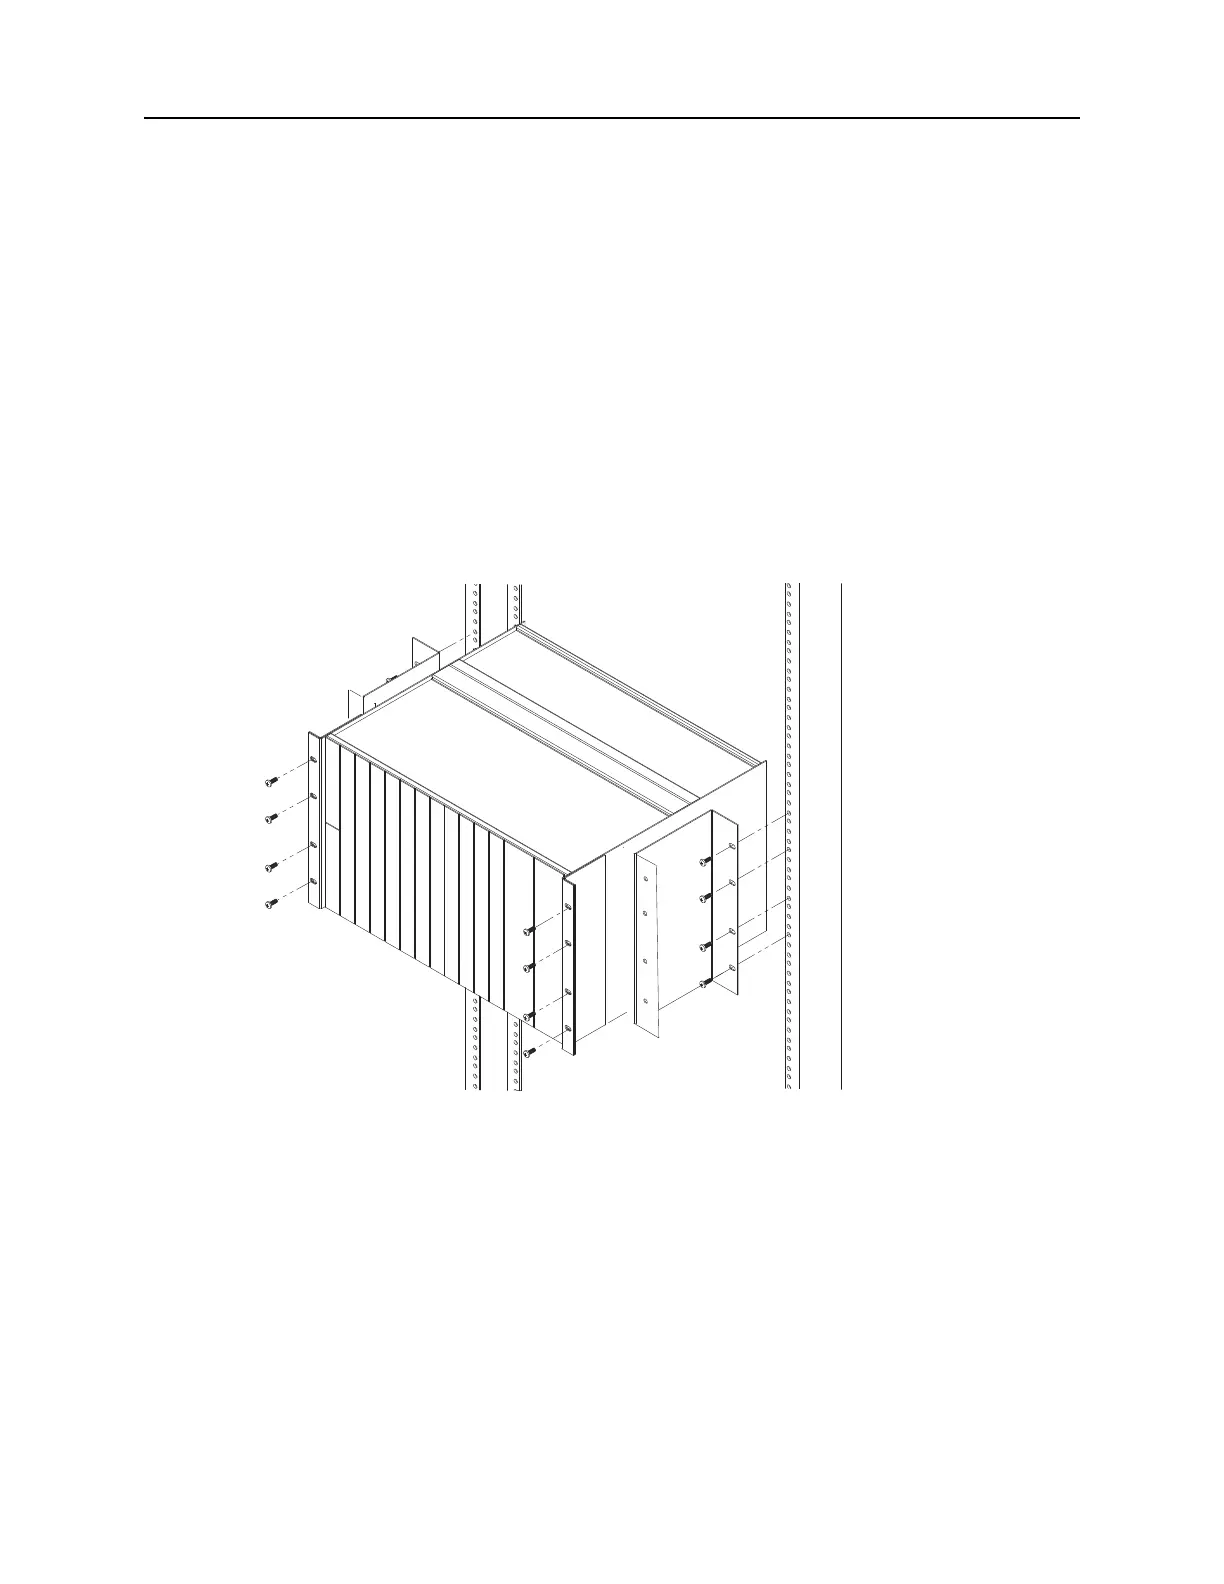
23” Telco Center Rack Mounting
Adapts a standard 19” flush EIA rack mount configuration for center mounting within a 23” wide
Telco equipment rack or cabinet via provided bracket set.
Note: If you intend to install an N+1 Protection Switch, make sure that you leave enough
space above the DNX-11 for the N+1 Protection Switch to reside - approximately 3U
high.
1. Orient the center mounting brackets behind the DNX-11 mounting brackets as shown in
Figure 6. Align the four small threaded holes of the center mounting brackets with the DNX-
11 mounting brackets.
Figure 6: DNX-11 Telco Center Rack Mounting (23-inch rack).
2. Secure the DNX-11 unit to the center mounting brackets using thread-forming screws.
3. Slide the DNX-11 unit into the equipment rack.
4. Line up the oval holes of the center mounting brackets with the 23-inch equipment rack.
5. Secure the DNX-11 unit in place using #12-24 thread-forming screws. The center, not the
front, will be resting on the equipment rack.