Console Management Access PSX Module Installation and Cable Connection
DOC-001-11001 (Rev. 006)
38 DNX Quick Install & Setup Guide
Console Management Access
Use the console to configure the interface protocol and parameters for each device port, moni-
tor the network, and perform diagnostics. A console may be a PC, workstation or a dedicated
terminal. Access to the console is password-protected after you establish a login and pass-
word. Telnet is supported as well as direct connection to the asynchronous port.
Connecting the Console
The necessary cable that attaches to the connectors should be installed at your site. For pin
assignments and descriptions of these interfaces, refer to the DNX Accessories Guide.
A console may be connected to the DNX in any of the following three ways:
• Telnet access from a PC or workstation via an Ethernet LAN.
• Dial call to the DNX‘s modem port from any PC or workstation on the network.
• Dedicated terminal connected to the DNX’s console port.
To Connect a Console:
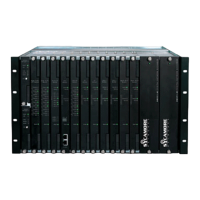
1. Locate the DNX System Manager Interface on the rear of the chassis, then refer to Table 3.
2. Configure your terminal communications parameters as follows:
•
Data Rate: 1200, 2400, 4800, 9600 or 19200 bps (9600 recommended)
•
Data Bits: 8
•
Stop Bit: 1
•
Parity: None
•
Flow Control: None
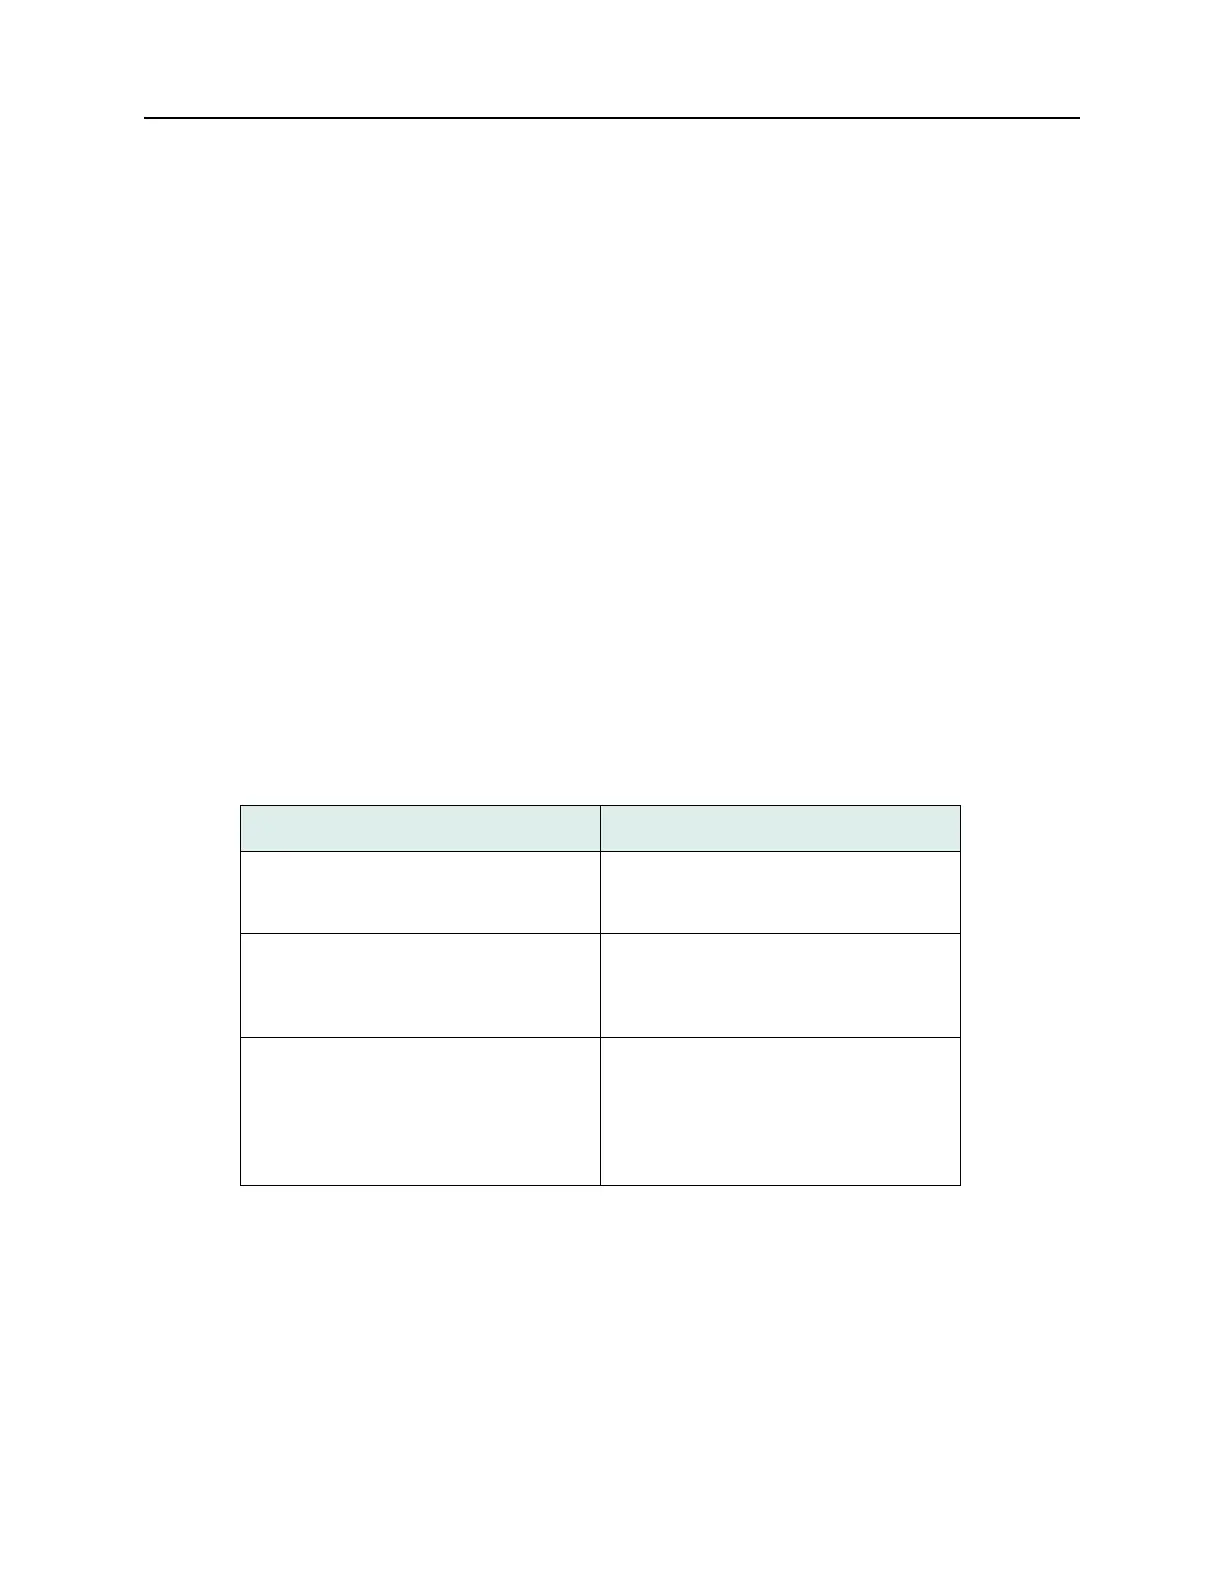
Table 3: Console Connections.
If Then
an asynchronous terminal (or pc with VT-
100 emulation) will be directly connected
to the DNX ...
... locate the RJ-11 craft interface connec-
tor labeled TERM. Attach your terminal to
this connector.
a PC or workstation in the network will dial
in to the DNX ...
... locate the RJ-11 telco connector
labeled PHONE LINE. Insert a phone line
in this connector. The DNX has a built-in
modem.
a PC or workstation in the network will use
an Ethernet cable to connect to the DNX
...
... connect the LAN using the Ethernet
connector marked
10 Base T (SMC II) or
10/100BaseT (SMC IIA) on the DNX Sys-
tem Manager interface. The Administrator
establishes a Telnet session to connect to
the DNX.