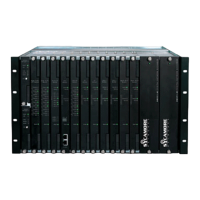
DNX-11 Installation DNX-11 DC Power
DOC-001-11001 (Rev. 006) 16 DNX Quick Install & Setup Guide
7. Insert the “-48 volt supply” wire into the negative terminal and tighten the clamp screw.
8. Insert the “return” wire into the positive terminal and tighten the clamp screw.
9. Insert the power terminal block into the mating receptacle on the rear panel.
10. Repeat steps 1-9 for the second power supply connection. If a second power supply is not
used, cover the empty slot with a blank panel.
11. Apply power to the unit. The LEDs on the front panel will flash as the unit powers up, loads
software, and runs a self-test. This will take approximately two minutes.
12. To minimize disturbance to the wires through casual contact, secure the cables to the rack
frame using multiple cable ties. The first tie should be within 6 inches of the terminal block.