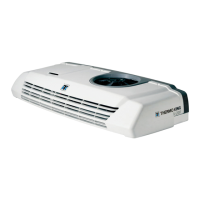
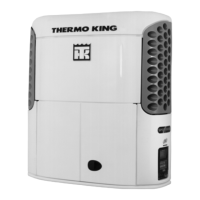
Refrigeration Maintenance
110
Evacuating and Charging
Procedures
Set-up Electrical Controls
1. Remove the 20A wire from the engine low oil
pressure switch.
2. Disconnect the condenser inlet solenoid wires
(2 pin connector) from the main wire harness.
3. Disconnect the HGS and RHGS wires from
the multi-temp relay board.
4. Place jumpers from the HGS and RHGS wires
to the 2A circuit in the control box (circuit
breaker CB2).
5. Remove the CYCLE-SENTRY module from
the option board to prevent the Auto Start
system from preheating and cranking the
engine.
6. Place the Diesel/Electric switch in the Diesel
position. Place the CYCLE-SENTRY switch
(if so equipped) in the Cont Run position.
7. Place the On/Off switches in the On position
and press the
ON key to turn the unit and Zone
1 on. Press the
ON key again to turn Zone 2 on.
8. Set both thermostats to Cool.
NOTE: The electrical controls should remain
set-up like this throughout the procedure. It may
be necessary to use a battery charger. Make sure
that the battery voltage is sufficient to keep the
solenoids energized.
Set-up and Test Evacuation
Equipment
NOTE: The use of the Thermo King Evacuation
Station P/N 204-725 is recommended.
NOTE: Do not attempt to evacuate the unit until
the evacuation equipment has been tested and its
performance has been verified.
1. Connect a 2-stage vacuum pump equipped
with a vacuum gauge to the suction service
valve, the discharge service valve, and the
receiver outlet valve.
2. Back seat the suction service valve, the
discharge service valve, and the receiver
outlet valve.
3. Open the vacuum valve at the vacuum pump
and start the pump.
4. Evacuate the hoses to 100 microns, or the
lowest achievable level below 500 microns.
5. Once a vacuum of 100 microns has been
reached, close the vacuum valve at the
vacuum pump and stop the pump.
6. Wait 5 minutes and then check the vacuum
gauge. The pressure should not exceed 1500
microns.
7. If the pressure rises above 1500 microns in 5
minutes, check all the hoses and connections
for leaks and repeat steps 3 through 6. If the
pressure rises slower this time, moisture may
be present in the hoses. Repeat steps 3 through
6 until the results are satisfactory.
NOTE: Dirty vacuum pump oil will not allow
the pump to reach a deep vacuum. Hoses and
fittings can be isolated one at a time to
identify leaks.