Refrigeration Service Operations
123
Purge Valve (PV)
NOTE: Valves that have nylon seats must be
disassembled before soldering.
Removal
1. Remove the refrigerant charge.
2. Remove the coil and disassemble the valve.
3. Unsolder the refrigeration lines from the
valve, and remove the valve from the unit.
Installation
1. Clean the tubes for soldering.
2. Remove the coil, disassemble the valve, and
place the valve in position.
3. Solder the inlet and outlet connections. After
the valve cools, assemble the valve and install
the coil.
4. Pressurize the refrigeration system and test for
leaks.
5. If no leaks are found, evacuate the system.
6. Recharge the unit with the proper refrigerant.
Throttling Valve
Removal
1. Pump down the low side and equalize the
pressure to slightly positive.
2. Front seat the discharge and suction service
valves. Release the remaining pressure.
3. Remove the suction service valve.
4. Unbolt and remove the throttling valve from
the unit.
Disassembly
1. Remove the piston end cap (inlet).
2. Remove the cotter pin from the castle nut and
remove the nut.
3. Remove the spring and piston.
4. Loosen all the bolts on the bellows end cap.
5. Break the gasket free and remove the end cap.
6. Note the number of shims next to the cap.
These can be reused.
7. Remove the bellows.
CAUTION: Use a heat sink or wrap the
valve with wet rags to prevent damage.
CAUTION: Use a heat sink or wrap the
valve with wet rags to prevent damage.
CAUTION: This end cap is under slight
spring pressure.
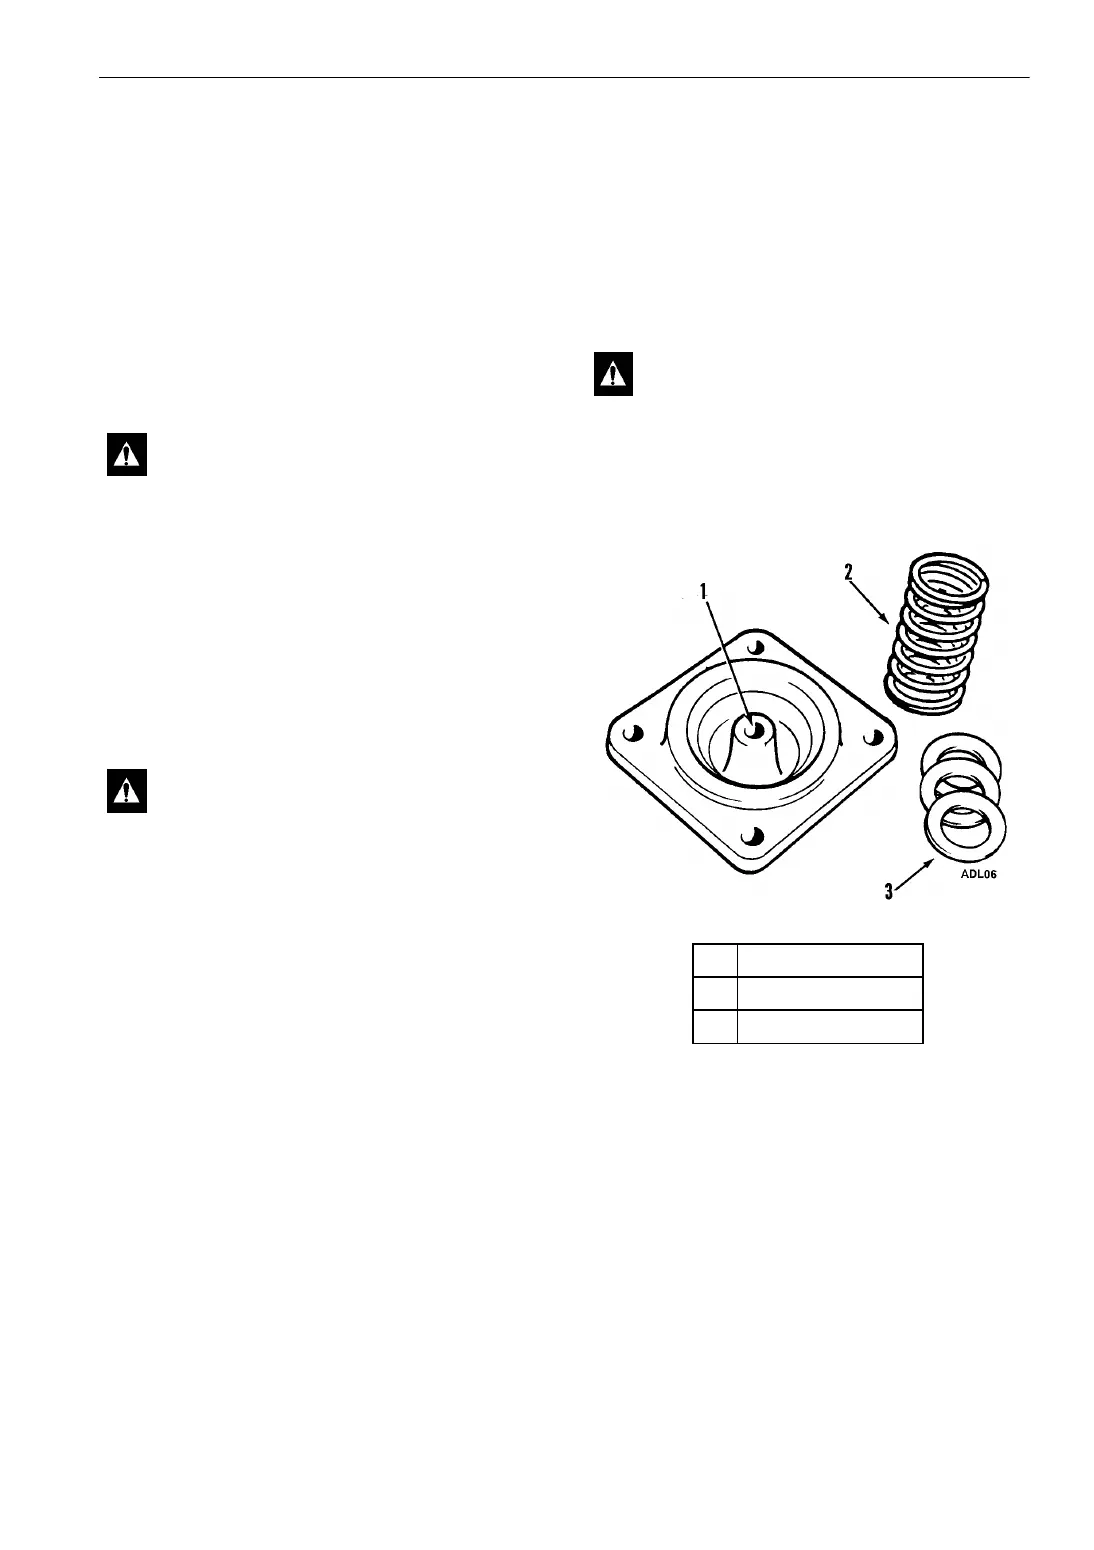
1. Inspect Cap
2. Inspect Spring
3. Shims
Figure 66: Inspect Throttling Valve Components



 To Next Page