Refrigeration Service Operations
124
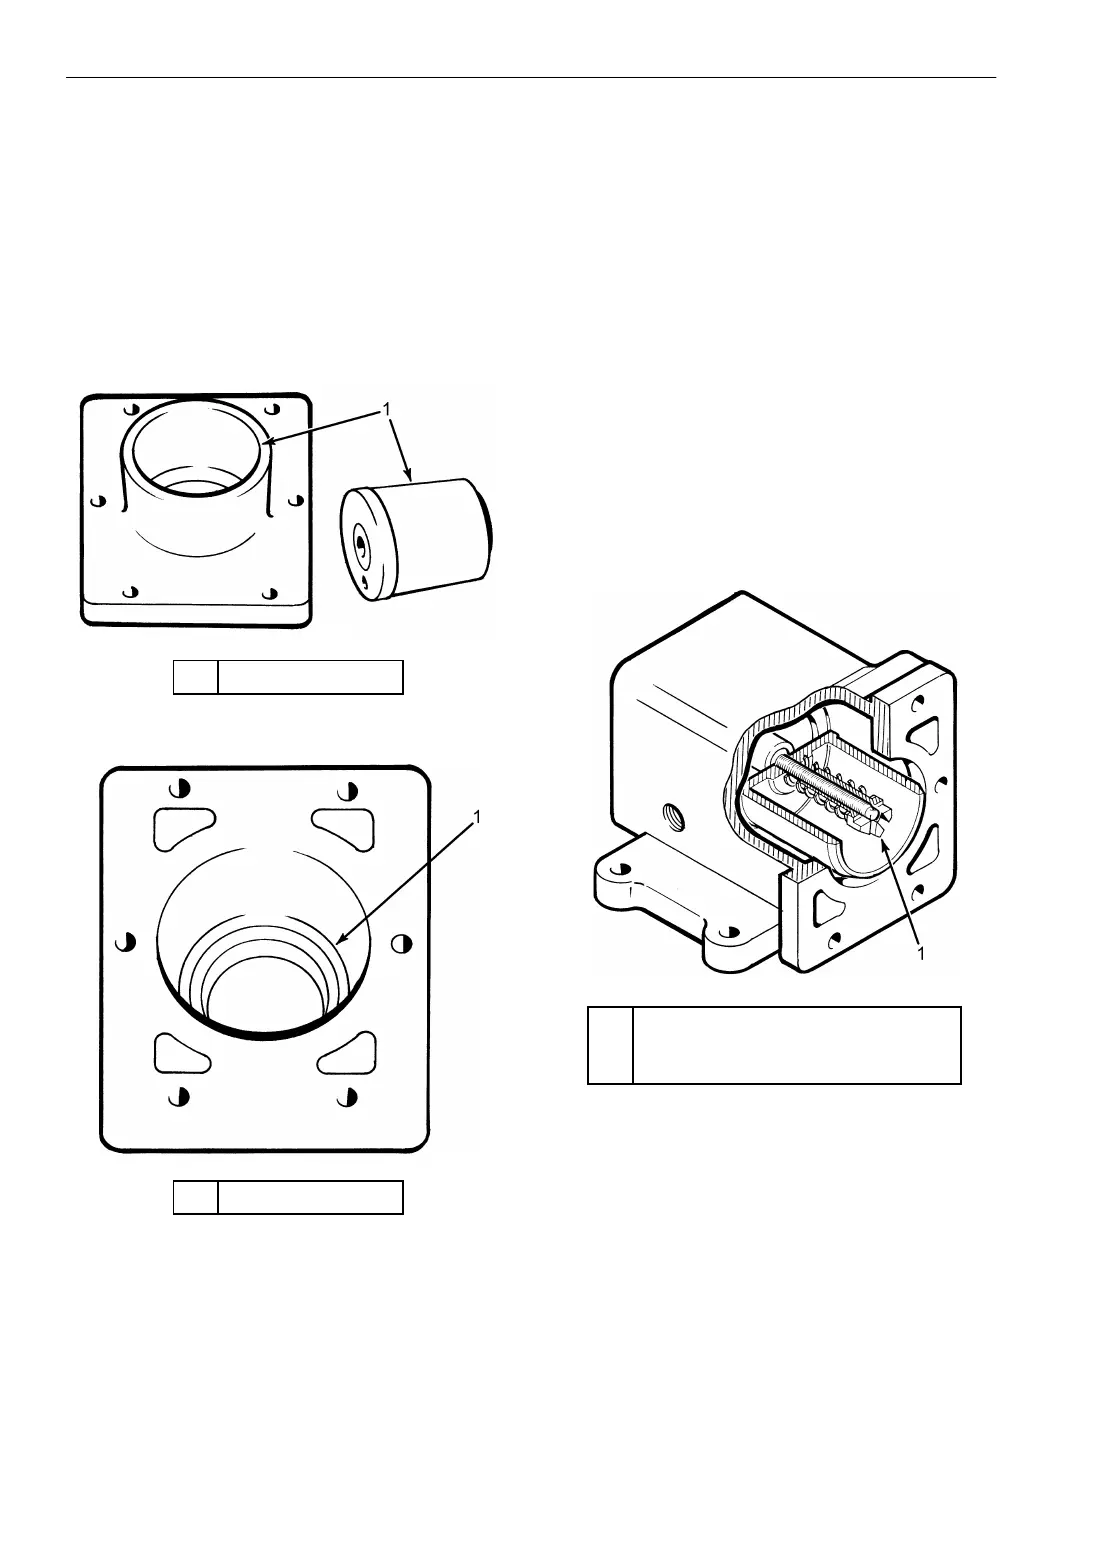
8. Inspect all the parts.
a. Piston and cap for wear (scuff marks).
b. Body for stripped threads.
c. Bellows end cap for damage in the pilot
hole.
NOTE: The bellows is normally replaced.
4. Clean the parts that will be reused.
Reassembly
1. Install the bellows with the O-ring in the
housing.
2. Center the spring on the bellows shoulder.
3. Oil the gasket, install it on the housing, and
place the shims in the end cap (use same
number as removed). Tighten the end cap in
place with the vent hole closest to the outlet
opening of the valve housing.
4. Install the piston, spring and tighten the castle
nut until it is firmly seated against the bottom
of the piston.
5. Back off the castle nut, one full turn only.
6. Insert the cotter pin.
7. Oil the gasket and install the end cap.
8. The throttling valve will have to be
recalibrated on operating unit. (Refer to the
Specification chapter for setting.)
9. Adjust by adding or removing shims under the
spring.
1. Inspect for Wear
Figure 67: Inspect Piston and Cap for Wear
1. Inspect for Damage
Figure 68: Inspect Pilot Hole for Damage
AEA649
AEA650
1. Tighten Castle Nut to Bottom—
Then Back Off 1 Turn Only—
Insert Cotter Pin
Throttling Valve Housing Reassembly
AGA1264