Receiver Descrambler - User Manual (release 7.3.1)
4.13 SNMP Configuration
Description: The trap reporting to SNMP allows the user to set which traps will be sent. SNMP control of
the unit requires the unit to identify the “Community” for read only and read/write access. These are
configured using the steps below.
To access the SNMP configuration, use the following steps:
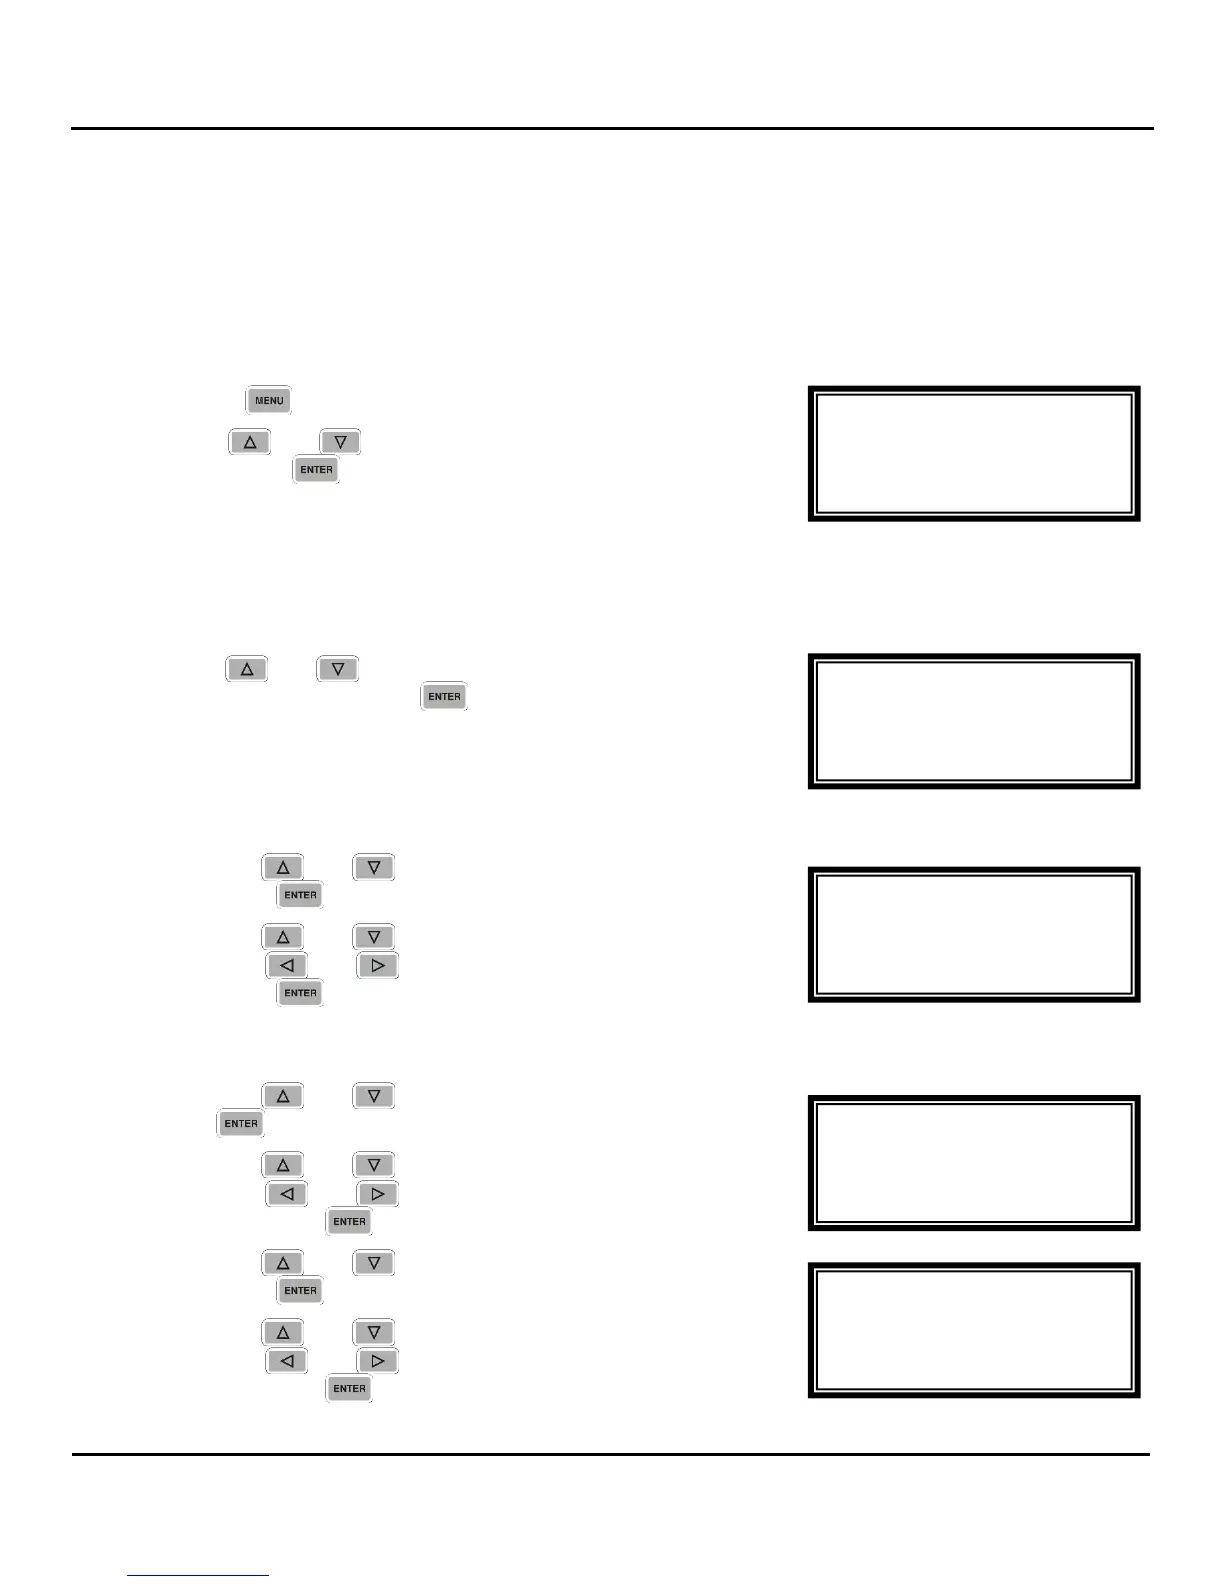
1. Press the
button.
2. Use the
and
buttons to move the cursor to “SNMP”,
then press the
button.
RO Community Setup
To change the RO Community, follow the steps below:
1. Use the
and
buttons to move the cursor to “RO
Community”, then press the
button.
Name
1. Use the
and
buttons to select “Name:”, then
press the
button.
2. Use the
and
buttons to change the character and
then the
and
buttons to change the Name, then
press the
button to save the selection.
Connection 1
1. Use the
and
buttons to select “Ip1:”, then press
the
button.
2. Use the
and
buttons to change the character and
then the
and
buttons to change the IP address,
then press the
button to save the selection.
3. Use the
and
buttons to select “Port1:”, then
press the
button.
4. Use the
and
buttons to change the character and
then the
and
buttons to change the Port1 value,
then press the
button to save the selection.
RO Community ←→
Name:public
----
Ip1:10.0.15.10
►Port1:0162
RO Community ←→
Name:public
----
►Ip1:010.000.015.010
Port1:0162
RO Community ←→
►Name:public
----
Ip1:10.0.15.10
Port1:0162
SNMP
►RO Community
RW Community
Trap Setup
Menu
Lock Panel
►SNMP
MPEG/IP NetCfg