3-50
Chapter 3
INSTALLATION AND SETTING PROCEDURES (HARDWARE)
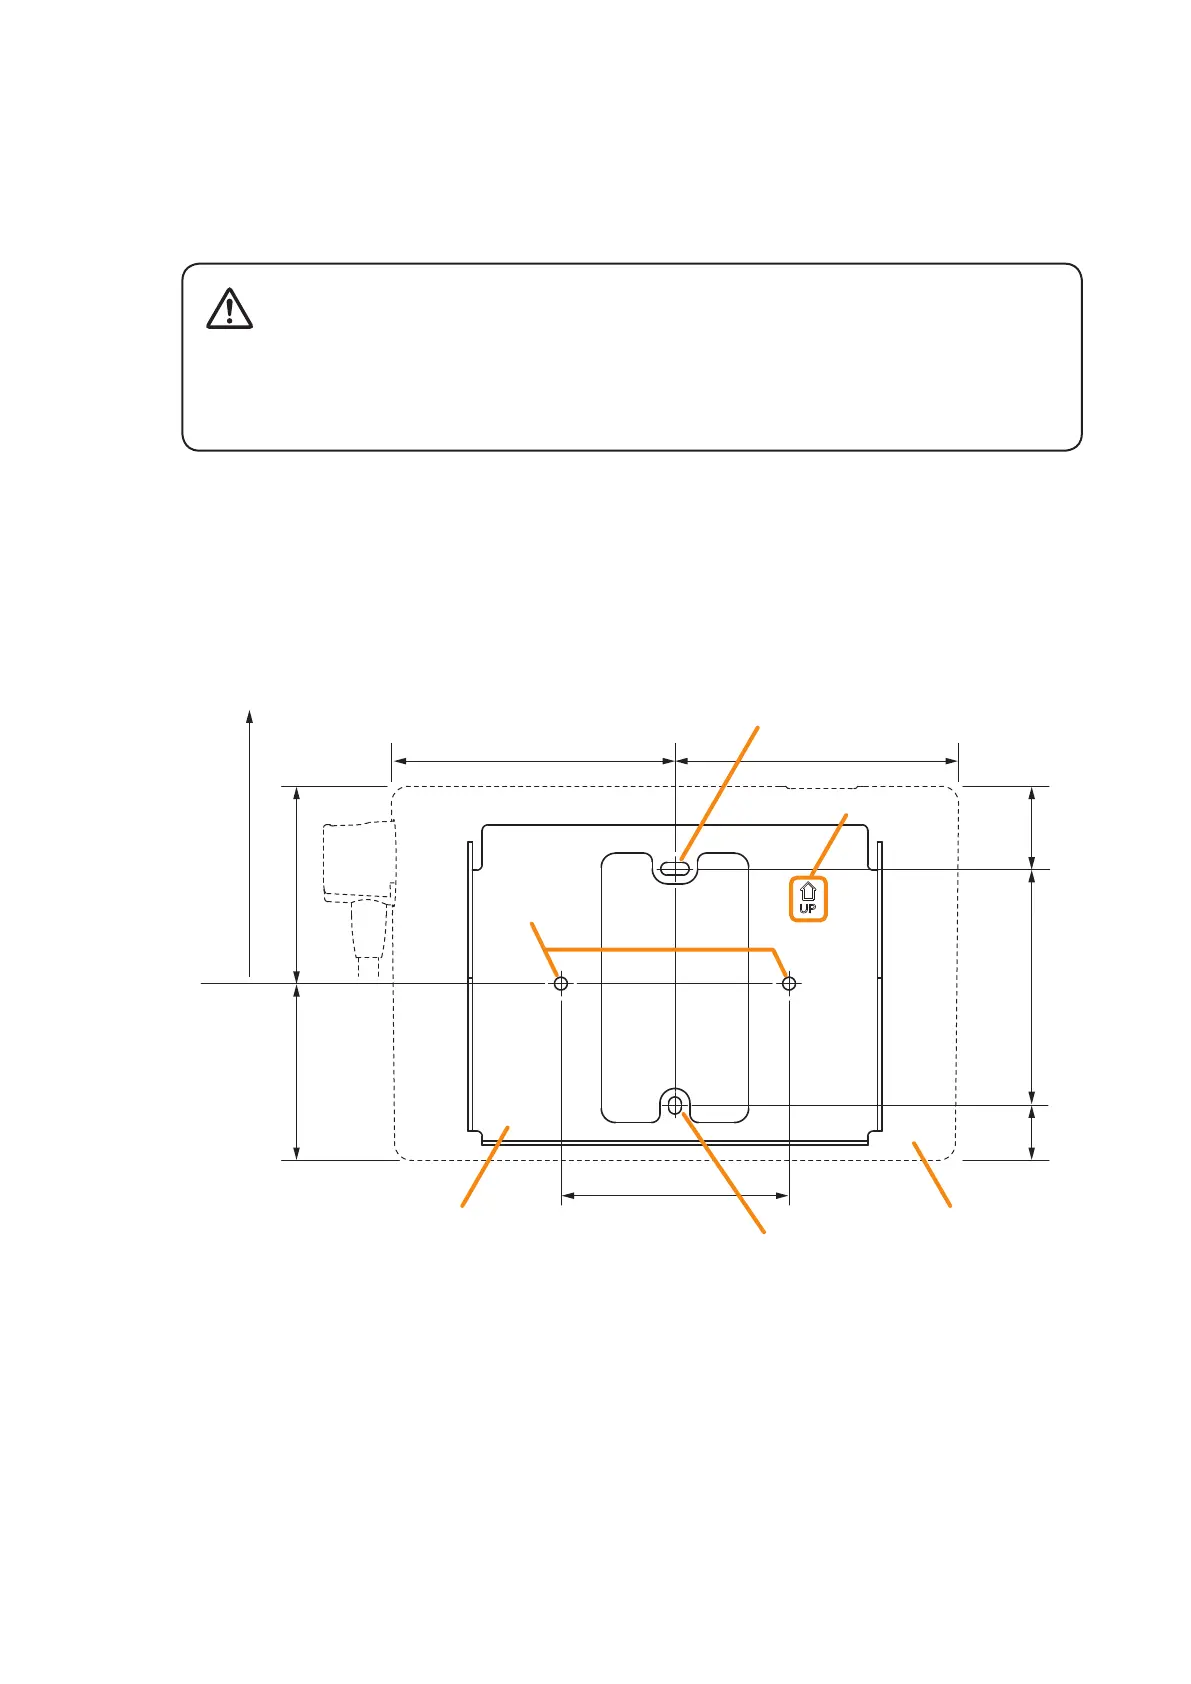
6.17.2 . Hanging the RM-500 on the wall
Step 1. Install the WB-RM500 on the wall.
Use 2 or more screws to install the WB-RM500 on the wall depending on the installation location.
The WB-RM500 comes with 4 x 25 tapping screws (2 pcs.) for direct wall mounting and M4 x 20
machine screws (2 pcs.) for mounting to the switch box.
• Install the unit only in a location that can structurally support the weight of the unit and the
mounting bracket. Doing otherwise may result in the unit falling down and causing personal injury
and/or property damage.
• Be sure to use 2 or more screws to secure the mounting bracket on the wall.
WARNING
Notes
• Install the WB-RM500 taking at least 90 mm long space up from its direct wall mounting hole.
Insufcient space will not allow the installation of the RM-500.
• Secure the WB-RM500 using 2 direct mounting holes or 2 holes for the switch box in the gure below.
• Install the WB-RM500 in correct orientation referring to the “UP” mark engraved on it as a guide.
62.4 (2.46) 69.6 (2.74)
100 (3.94)
80.5 (3.17)
100 (3.94)
29.1
(1.15)
19.4
(0.76)
83.5
(3.29)
Take at least 90 mm long space.
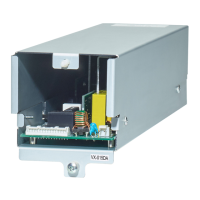
RM-500WB-RM500
Direct wall
mounting hole
UP mark
Hole for the switch box
(Also used for direct wall mounting)
Unit: mm (In)
Hole for the switch box
(Also used for direct wall mounting)