Calibration
Excavator Hitch
50
Excavator Indicate System P/N: 1022461-01
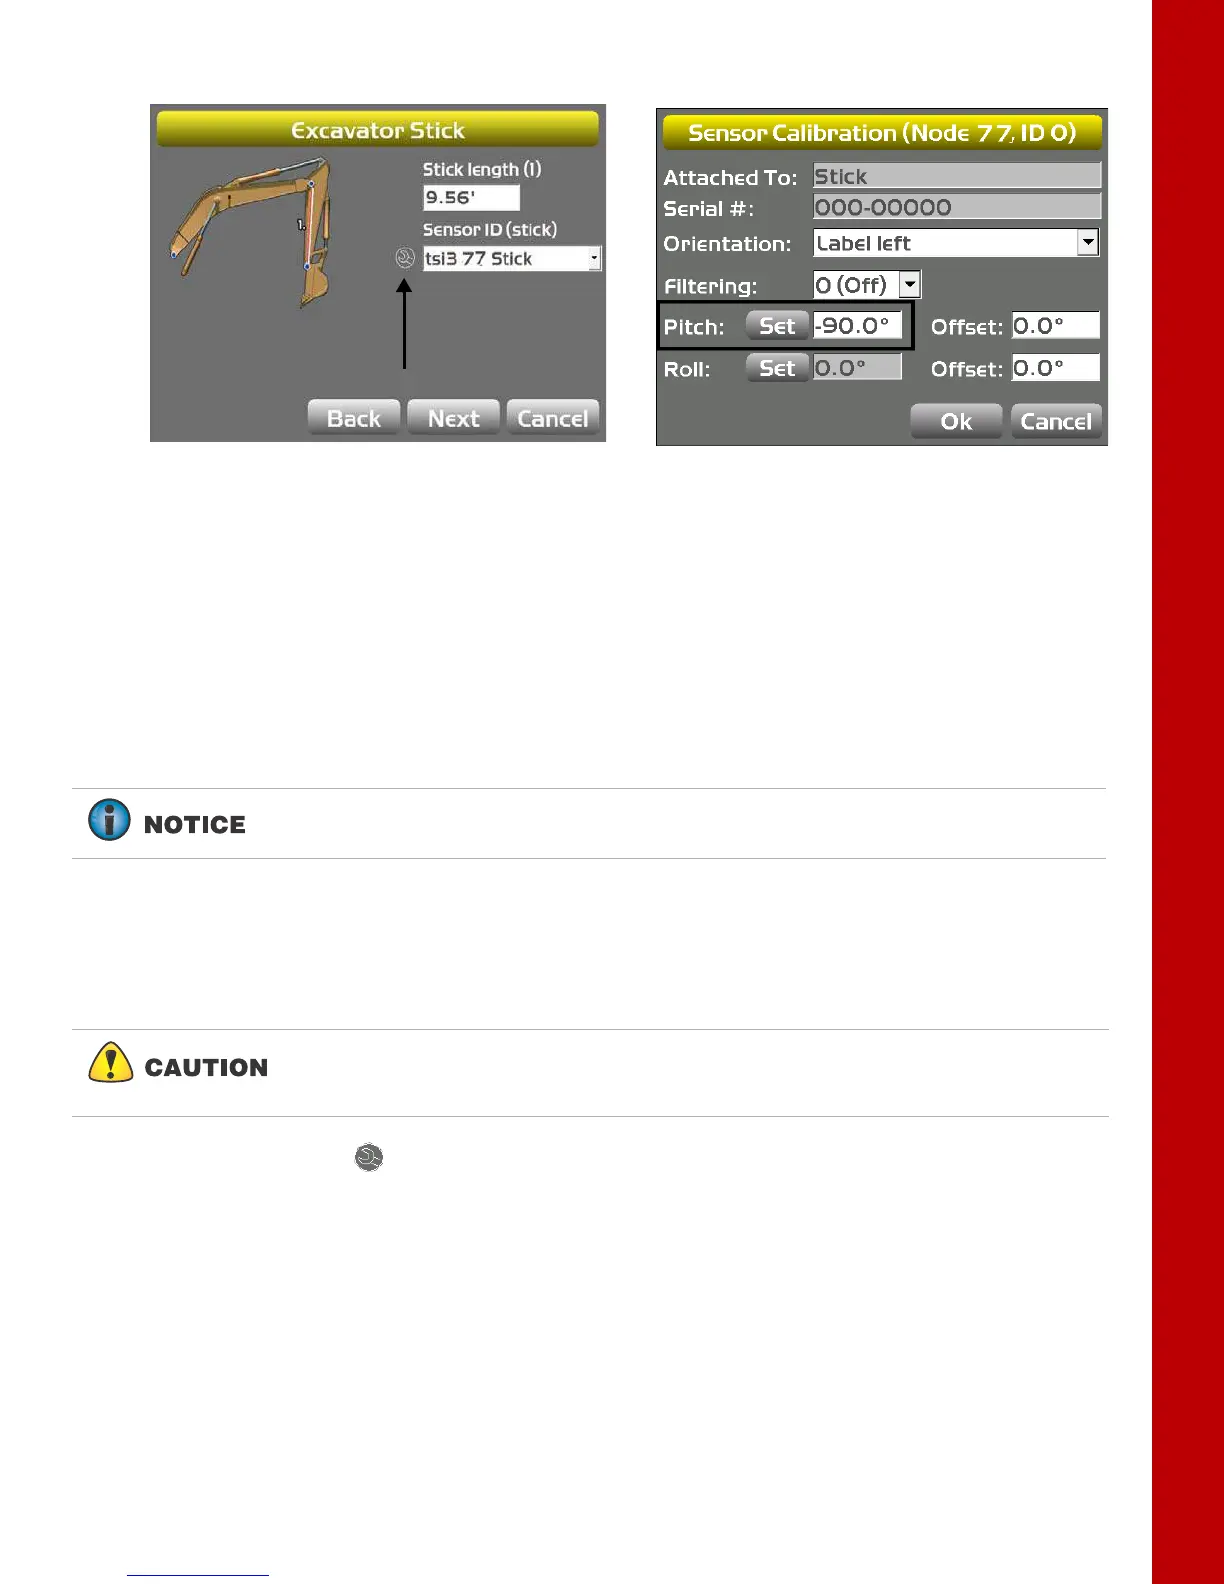
5. Tap Set next to Pitch, enter the Pitch value as -90.0°, and tap Set again (Figure 67).
Figure 67: Set Pitch Value to -90.0
Excavator Hitch
There are two options to mount the hitch sensor:
• Mount the sensor directly on the attachment/bucket, or inside the quick release coupler.
• Mount the sensor on the DogBone.
Because the DogBone option requires extra steps before calibrating the bucket, this procedure will be
discussed first.
DogBone Sensor
When performing the DogBone sensor calibration, a builder’s level is required to correctly position the
DogBone at zero degrees.
1. Tap the Wrench icon that corresponds to the DogBone sensor (Figure 68).
If mounting the hitch sensor directly on the attachment, or inside the quick-
release coupler, skip to
“On Hitch/Coupling” on page 52.
The DogBone calibration compares the stick sensor to the DogBone sensor to
determine bucket angle. The stick sensor must be properly calibrated before
attempting the DogBone calibration.