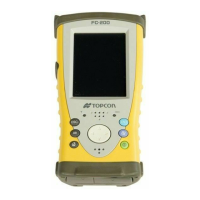
Powering the Receiver
P/N 7010-0935
2-11
on. If the receiver is turned on, then the receiver board begins to
detect the UMS device and the REC LED blinks yellow.
3. If necessary, supply power to the UMS device:
• For a flash-based UMS device, the NET-G3A supplies enough
power through the USB connection that an external power supply
for the UMS device is not necessary.
• For a hard drive-based UMS device, it is recommended to power
it through an external AC power adapter available with the
device.
4. To start using the UMS device, it should be activated. For
information about the activation procedure, see “Downloading
Data Files to a UMS Device” on page 4-4.
To remove the UMS device, Carefully take out the UMS device
from the USB port.
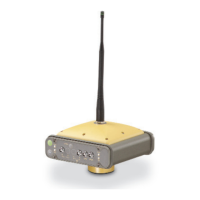
Powering the Receiver
The Net-G3A receiver is designed to derive power from external
power sources (Figure 2-5 on page 2-12) or its backup batteries
(iBEST). When setting up the receiver, consider the following
powering requirements:
• Never use an extension cord for permanent power supply. This
kind of setup can create a fire hazard.
• Always use a grounded outlet.
• Use a surge protector to protect connected electronics devices.
The Net-G3A has two power ports and either port powers the receiver.
To power on the Net-G3A:
1. Connect the power cable to the power supply unit.
To preserve data integrity, only install or remove the
UMS device when the receiver’s REC LED does
not blink orange.
Net-G3A_OM_Book.book Page 11 Thursday, May 14, 2009 8:49 AM